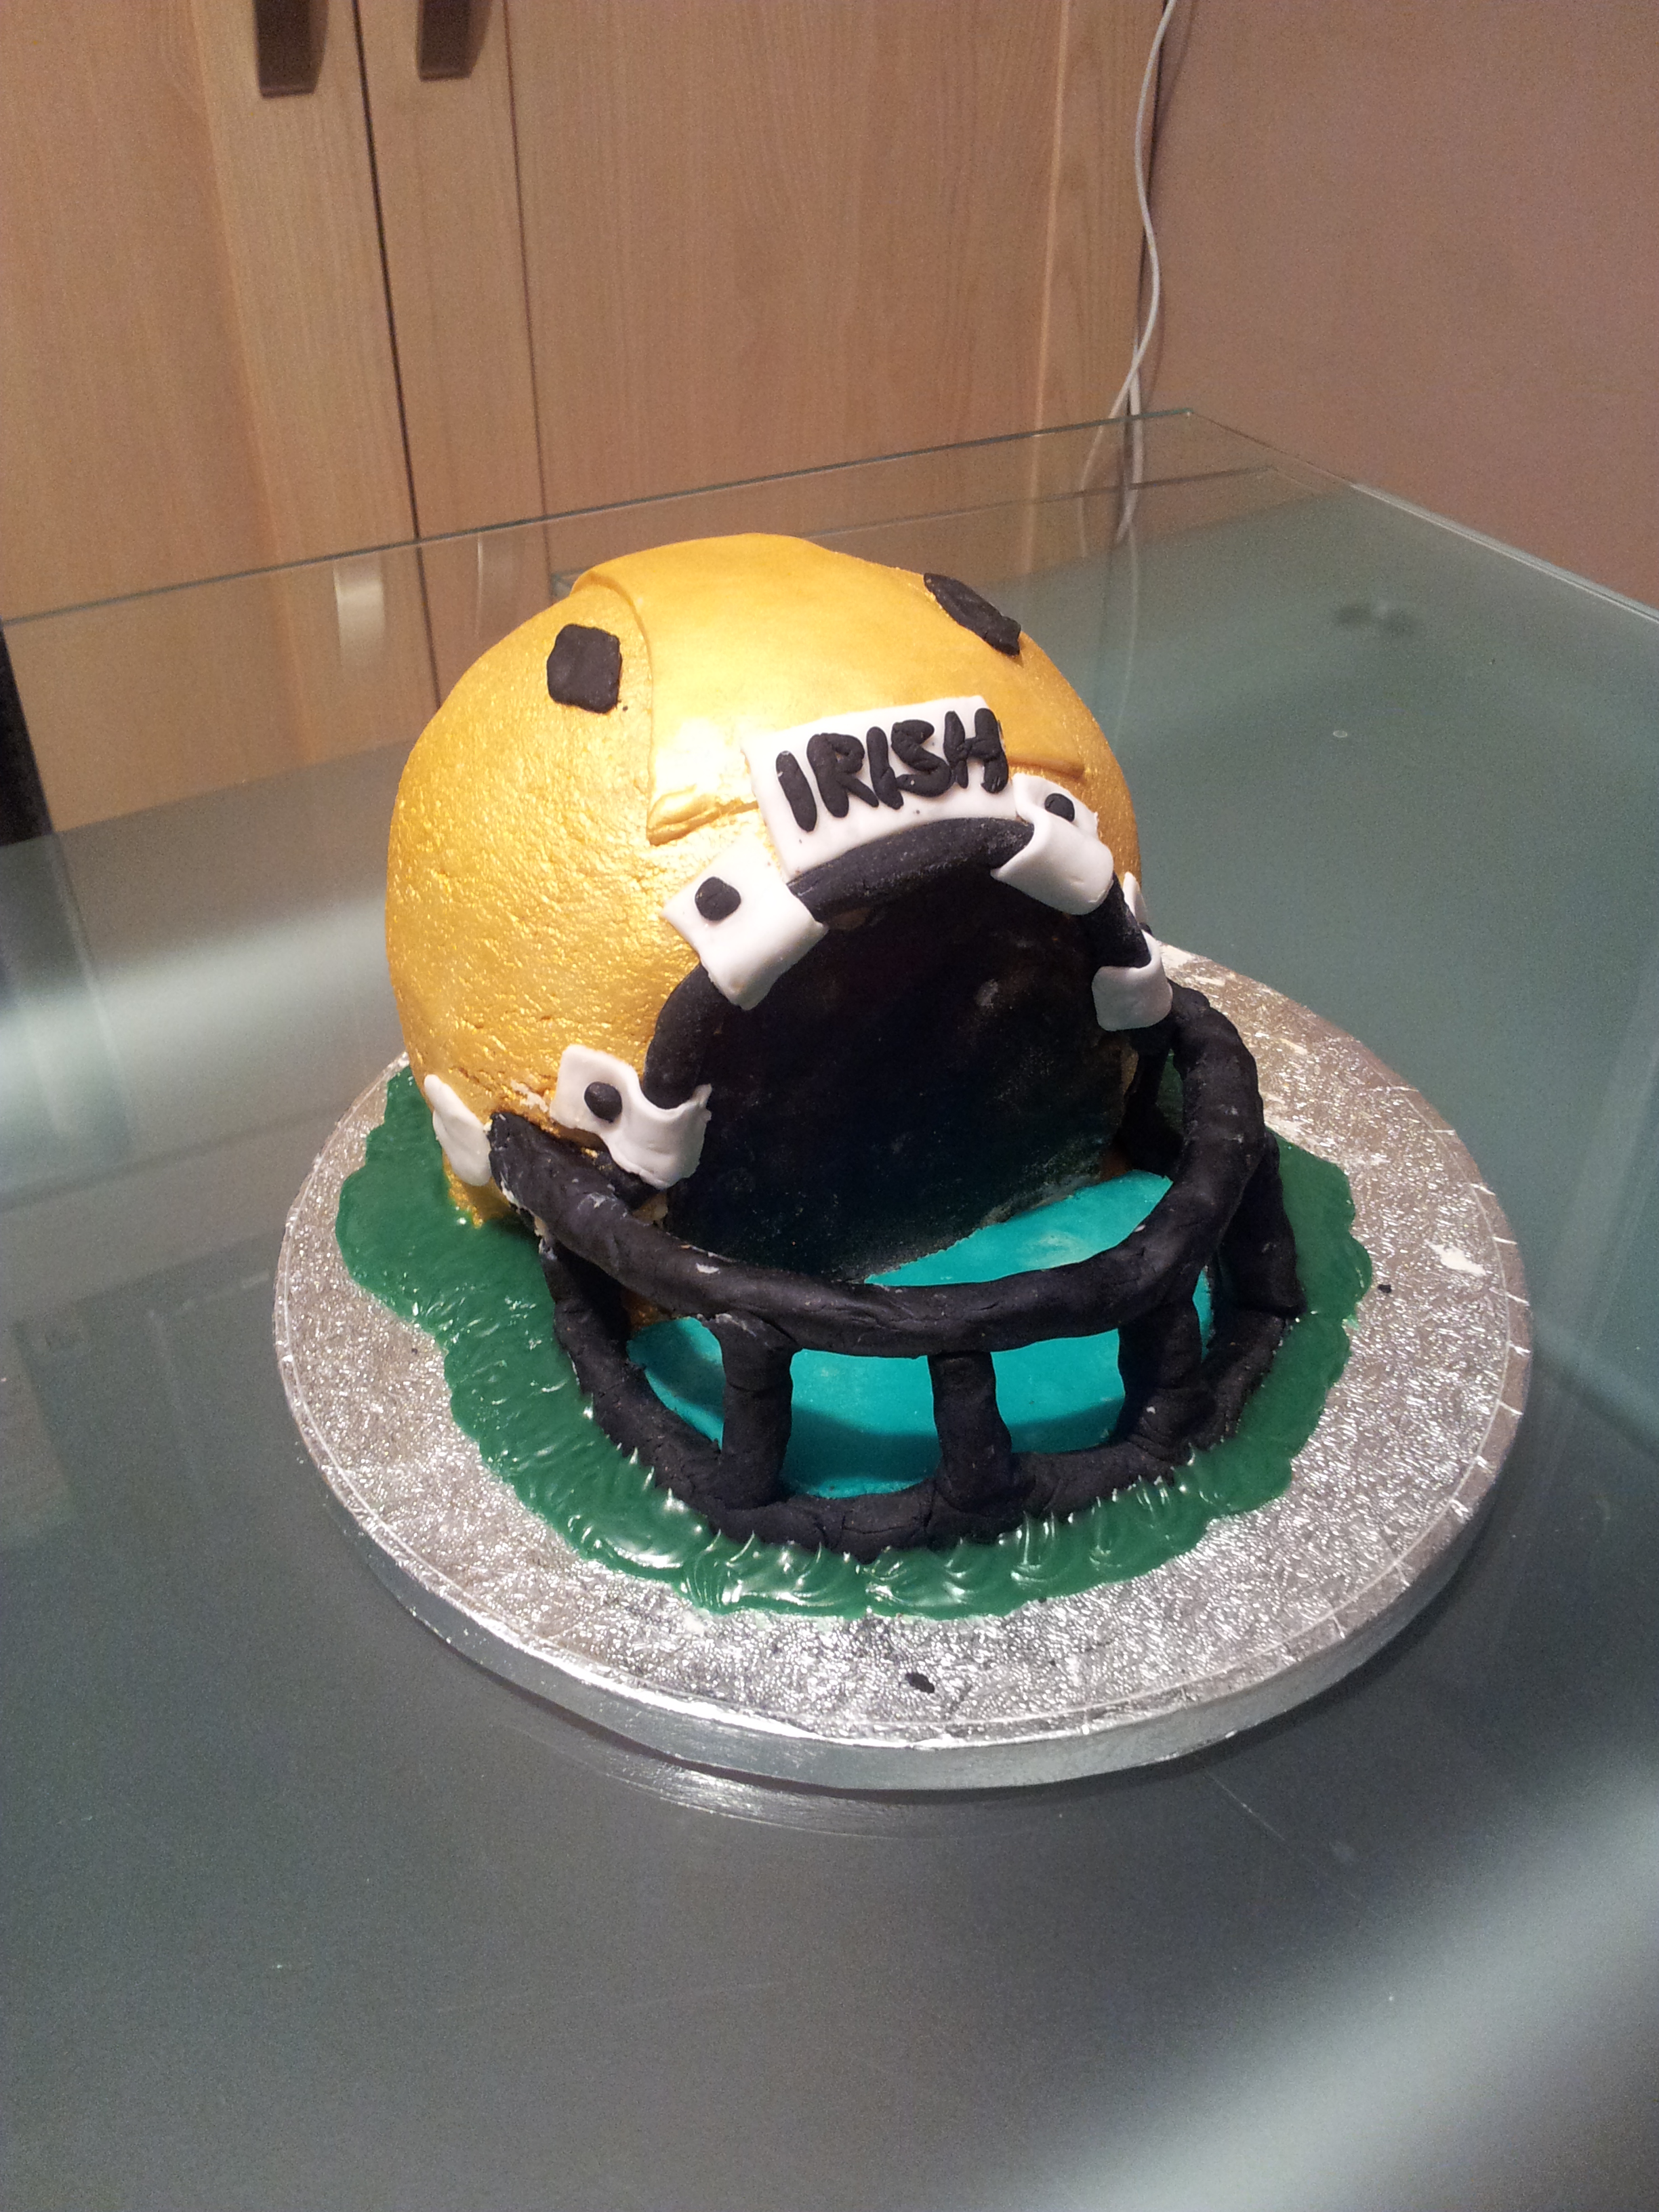
So, my favourite American football team is Notre Dame as my dad went there. They have had a great undefeated season this year, which has been the first undefeated season since 1988. They are in the BCS National Championship Game this year on the 7th so I thought I would make a Notre Dame cake in celebration!
I was looking on the internet for ideas and decided a helmet cake would be cool to make and also suitably challenging.

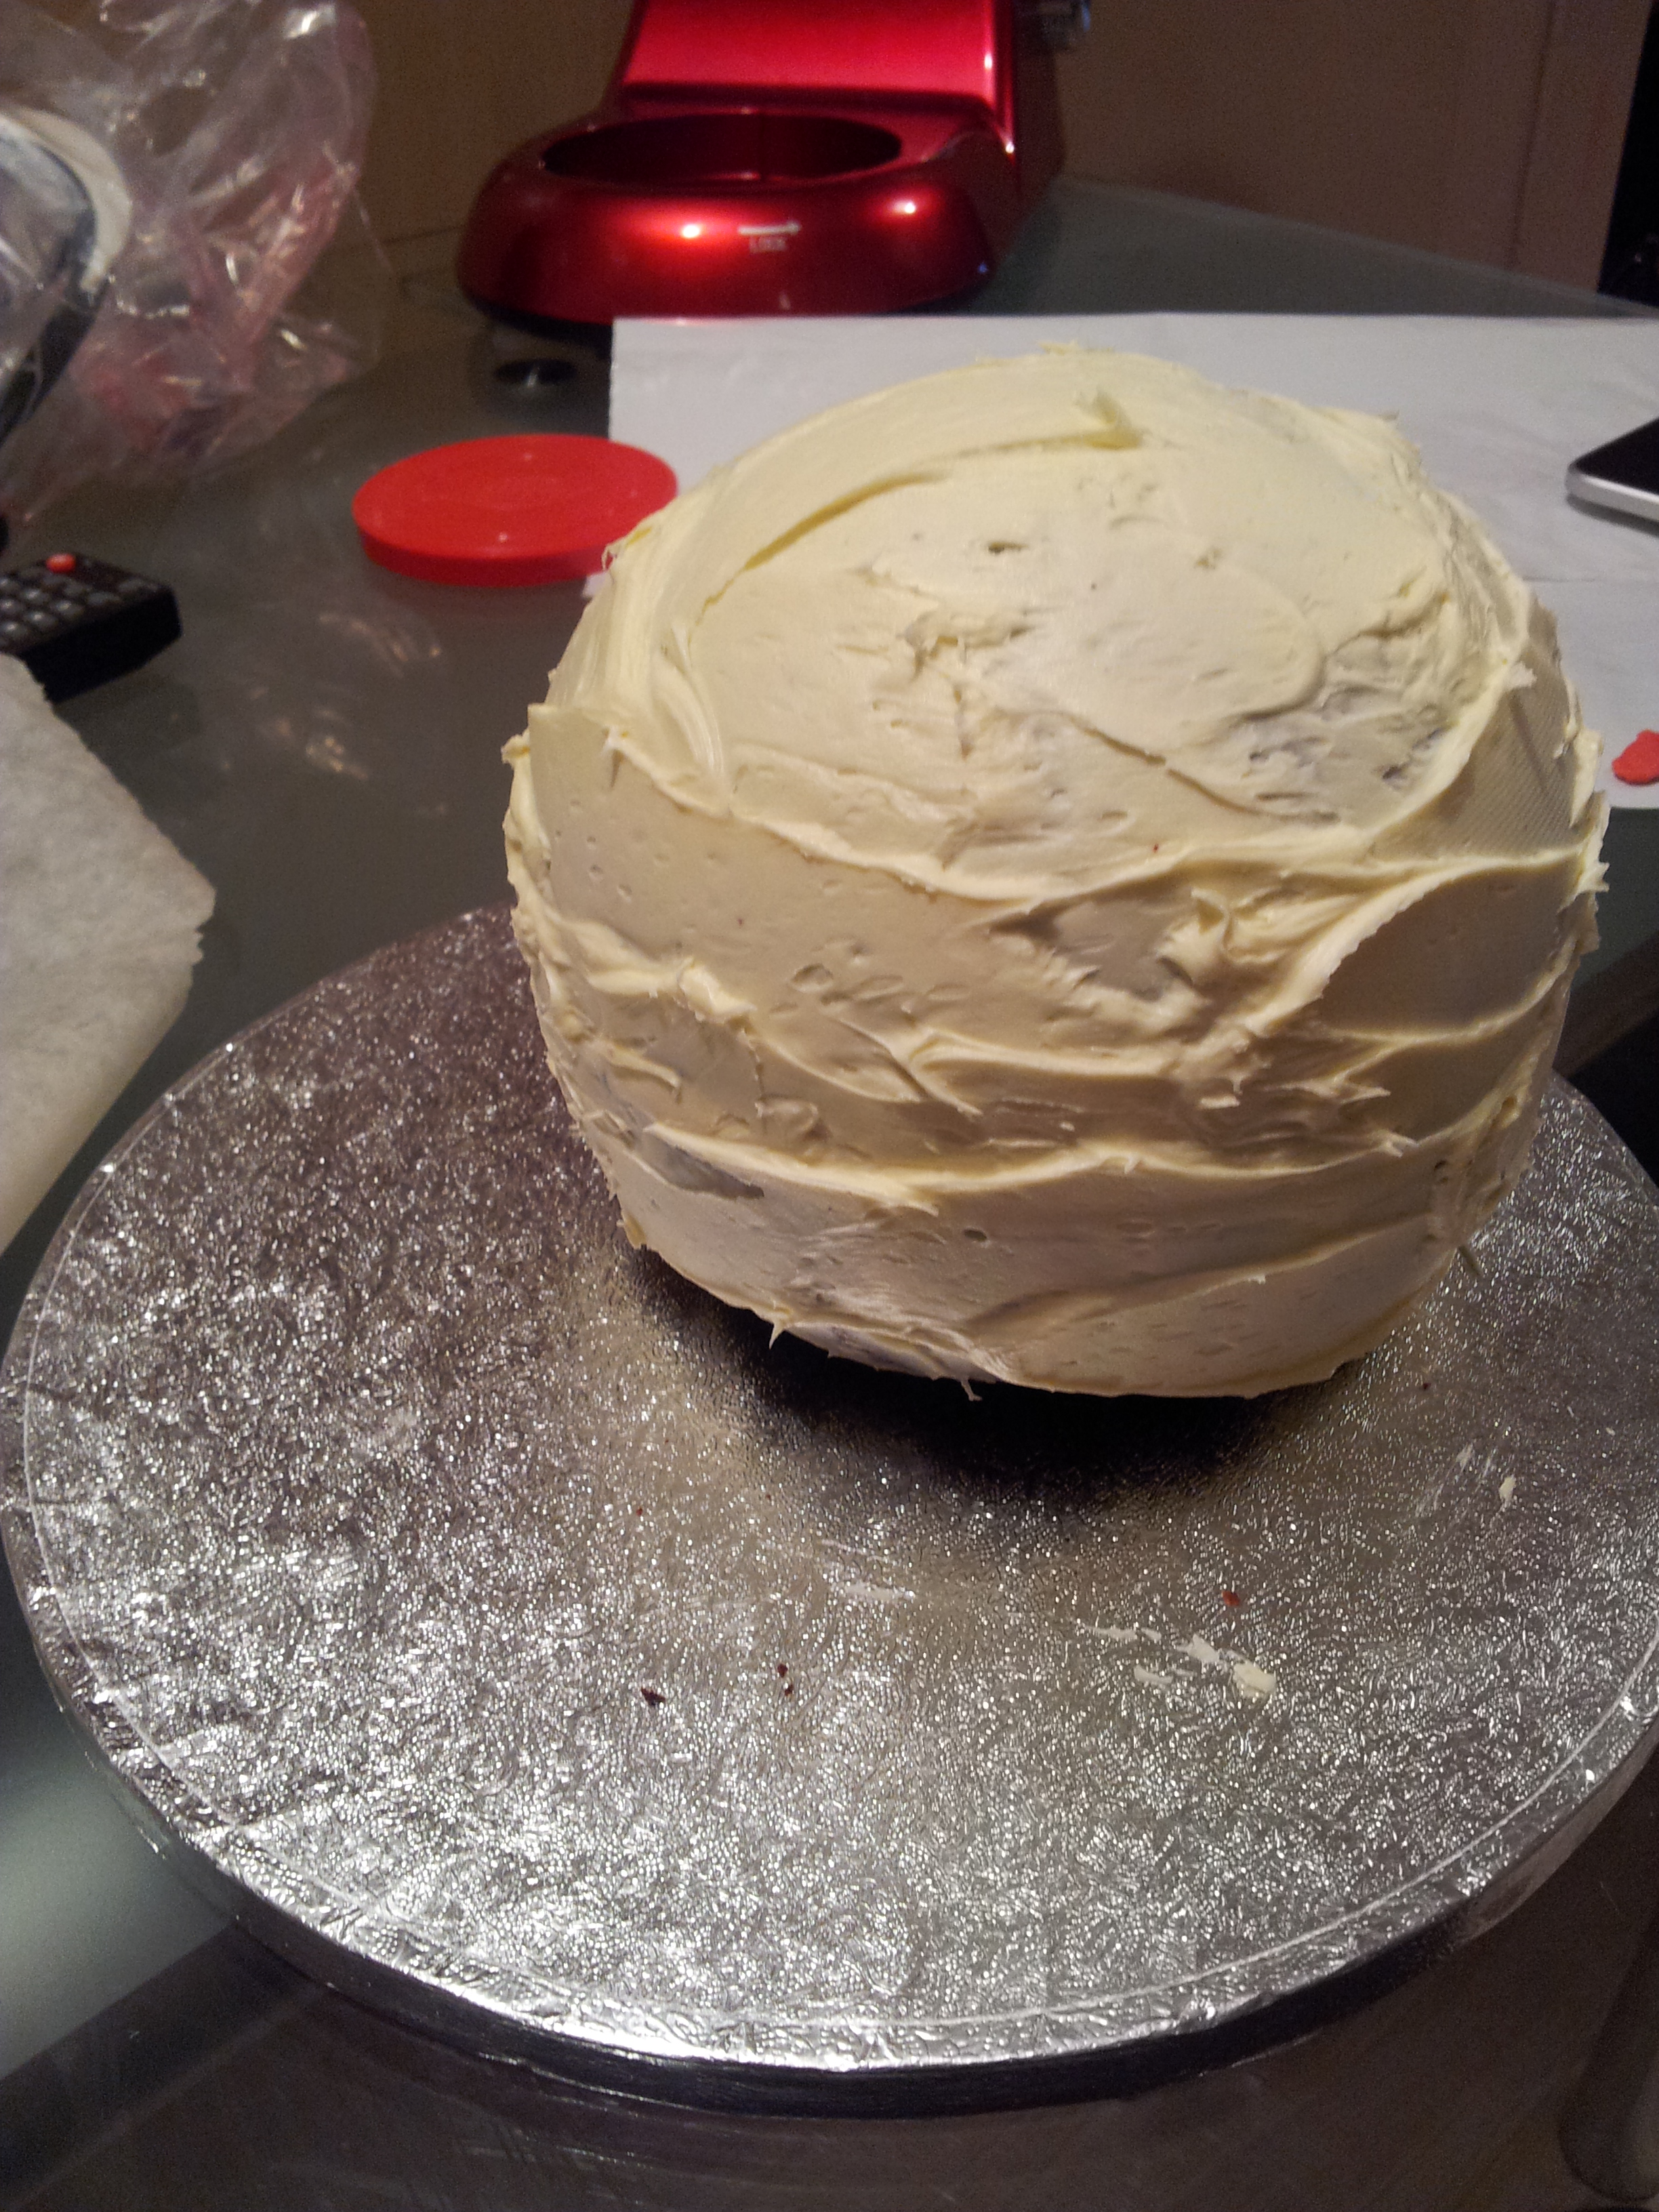
So you first have to start with a ball cake tin to make the two sides of the helmet. I then put them together and iced with vanilla buttercream. Surprising it was quite easy but the only difficult part is at the end when you try and ice the final side as it moves around but not a big deal.
Once it was fully iced, I needed to cut a piece of the front off to make it look like the hole in the helmet. I cut a thin piece of cardboard to fit the front and gently cut a side off so i could put the cardboard there.
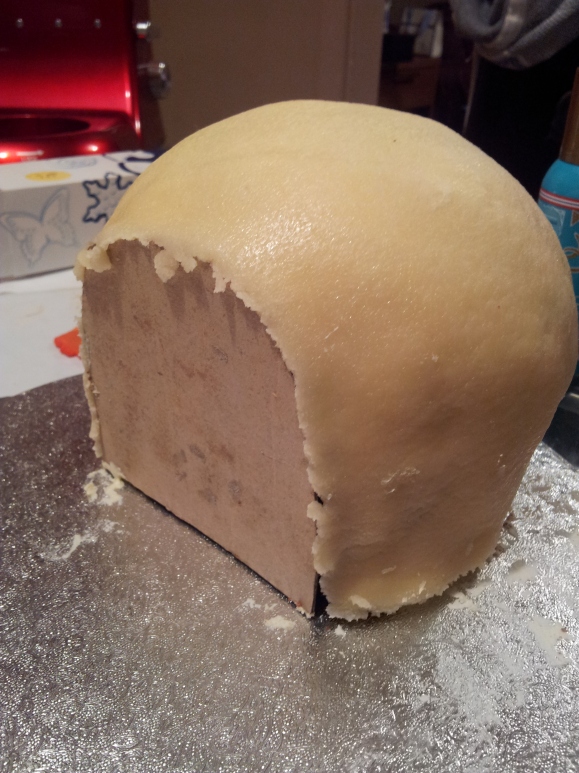
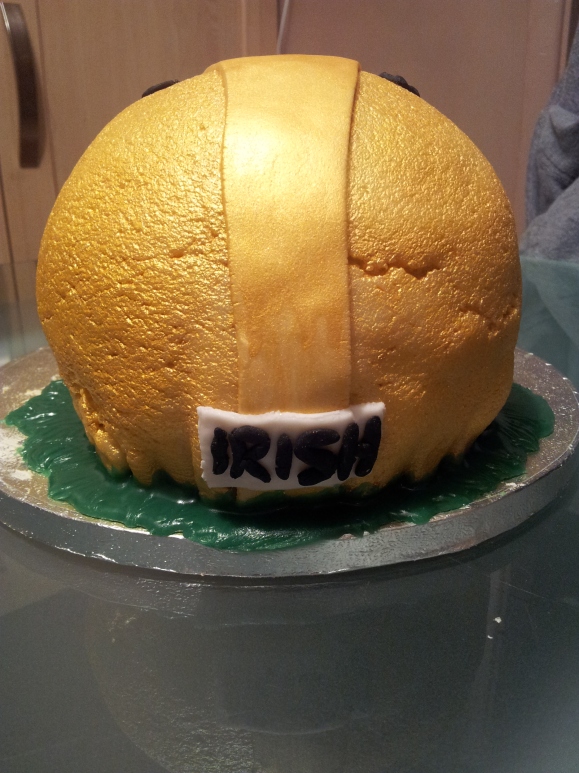
I decided to use Marzipan as the topping. this was mainly because it took the gold colour that I needed for the Notre Dame helmet a little better than Fondant and also the rigid texture made it look more like an actual helmet. When you are putting the Marzipan over the cake e very gentle. it doesn’t stretch as well as Fondant and cracks VERY easily (A lesson I have now learned)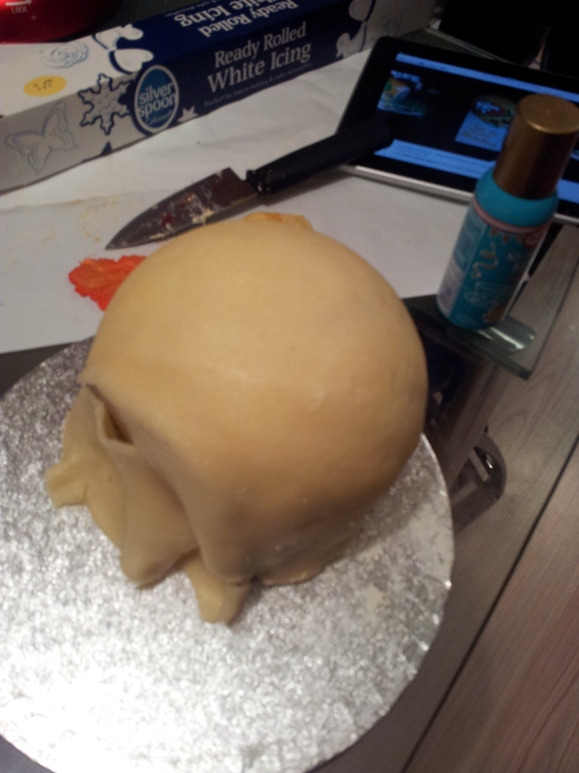 Don’t worry too much about the front where the cardboard is because you will need to gently tear it away from this part next so it looks like the below:
 Now, if I were doing this again, I would remove the cardboard and put the details and spray it with edible gold and then put the cardboard on.But what I actually did next was add the detail that needed to be sprayed gold and then covered the cardboard in buttercream, so I could put black fondant on it. The it was time to spray the helmet gold.
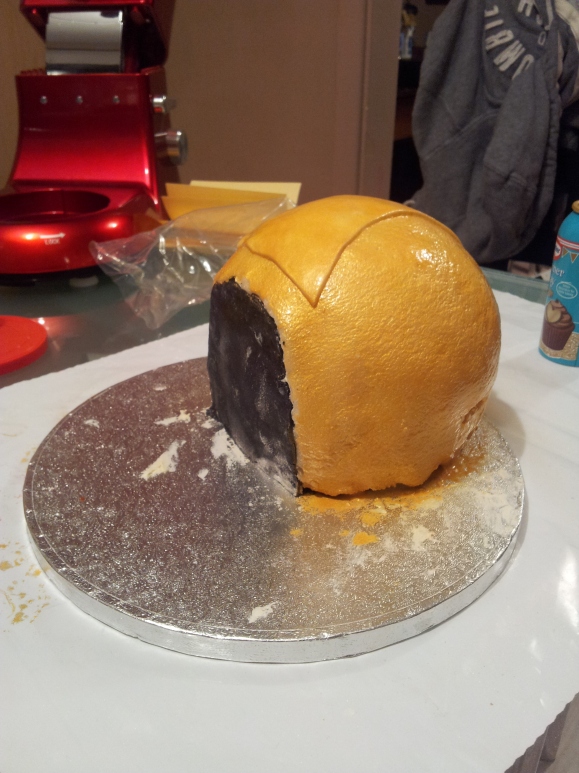
This is what it looked like after… Don’t worry it will look nicer soon! I started adding all of the intricate details which took a long time until it ended up like this.
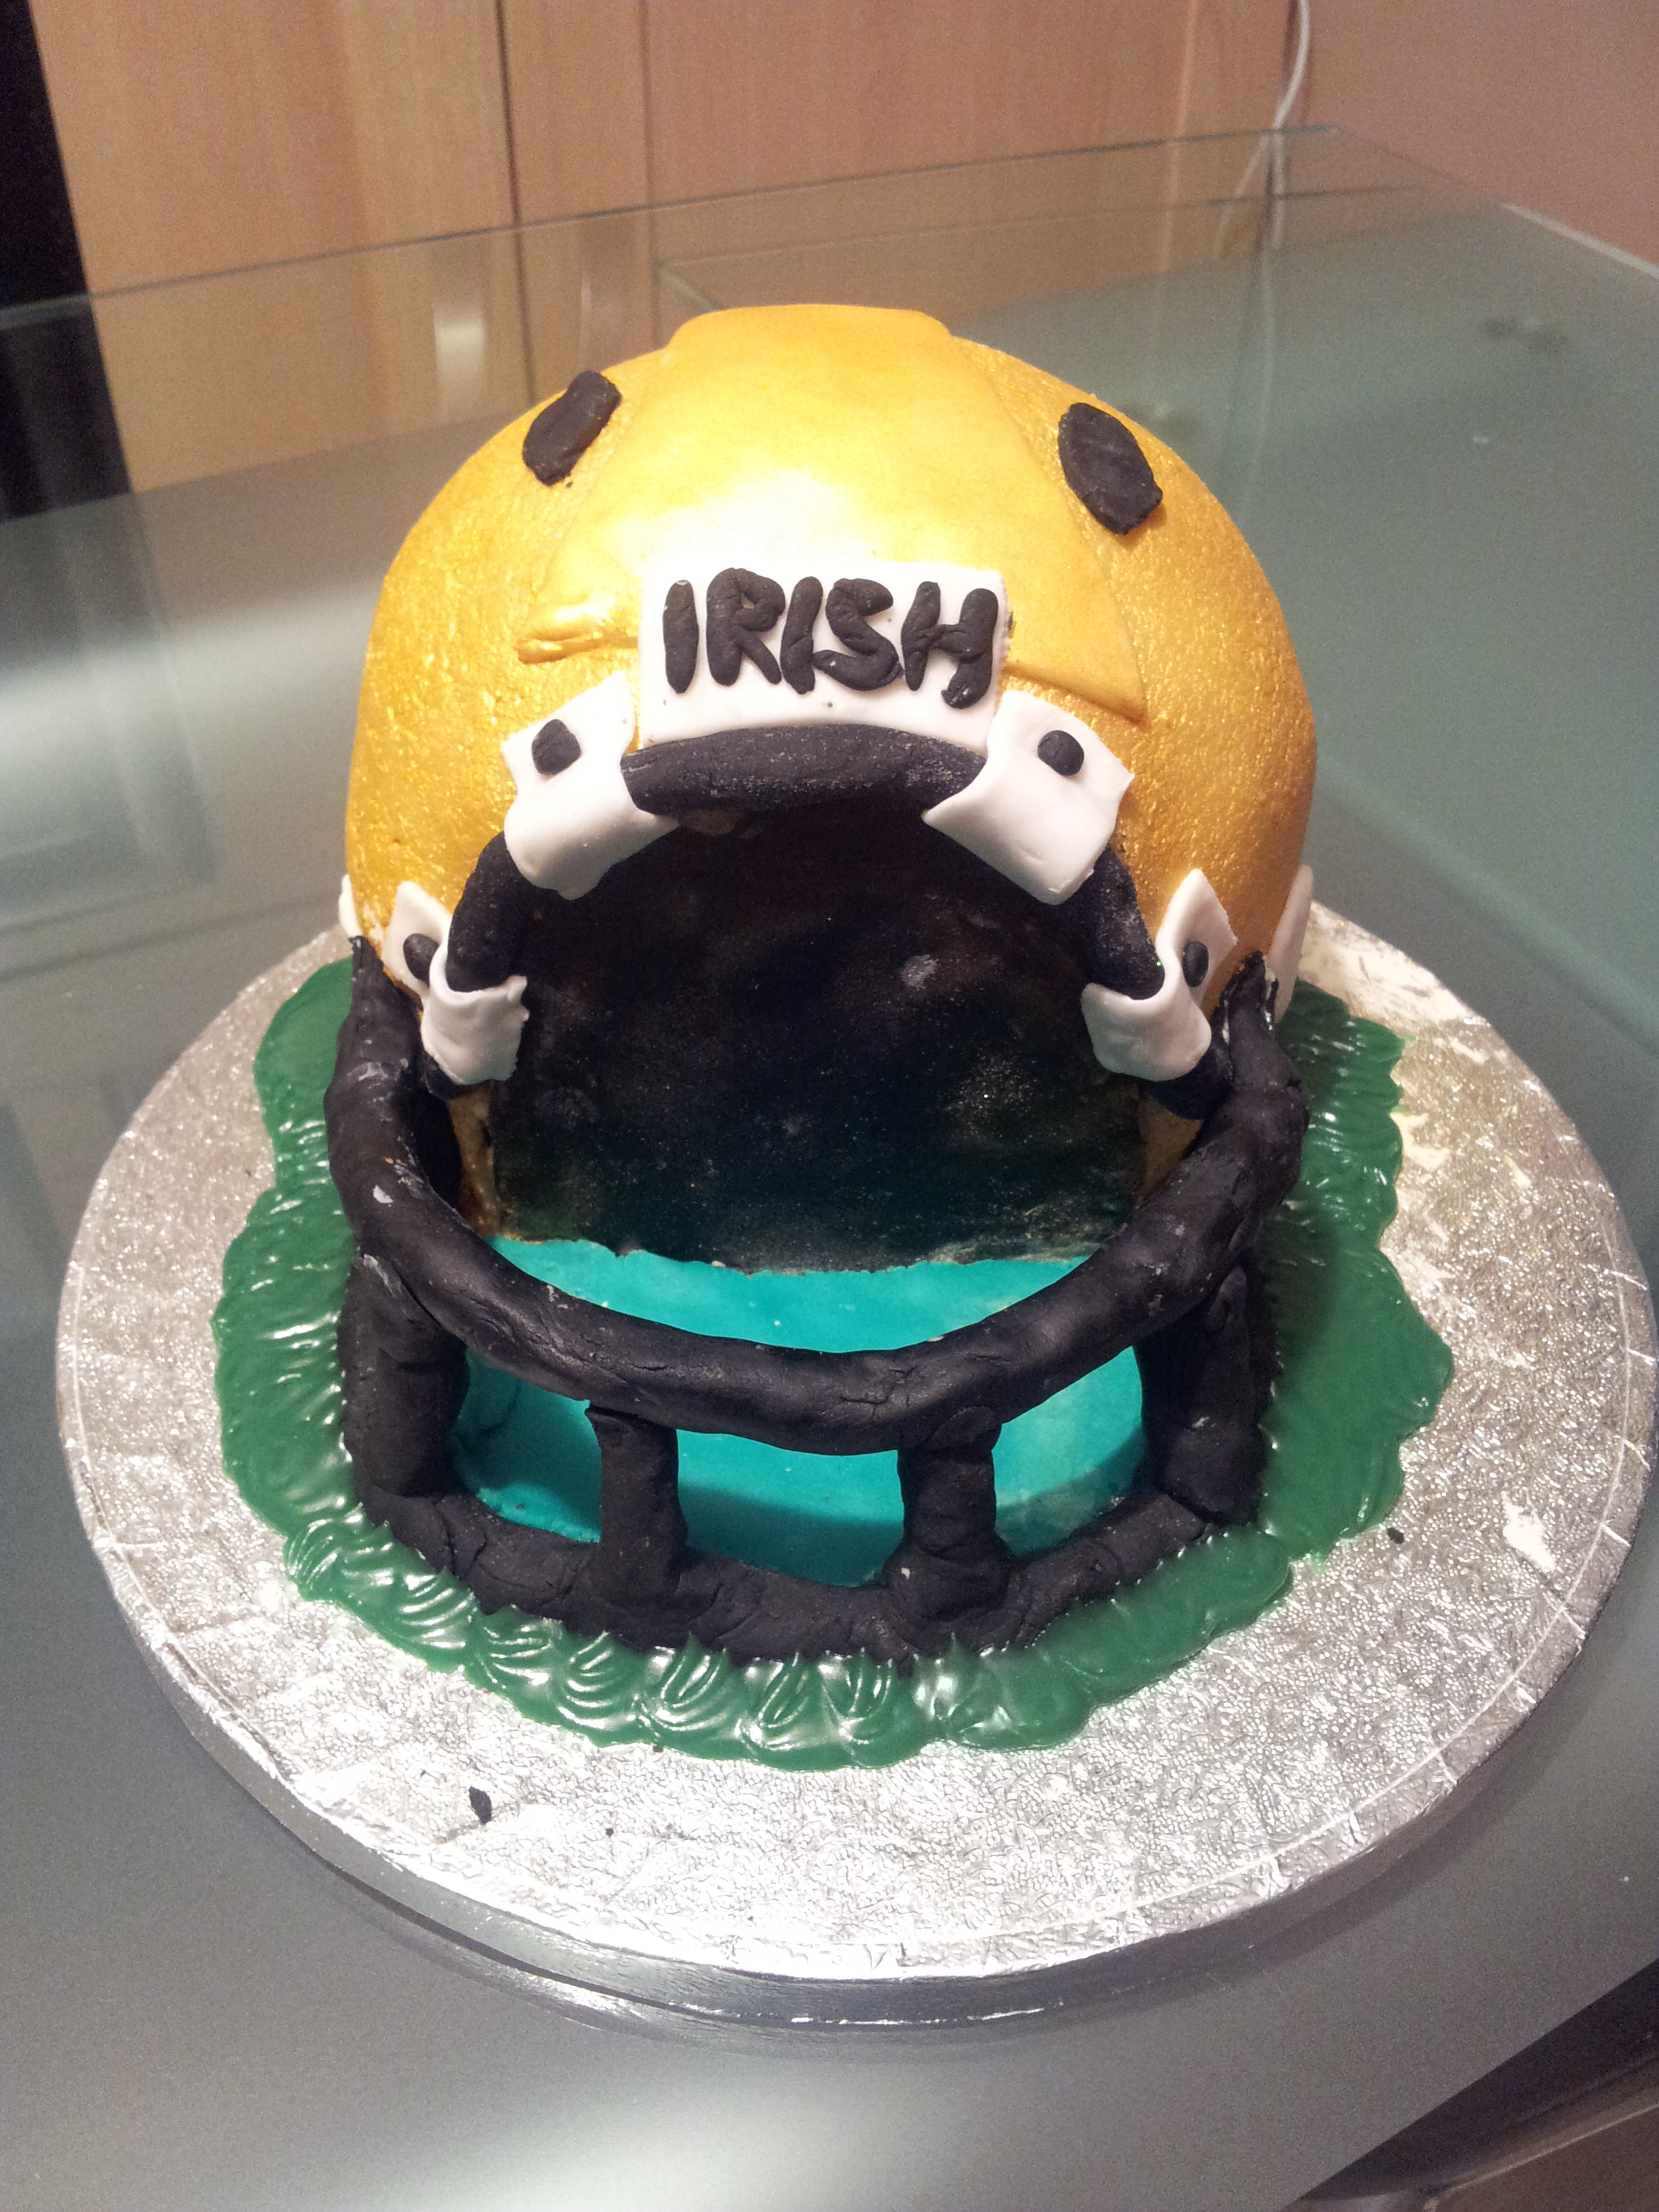
Now the thing that gave me the absolute most trouble was the face guard. I couldn’t for the life of me think how I could make fondant keep up straight to make the cage look! I tried straws, tooth picks, pipe cleaners but nothing wasworking… Until I thought of foil. Yes foil! So you make it look like a long tube and then cover it in black fondant. It balances perfectly on top and is really good!
The it was all about the final details to get this!
 Here’s a look at the little detail in the back:
And a side on view