Check out my newest product on my site… Cookies and Cream cupcakes! They have Oreo cookies within the batter and at the base of the cupcake. mhmmmmm absolutely delicious!!


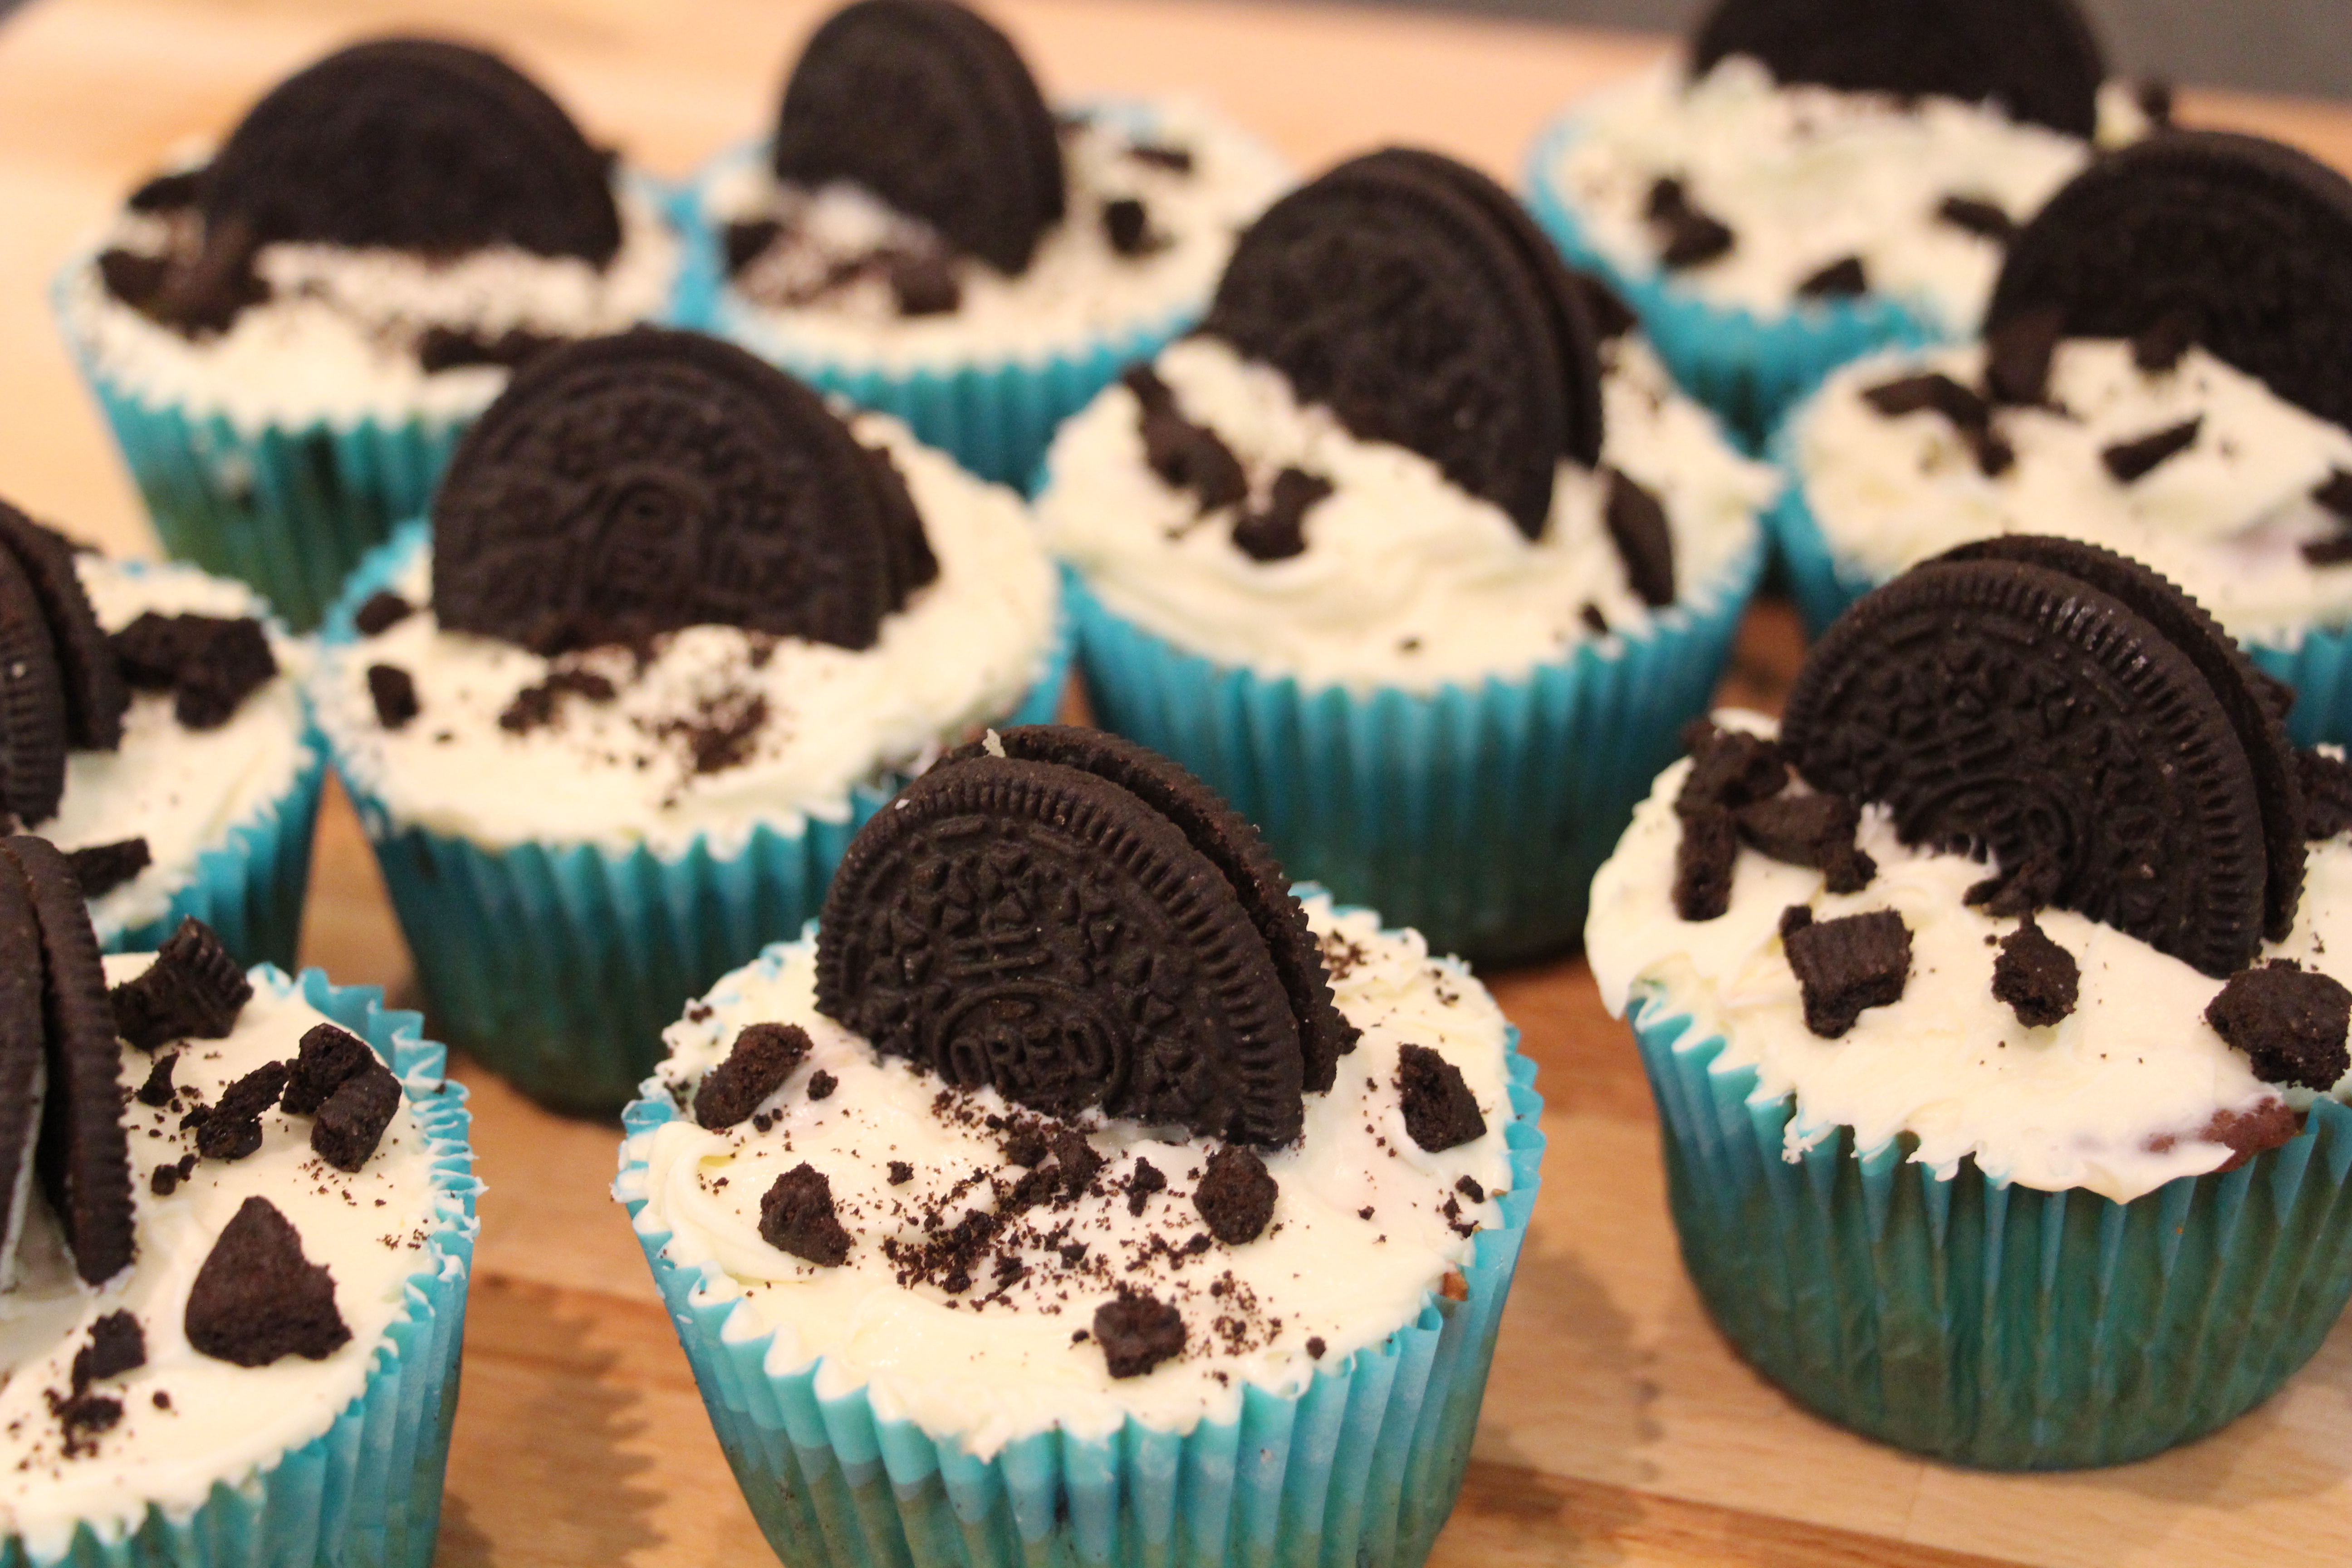

Check out my newest product on my site… Cookies and Cream cupcakes! They have Oreo cookies within the batter and at the base of the cupcake. mhmmmmm absolutely delicious!!
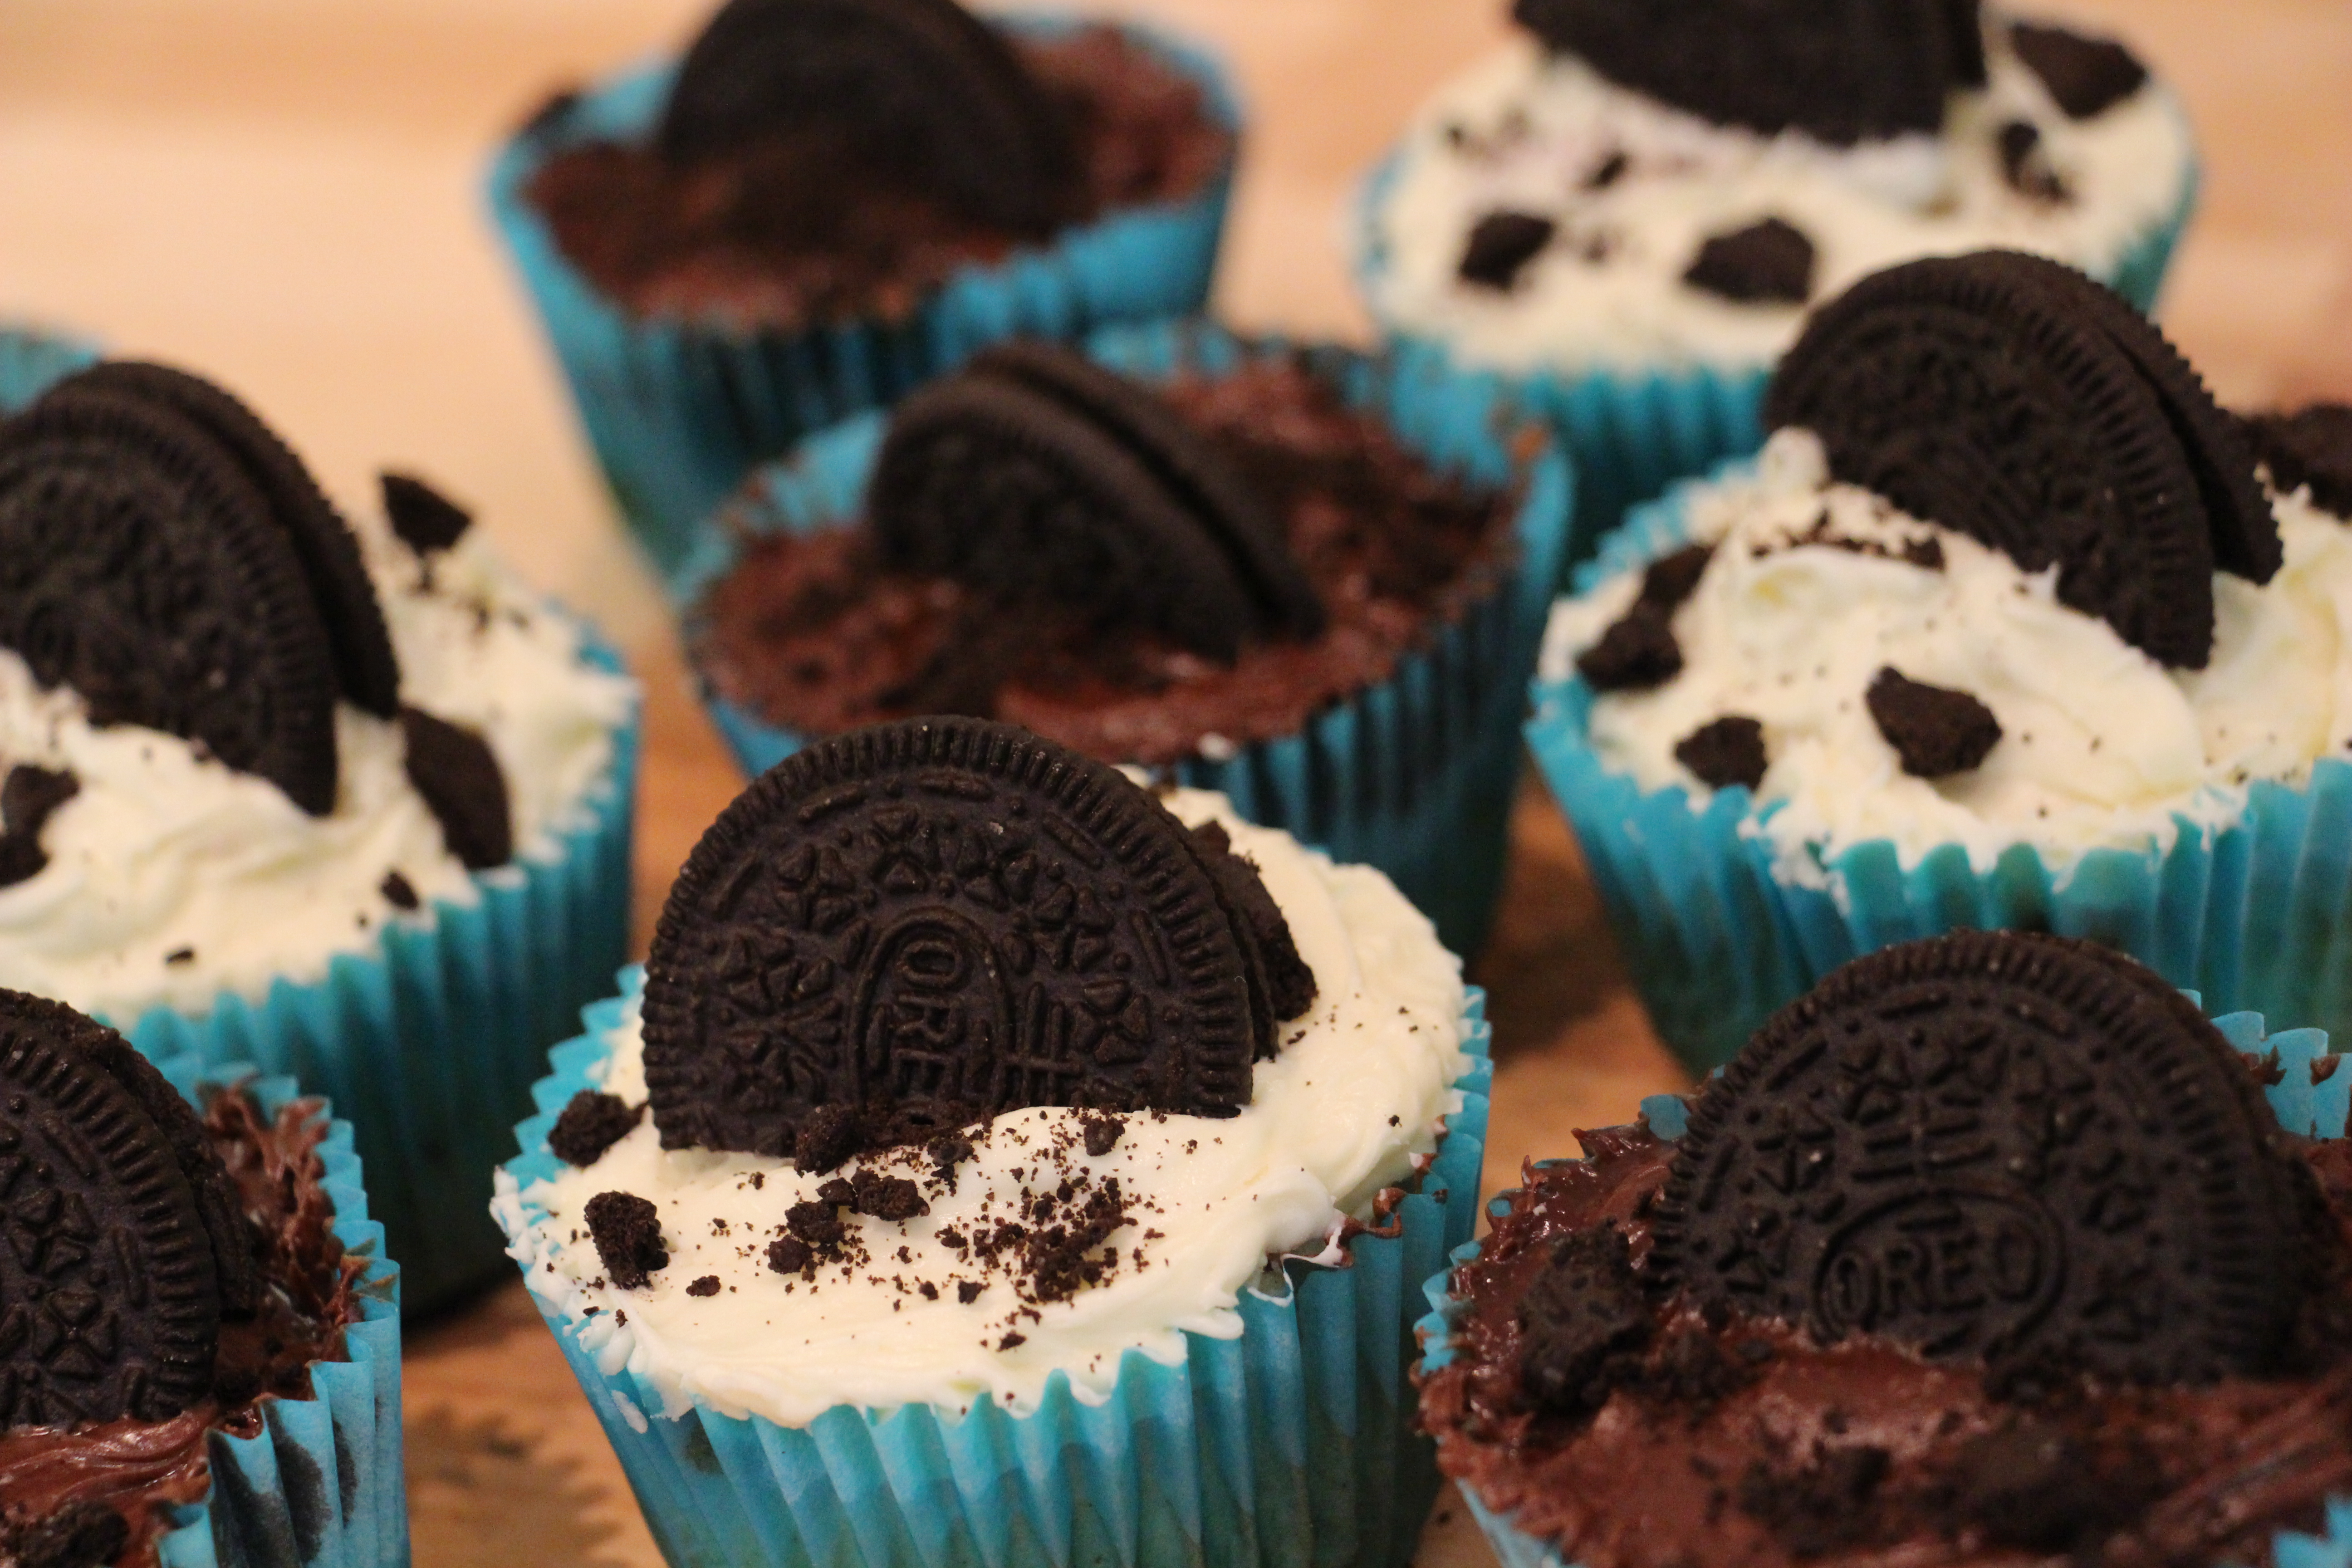
So… It was my friend’s 30th Birthday at work and I was trying to think of what I could make her that would be a surprise. Then I remembered that she loved my cookies and my chocolate cake so I thought I would combine the two!
I made these babies which have a cookie at the bottom of the cup, chocolate cake in the middle and a little circle of cookie in the middle. I’ve never done this before but my recipe worked perfectly! So the cupcakes texture was really unique, it had a crunch but a soft moist middle. My friend was VERY happy!
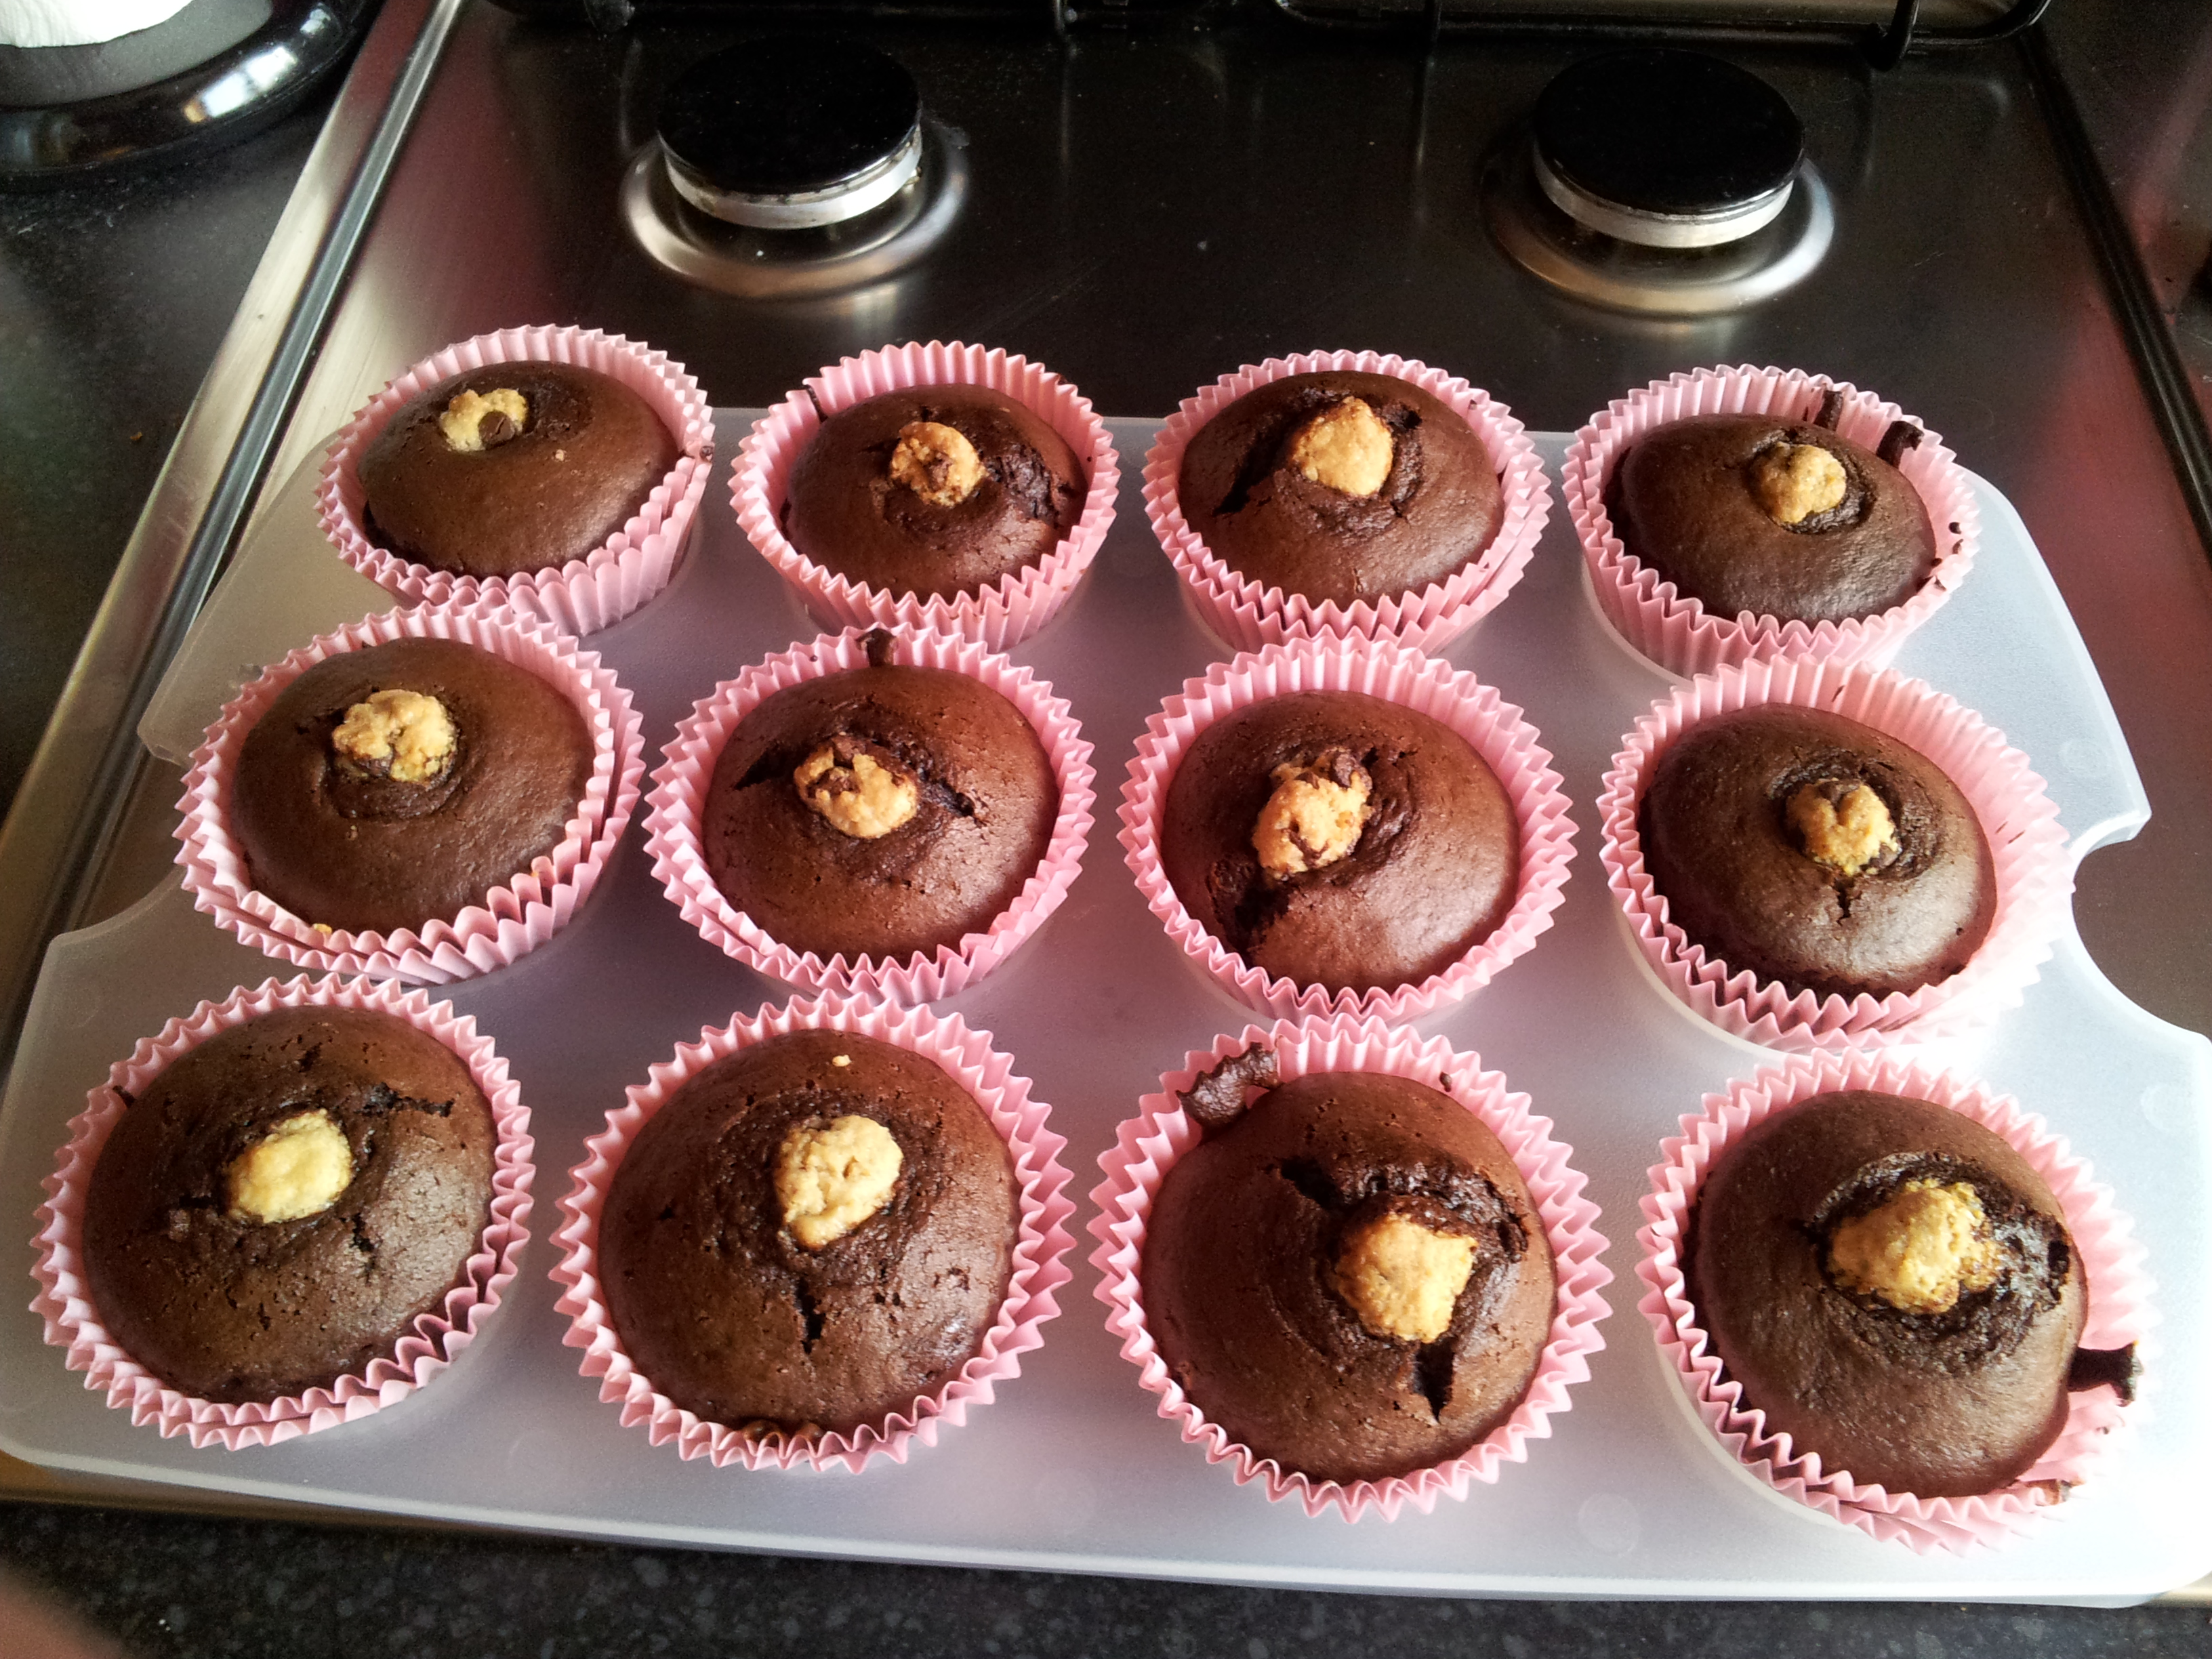
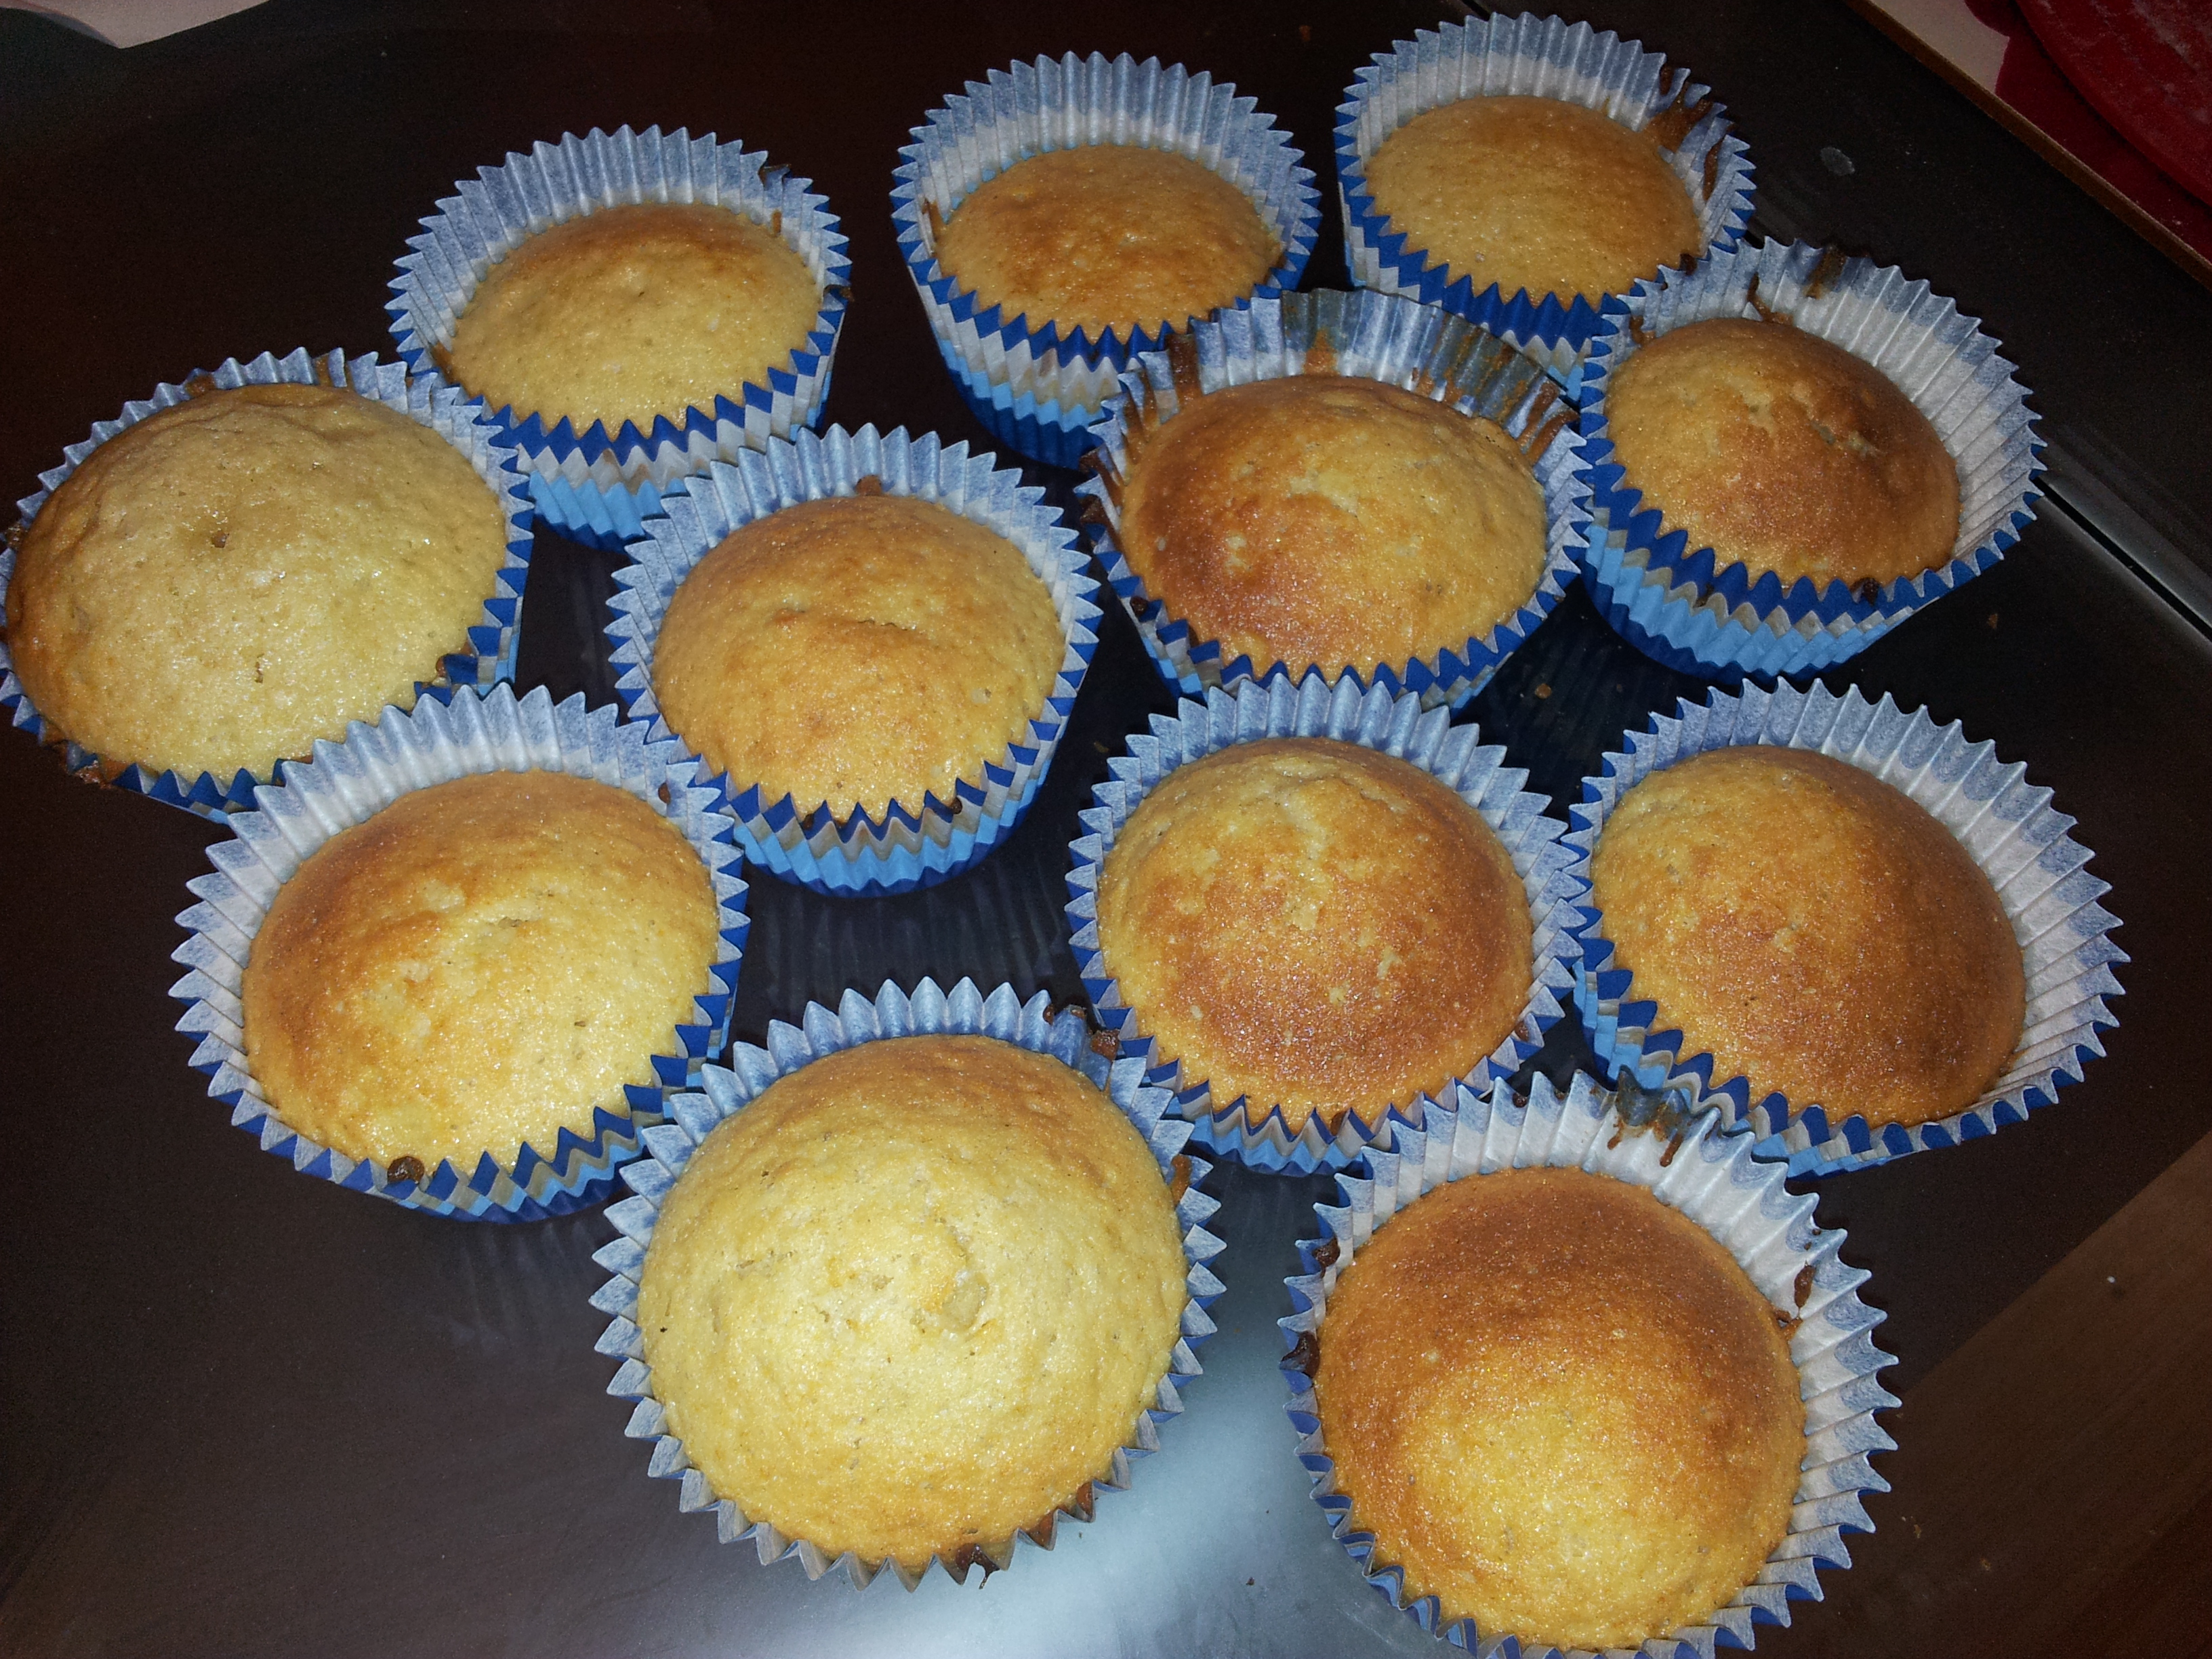
This is what they looked like before I put the vanilla icing with chocolate sprinkles.


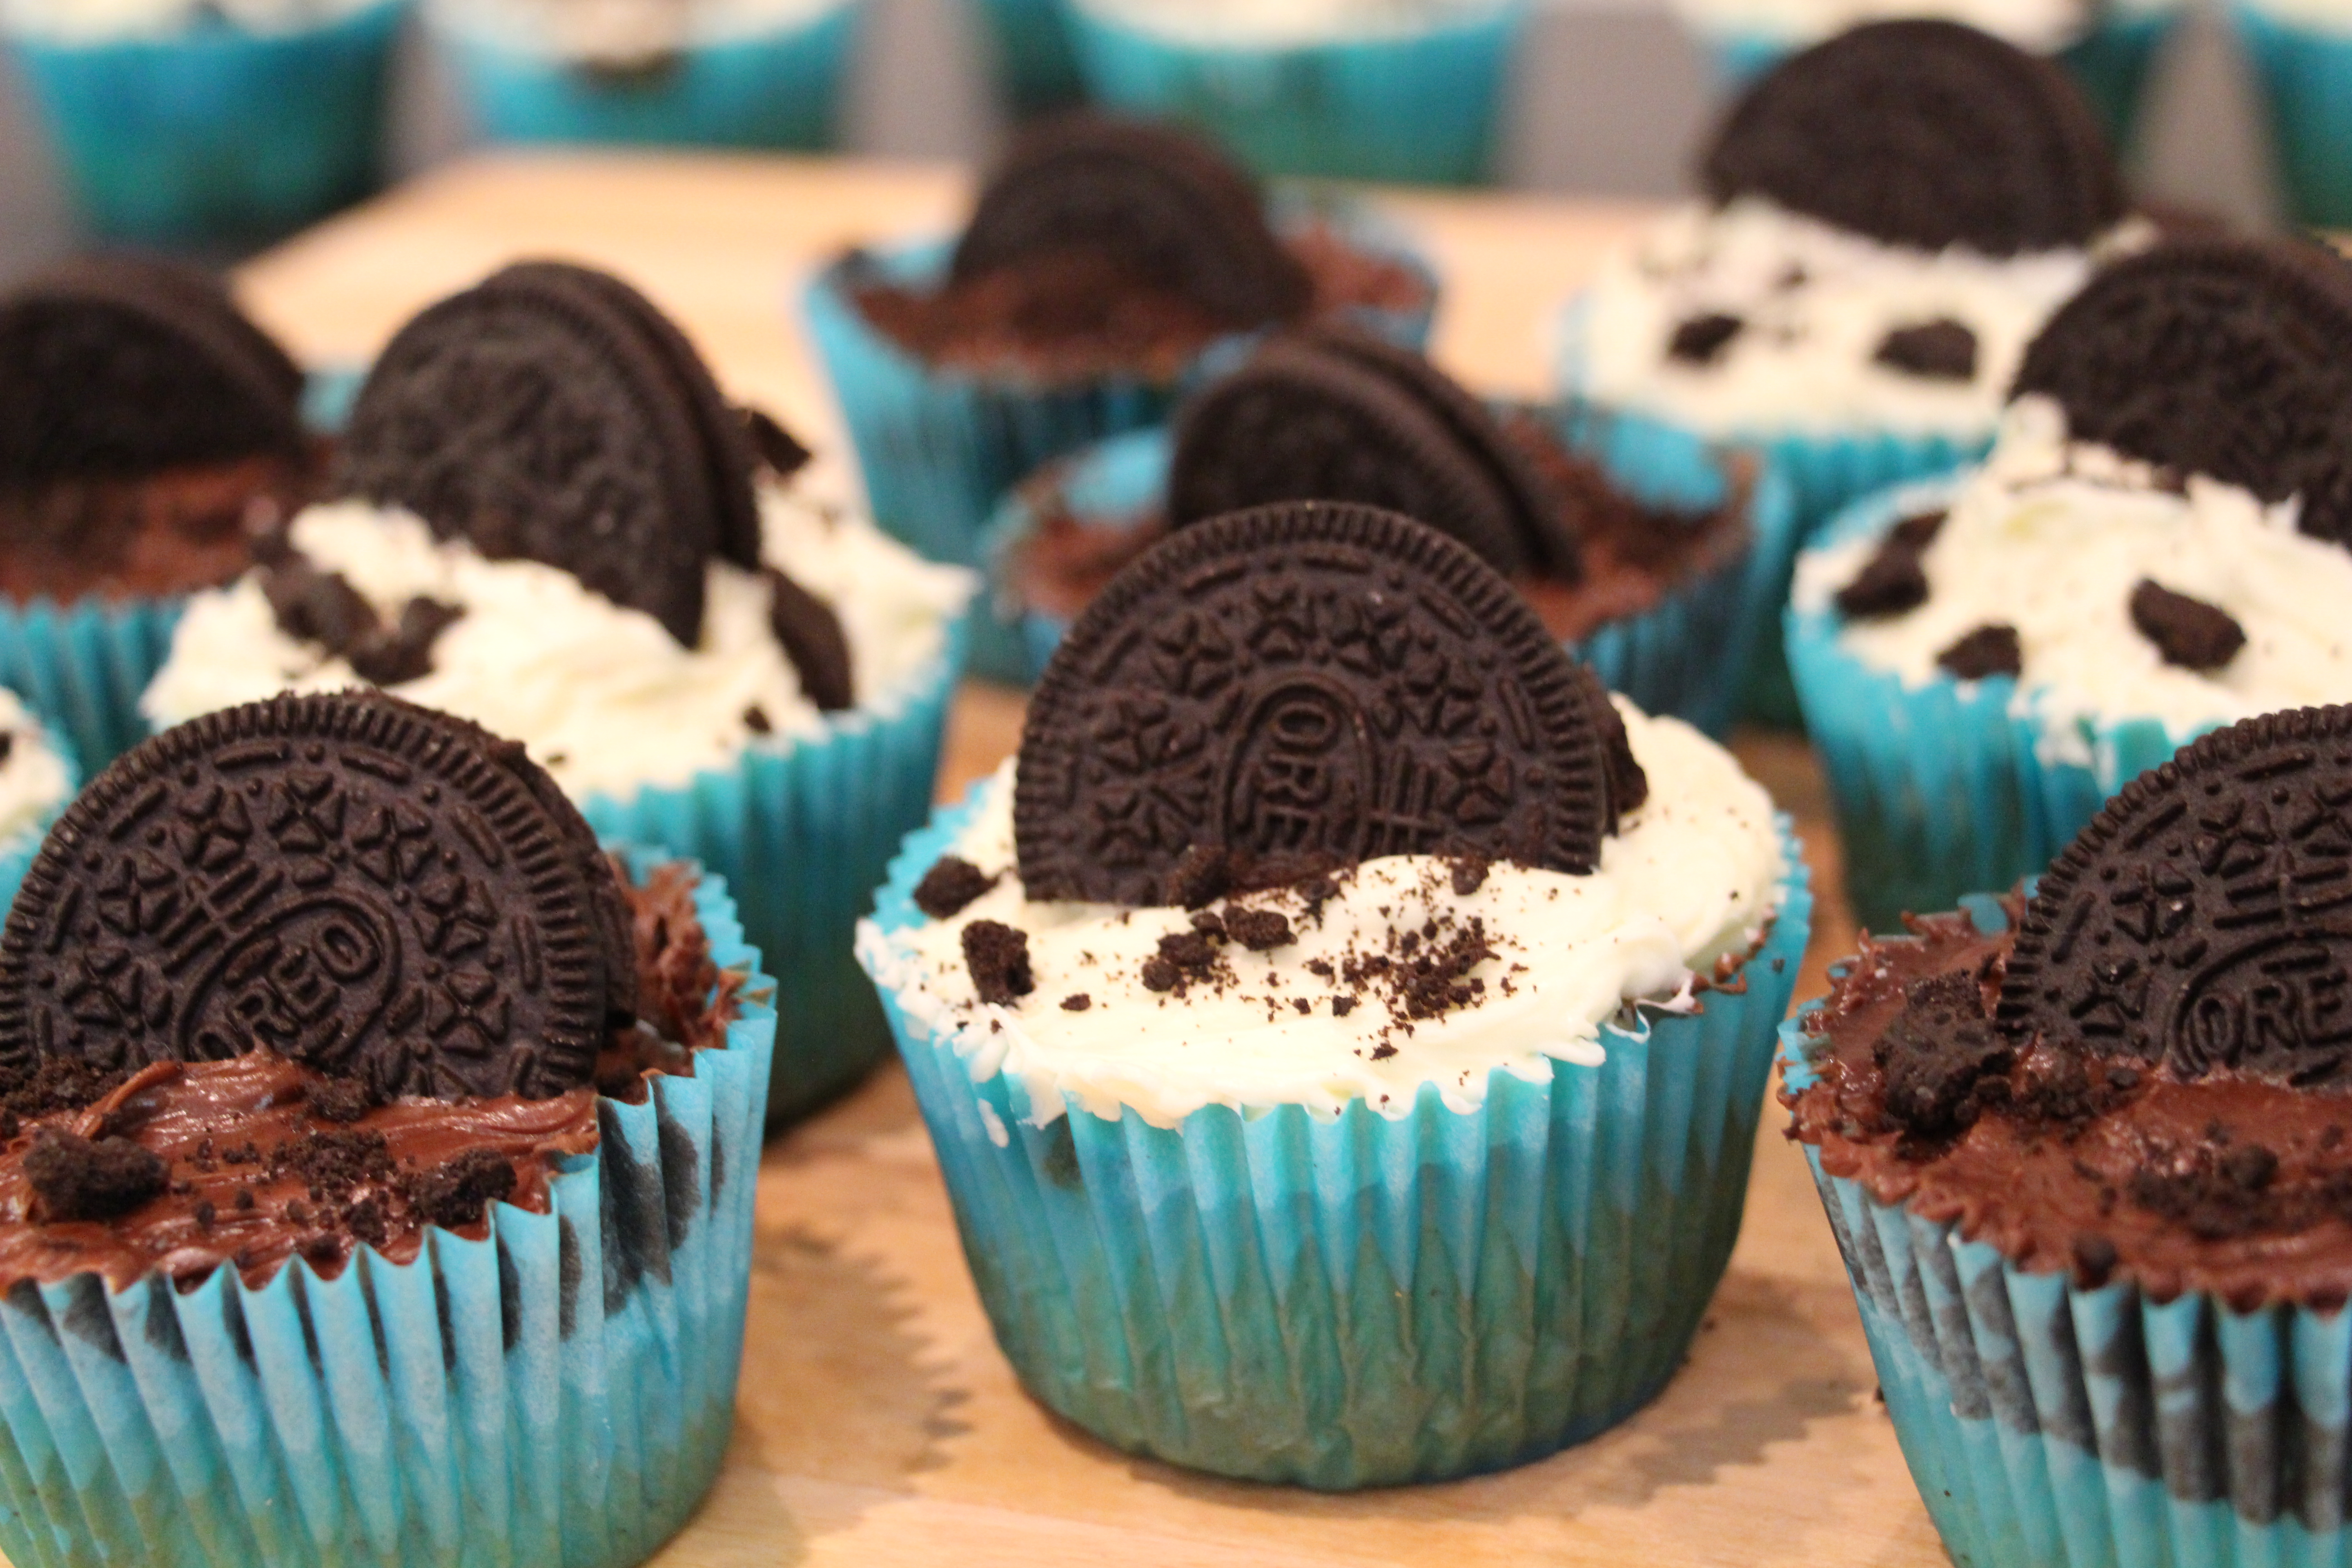
And, the final product!
I made these very simple cupcakes for a baby shower and I think they are so cute! First time I’ve used rice paper and I really think they look cute. Only thing I fell on was that the buttercream icing dried so quickly, I had to use more to stick them on!

Here are the cupcakes I made before the Pony pictures were put on. They are a mix of chocolate and vanilla cakes and with white, purple and pink icing.
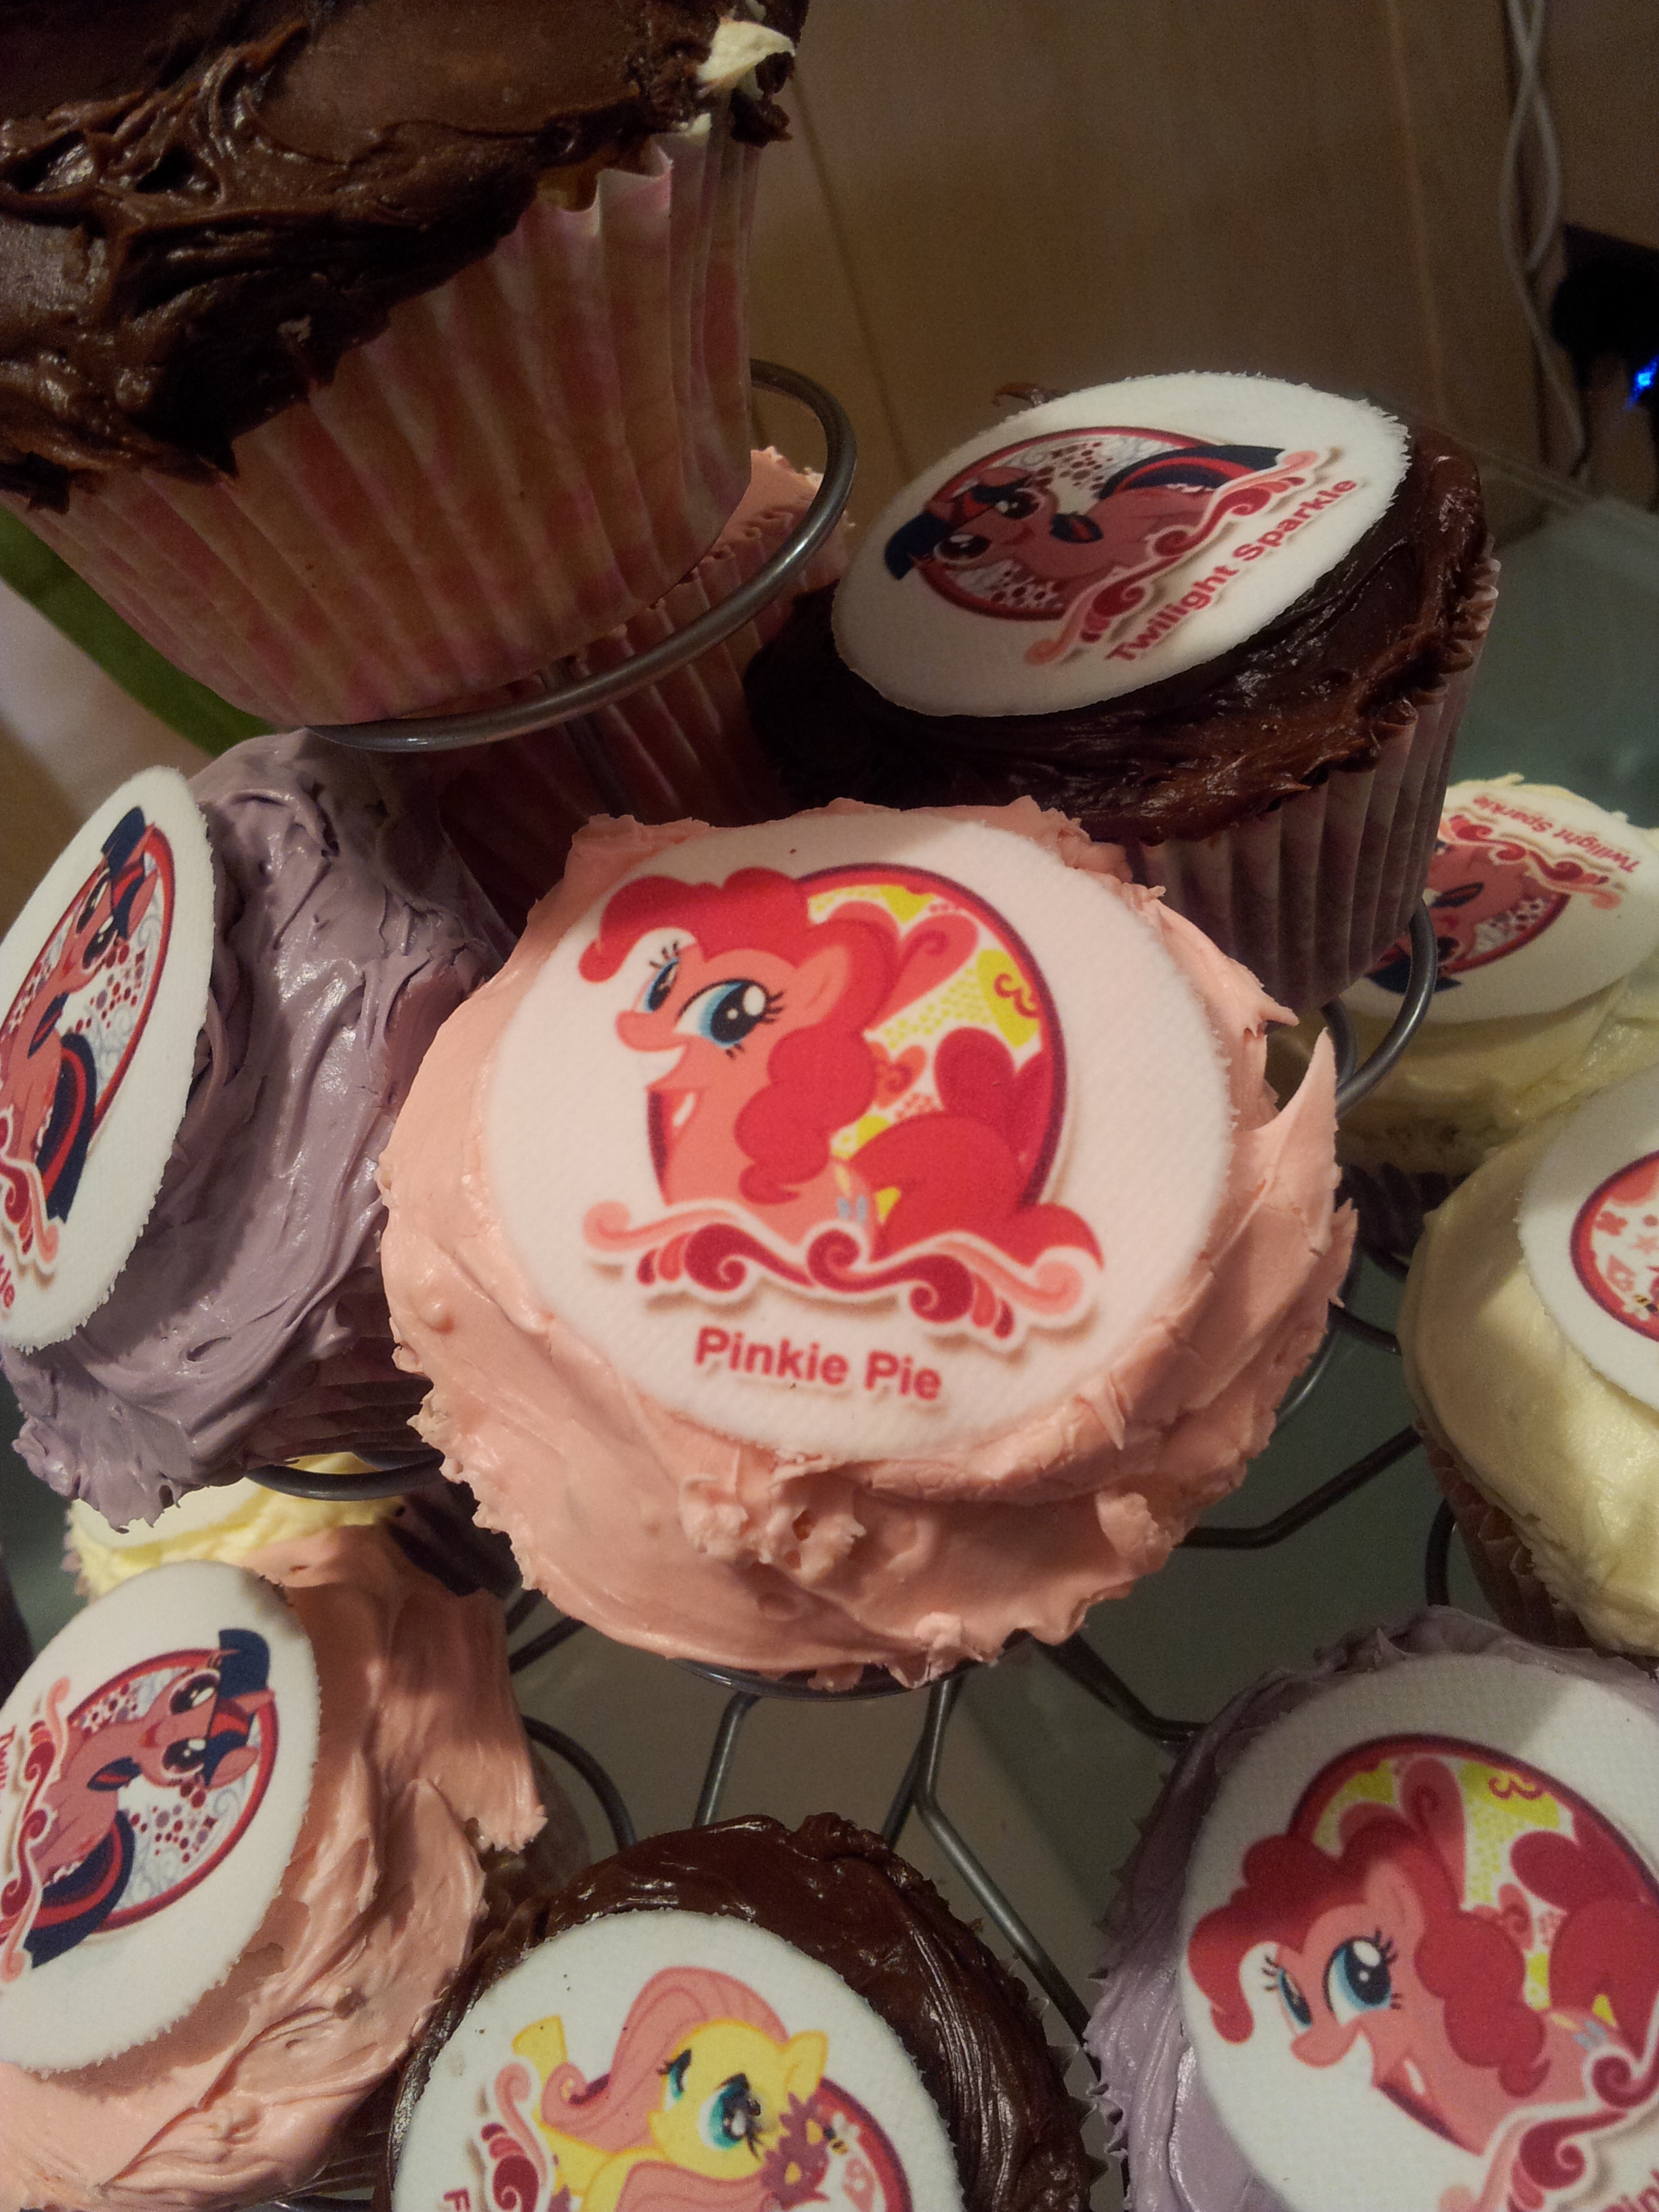
 And now with the rice paper attached to this!
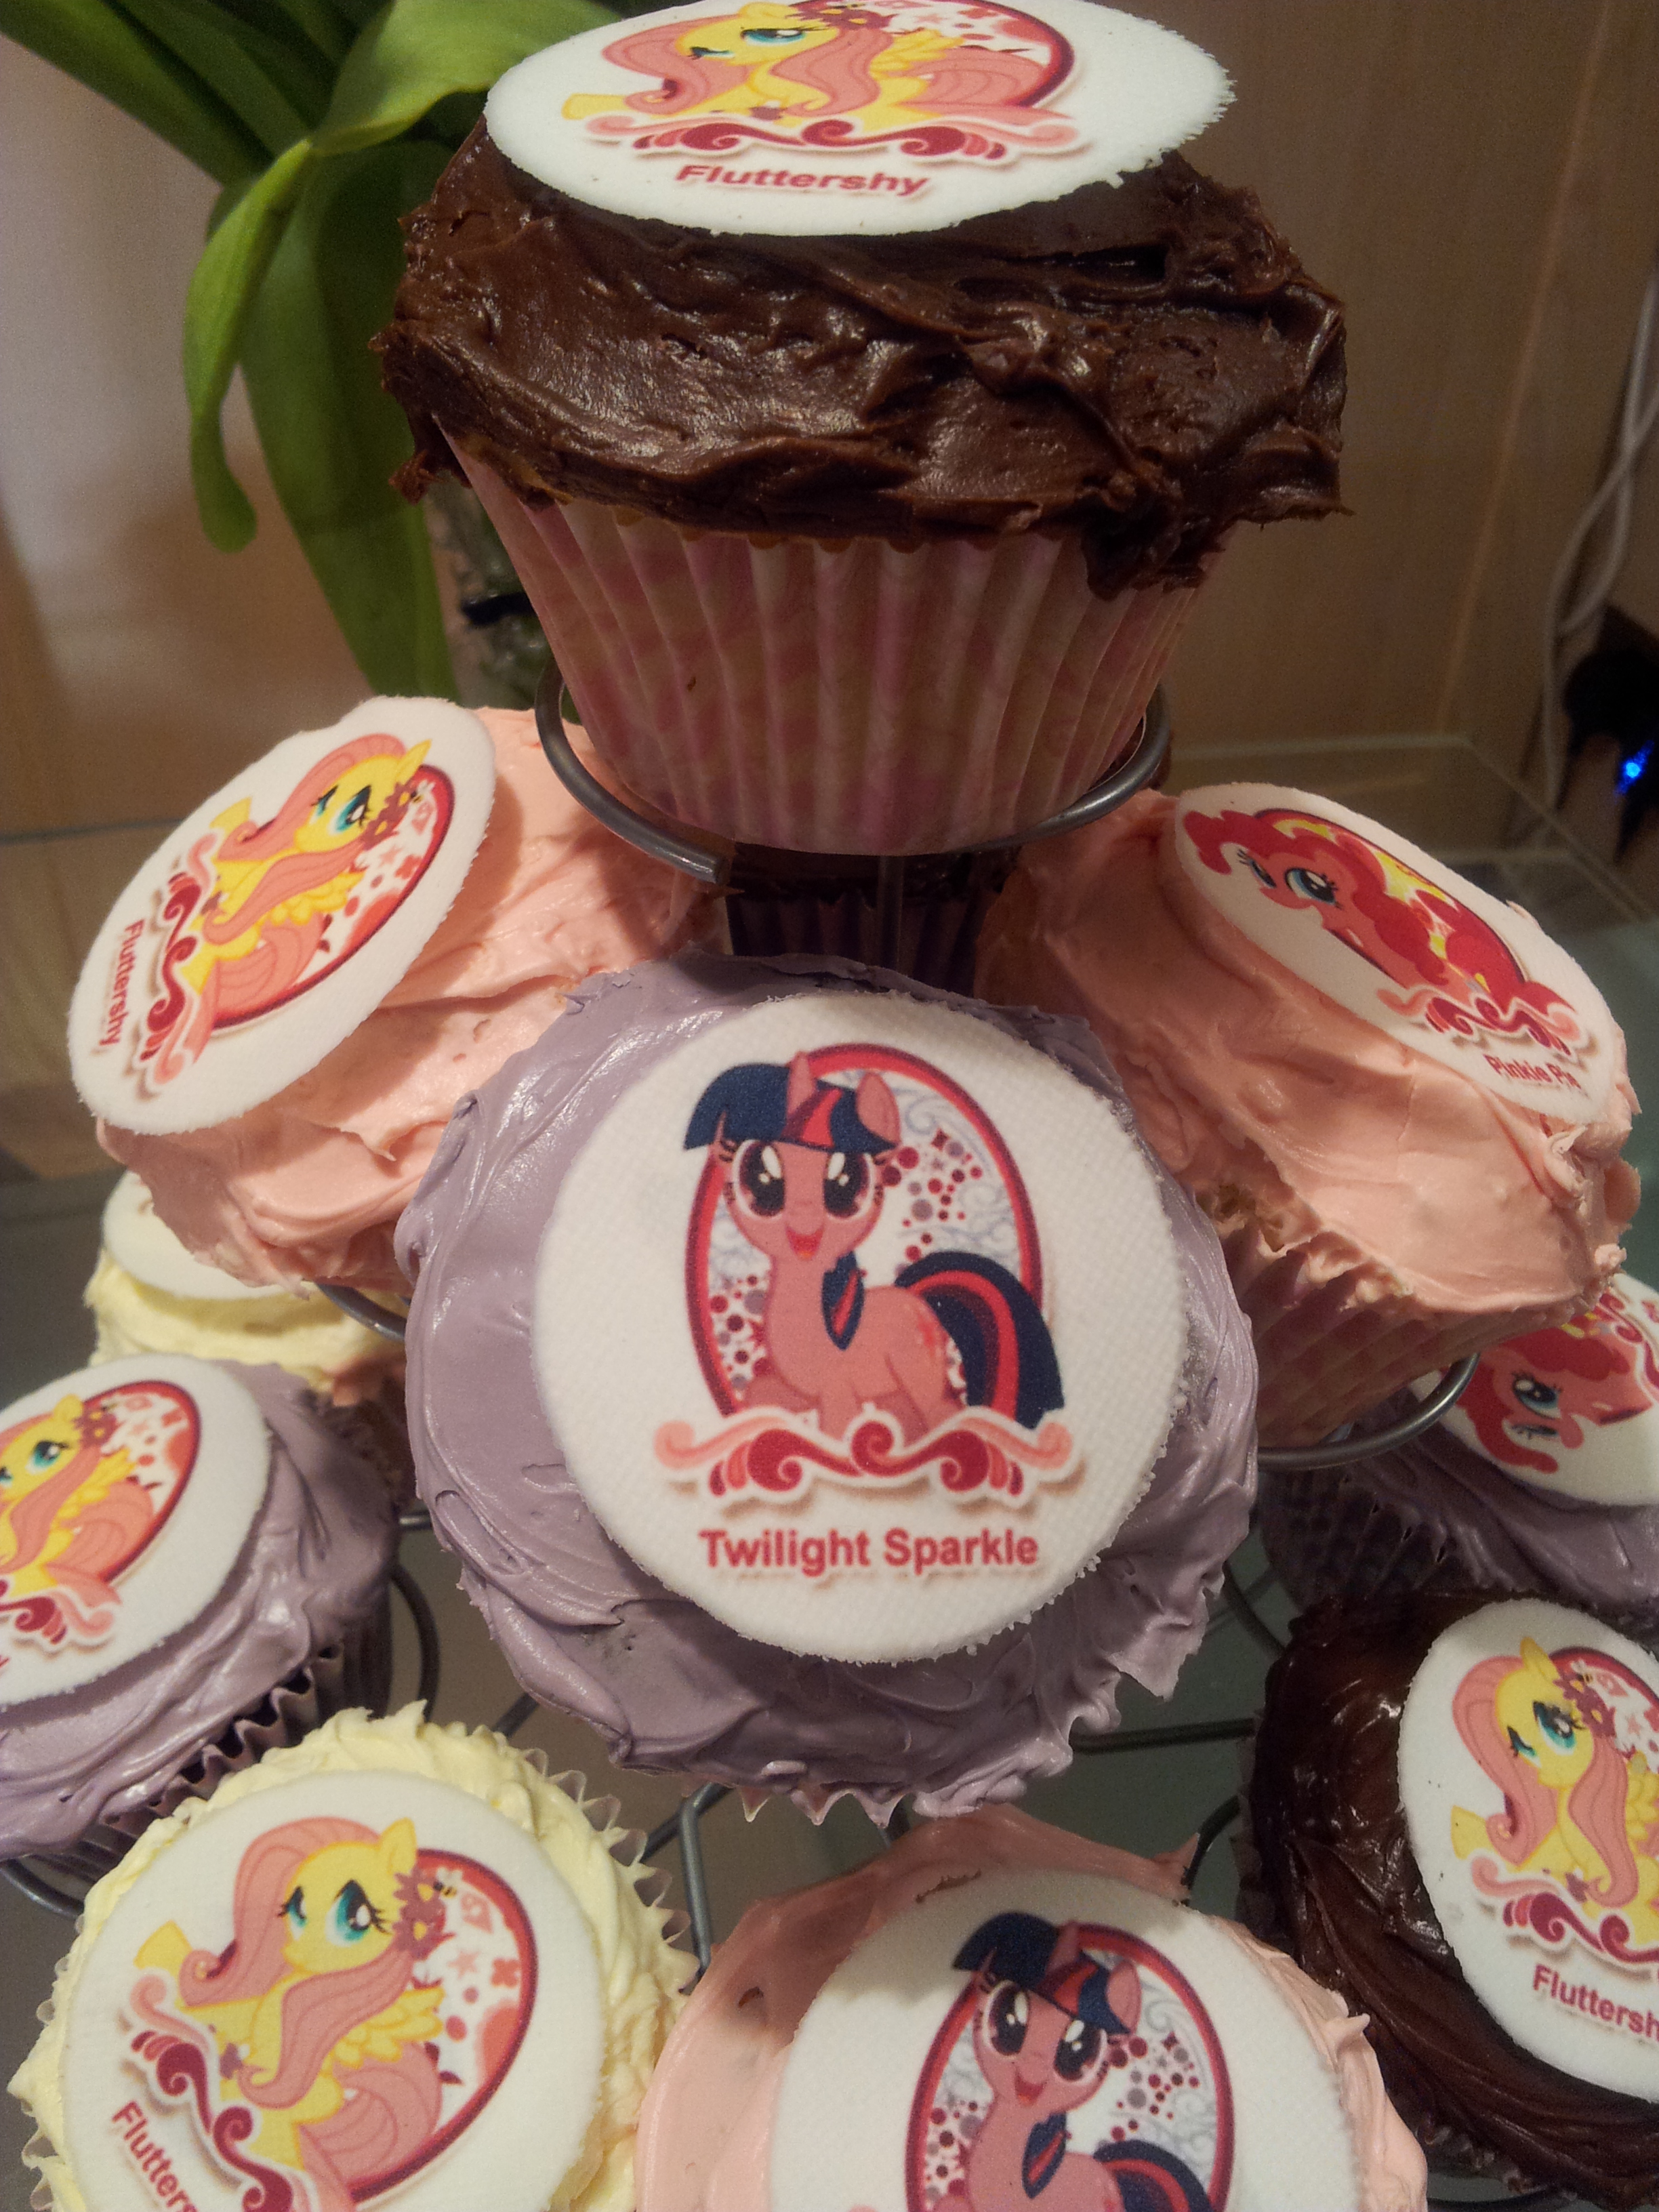
 And I thought I would just put a little picture of what the finished product looked like!! 🙂
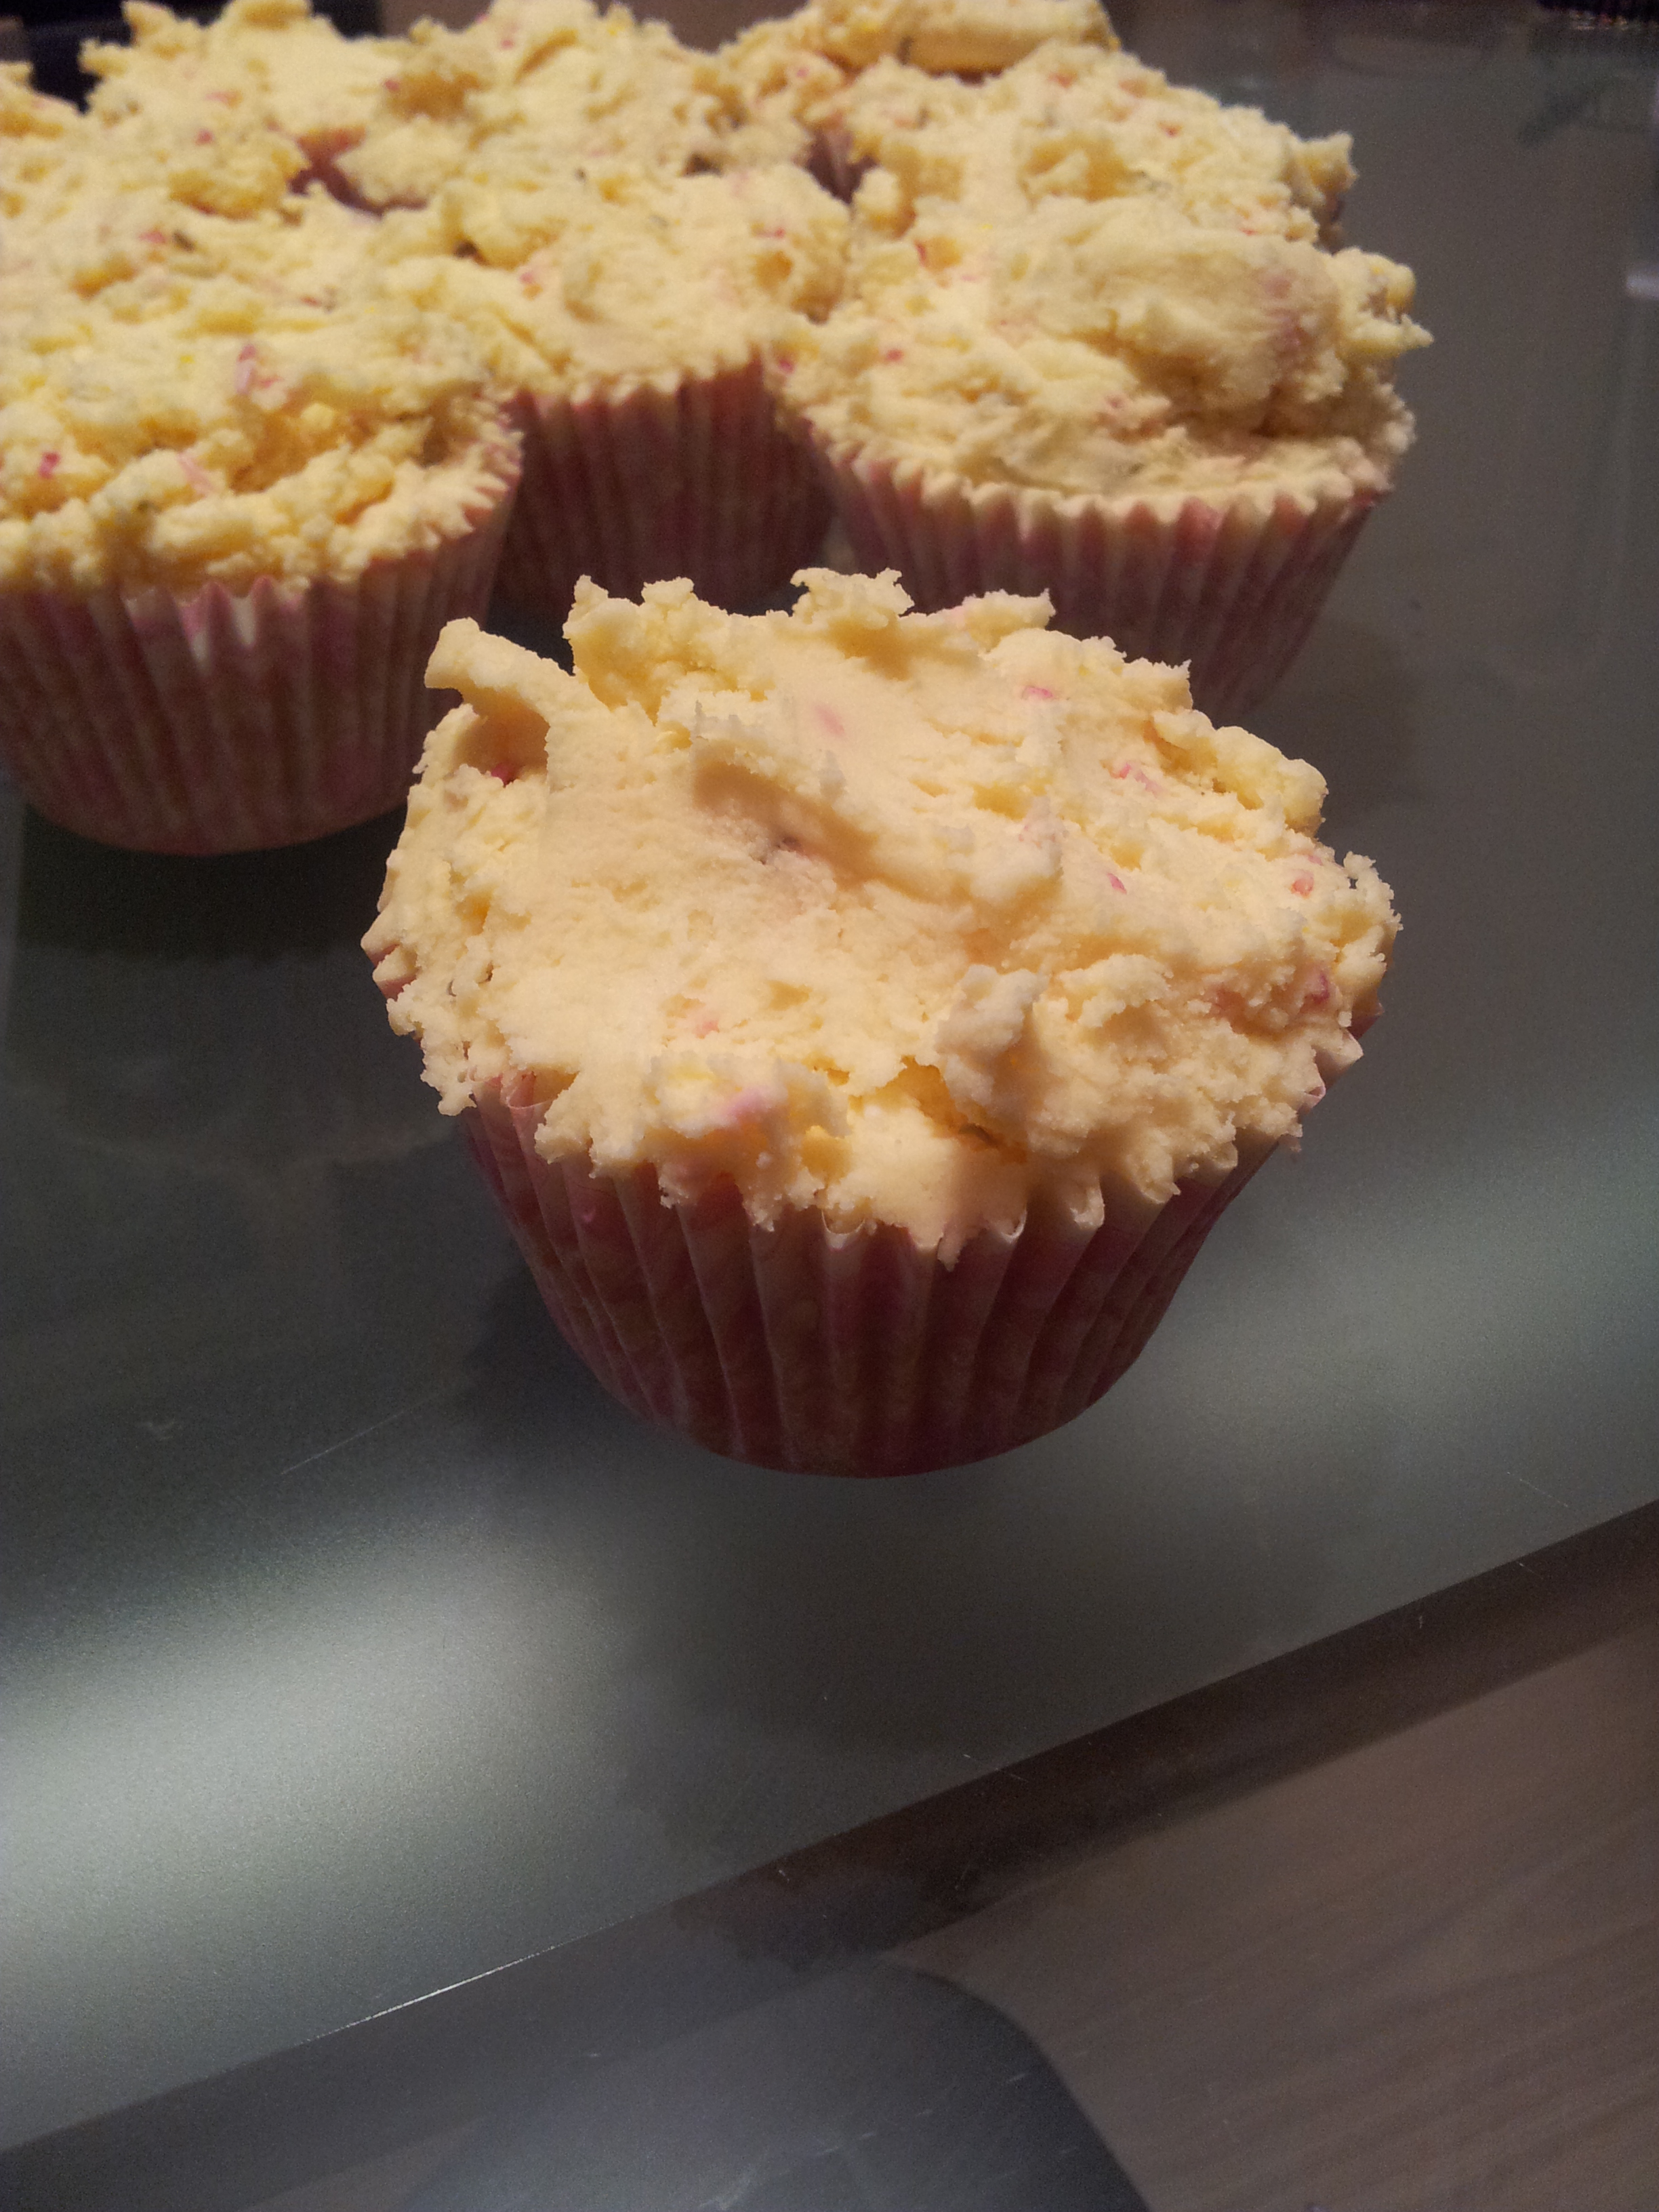
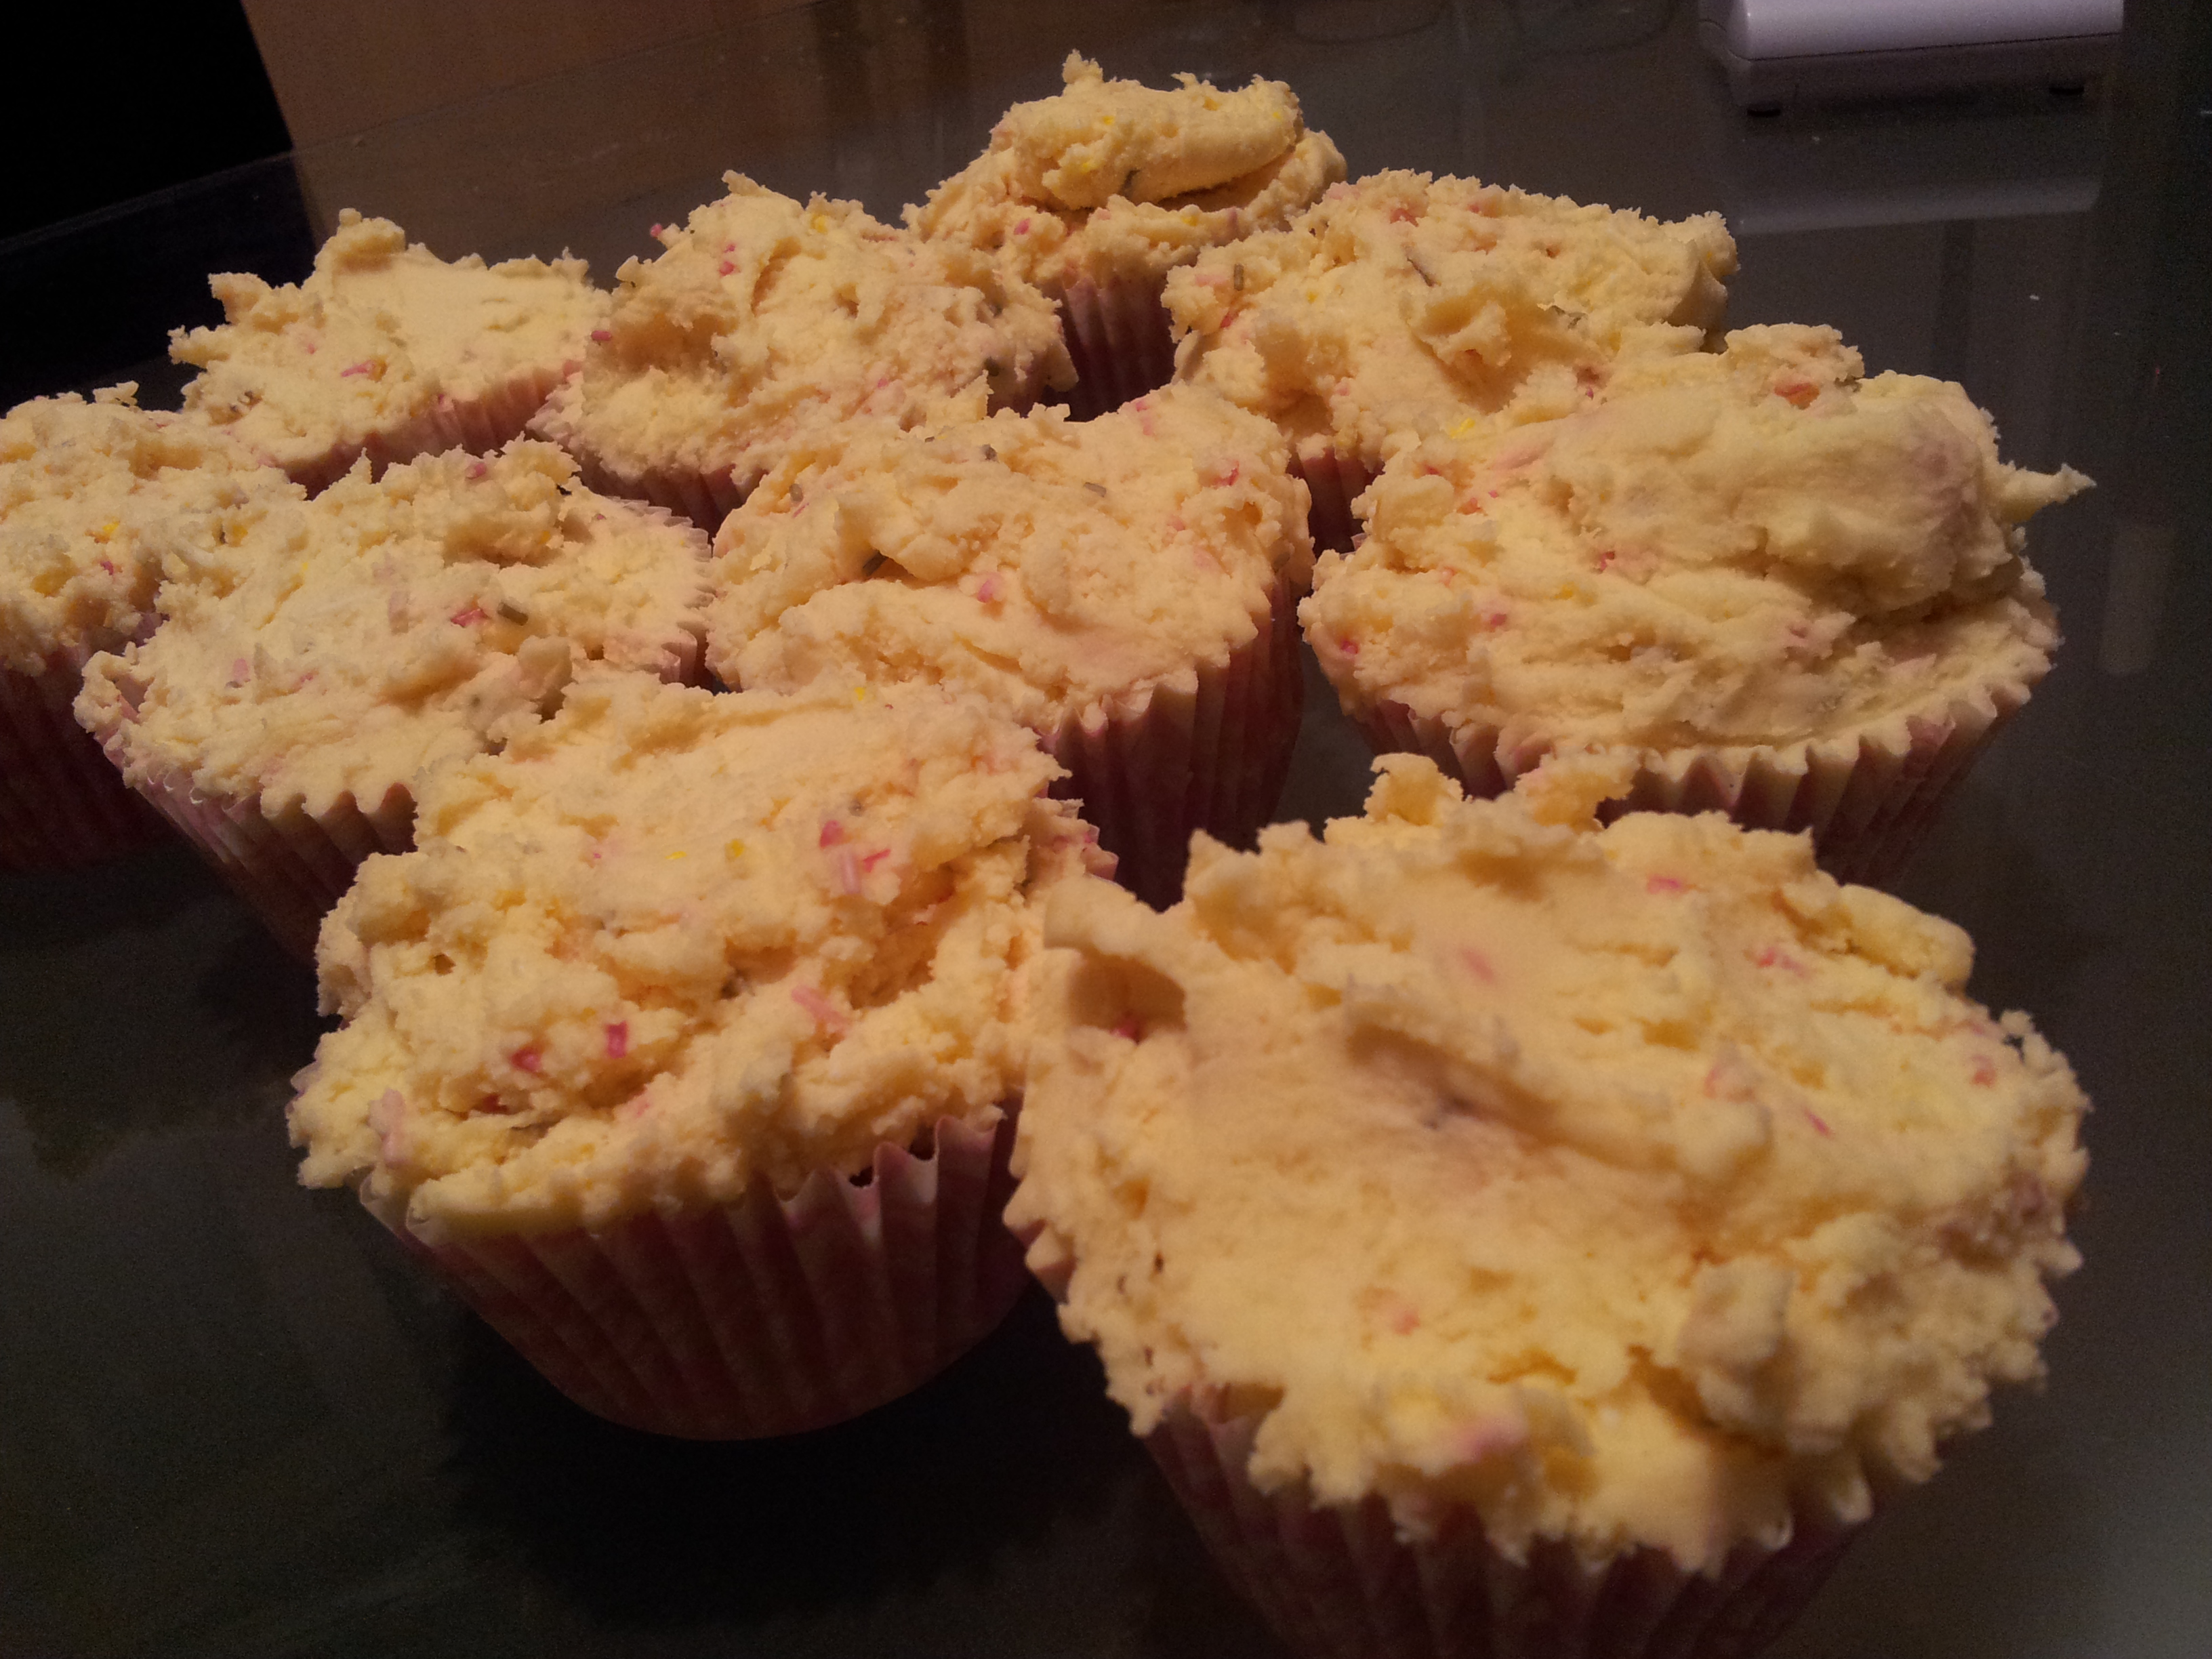
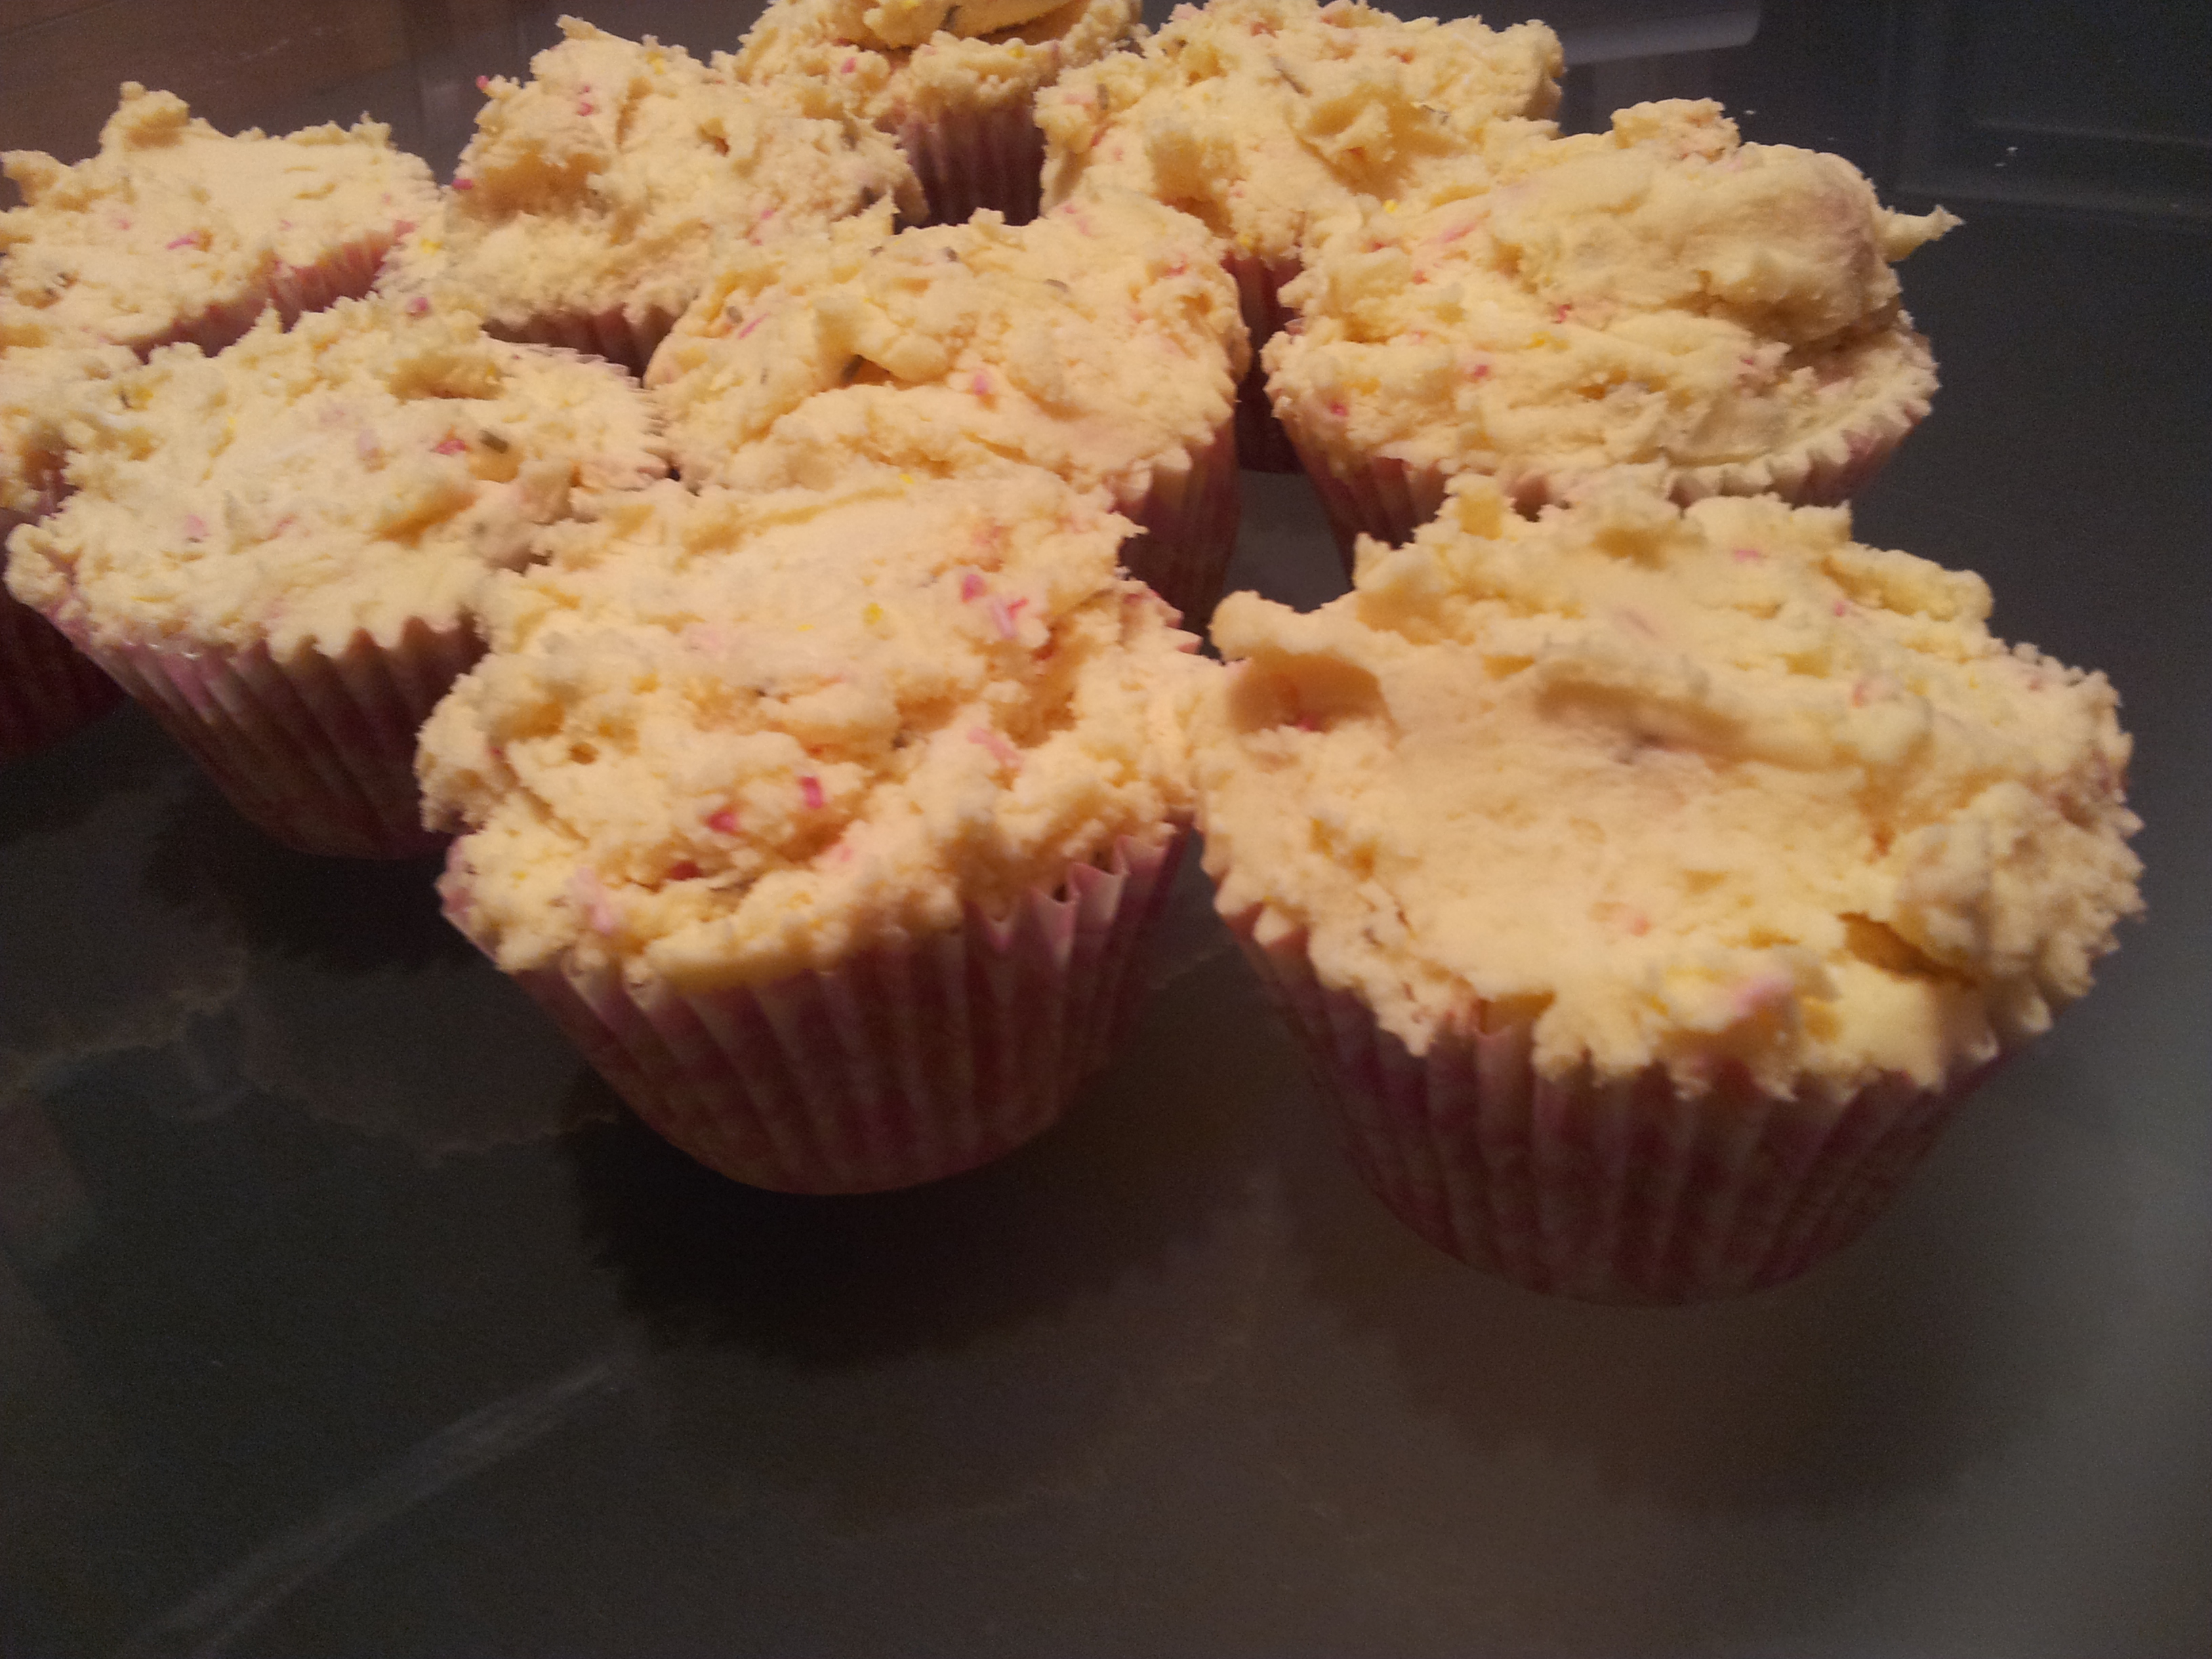
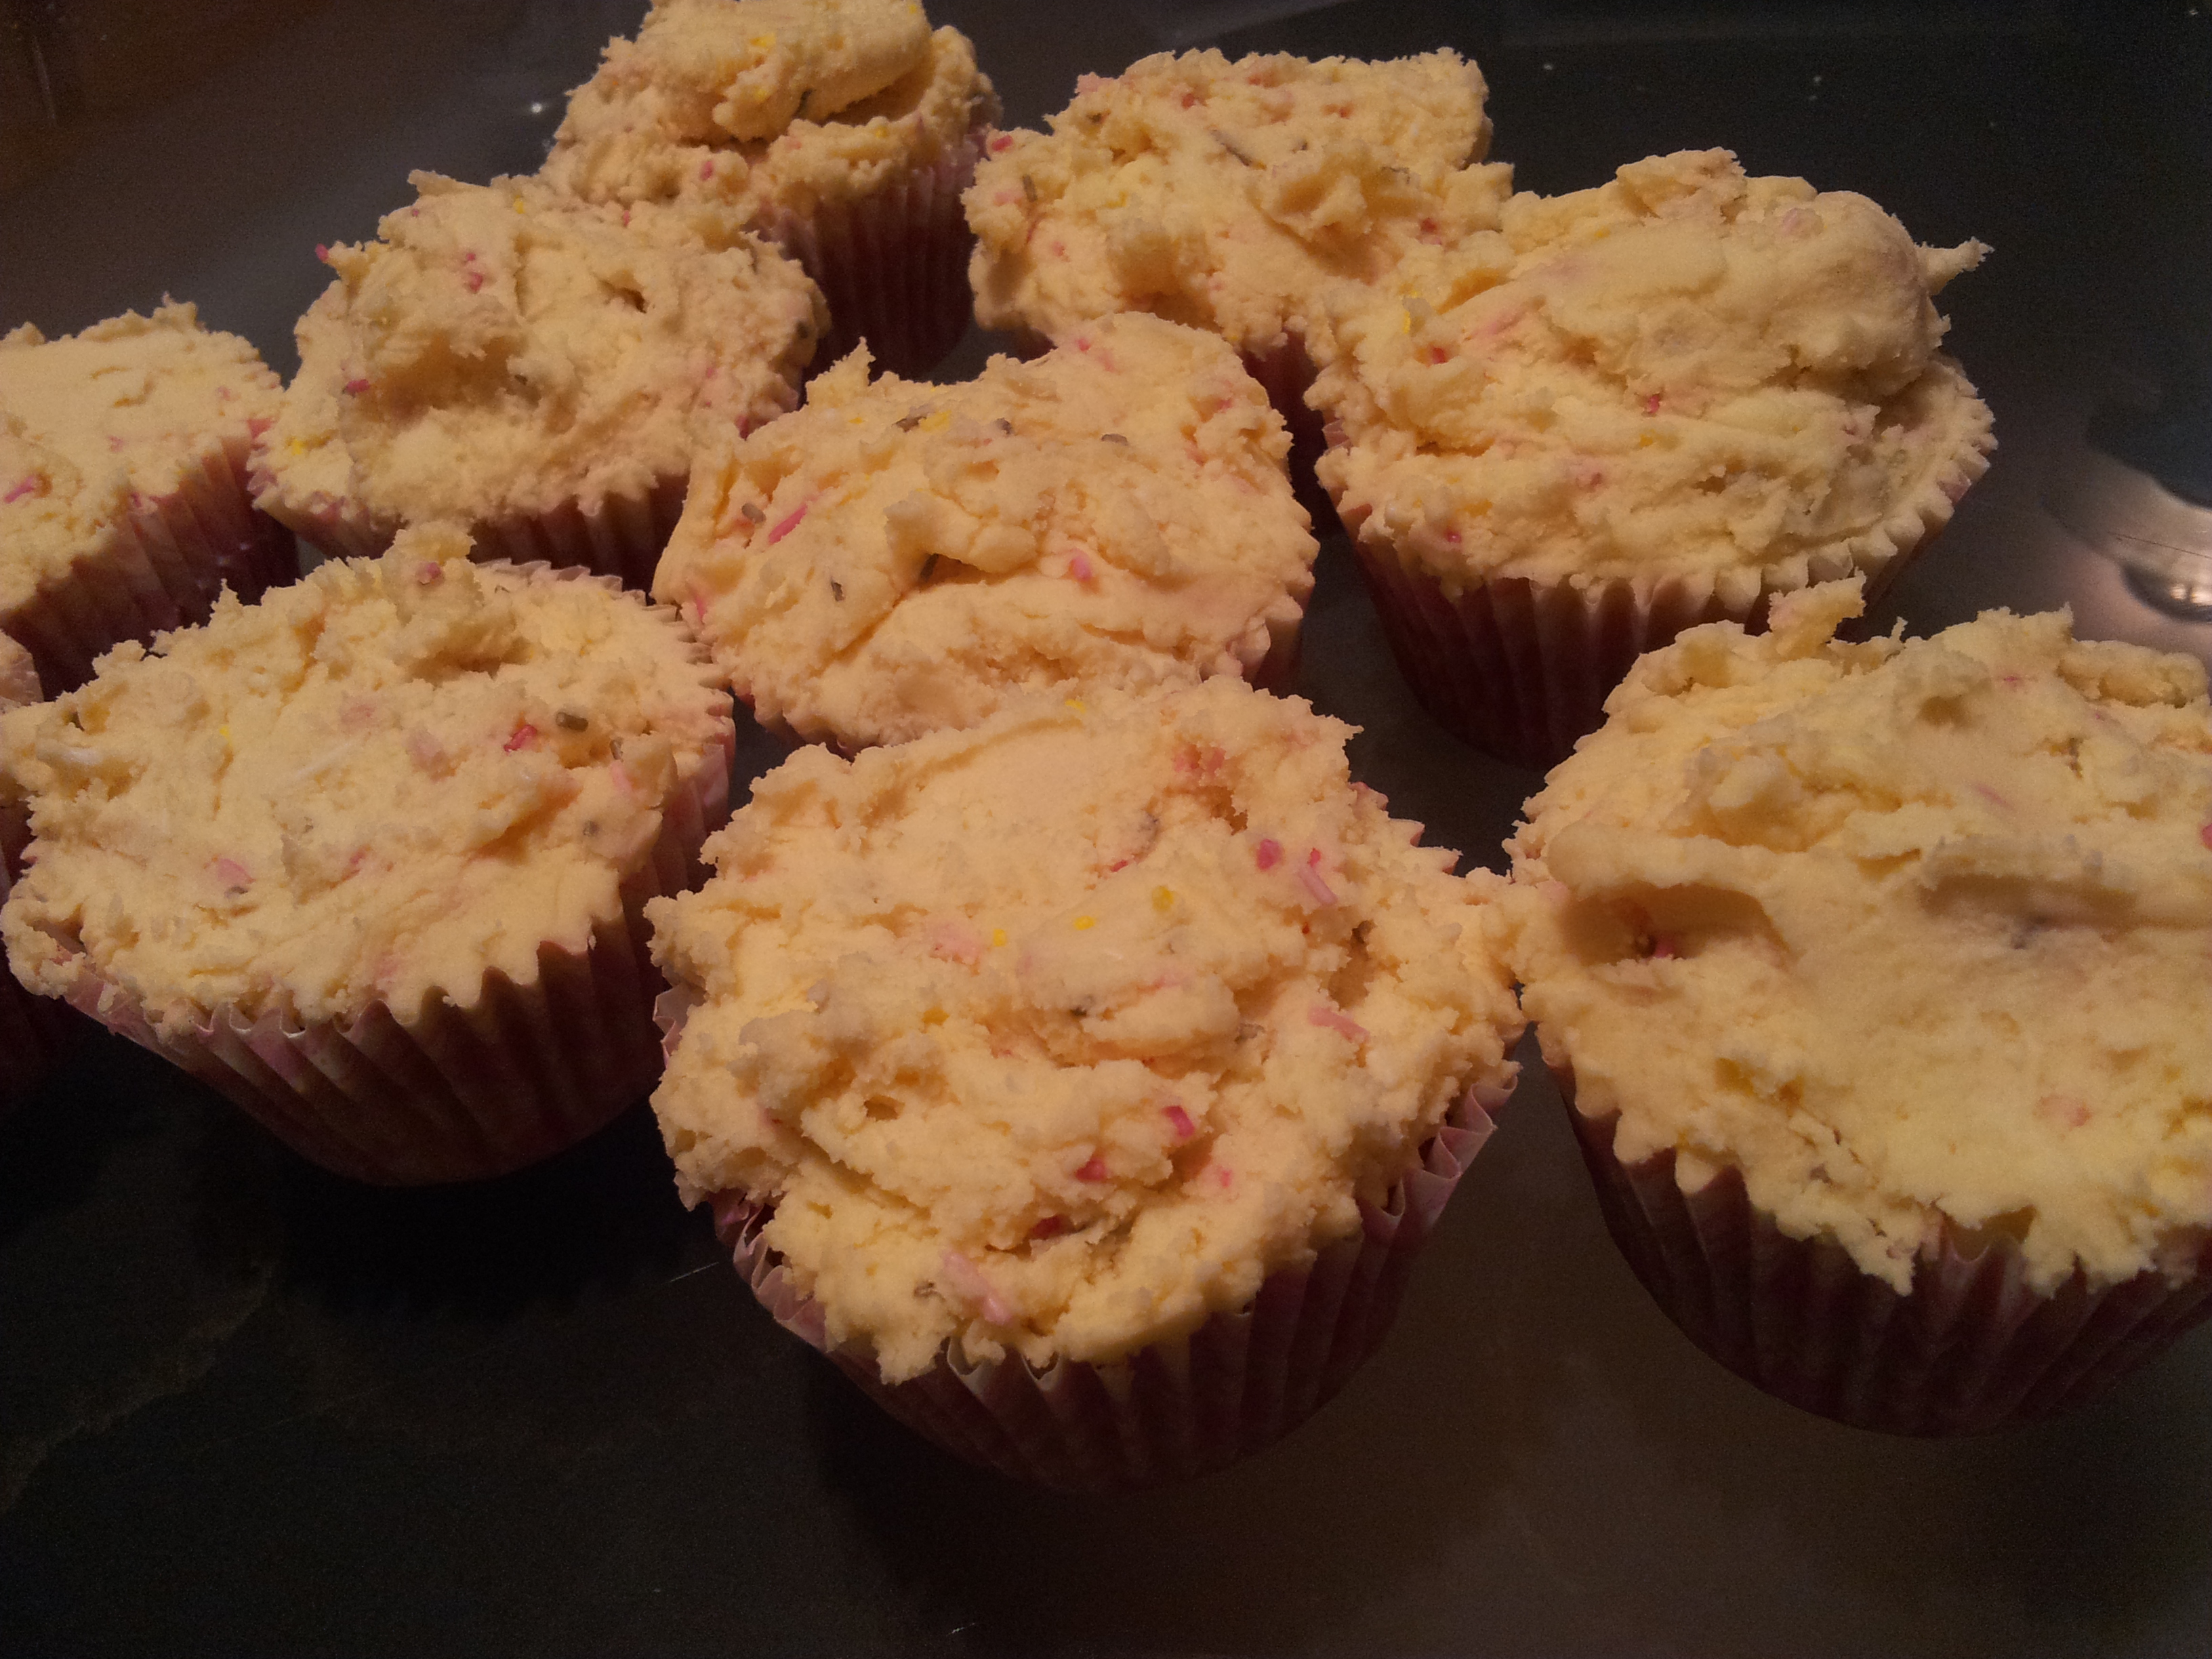
My good friend is absolutely obsessed with cake batter and is always asking me to give her just the cake batter. Now I’m not very into that because of the raw egg so instead I make these babies that have absolutely no egg in the icing but still taste exactly like cake batter.
I’ve never been so loved by my friends then after giving them these treats!!


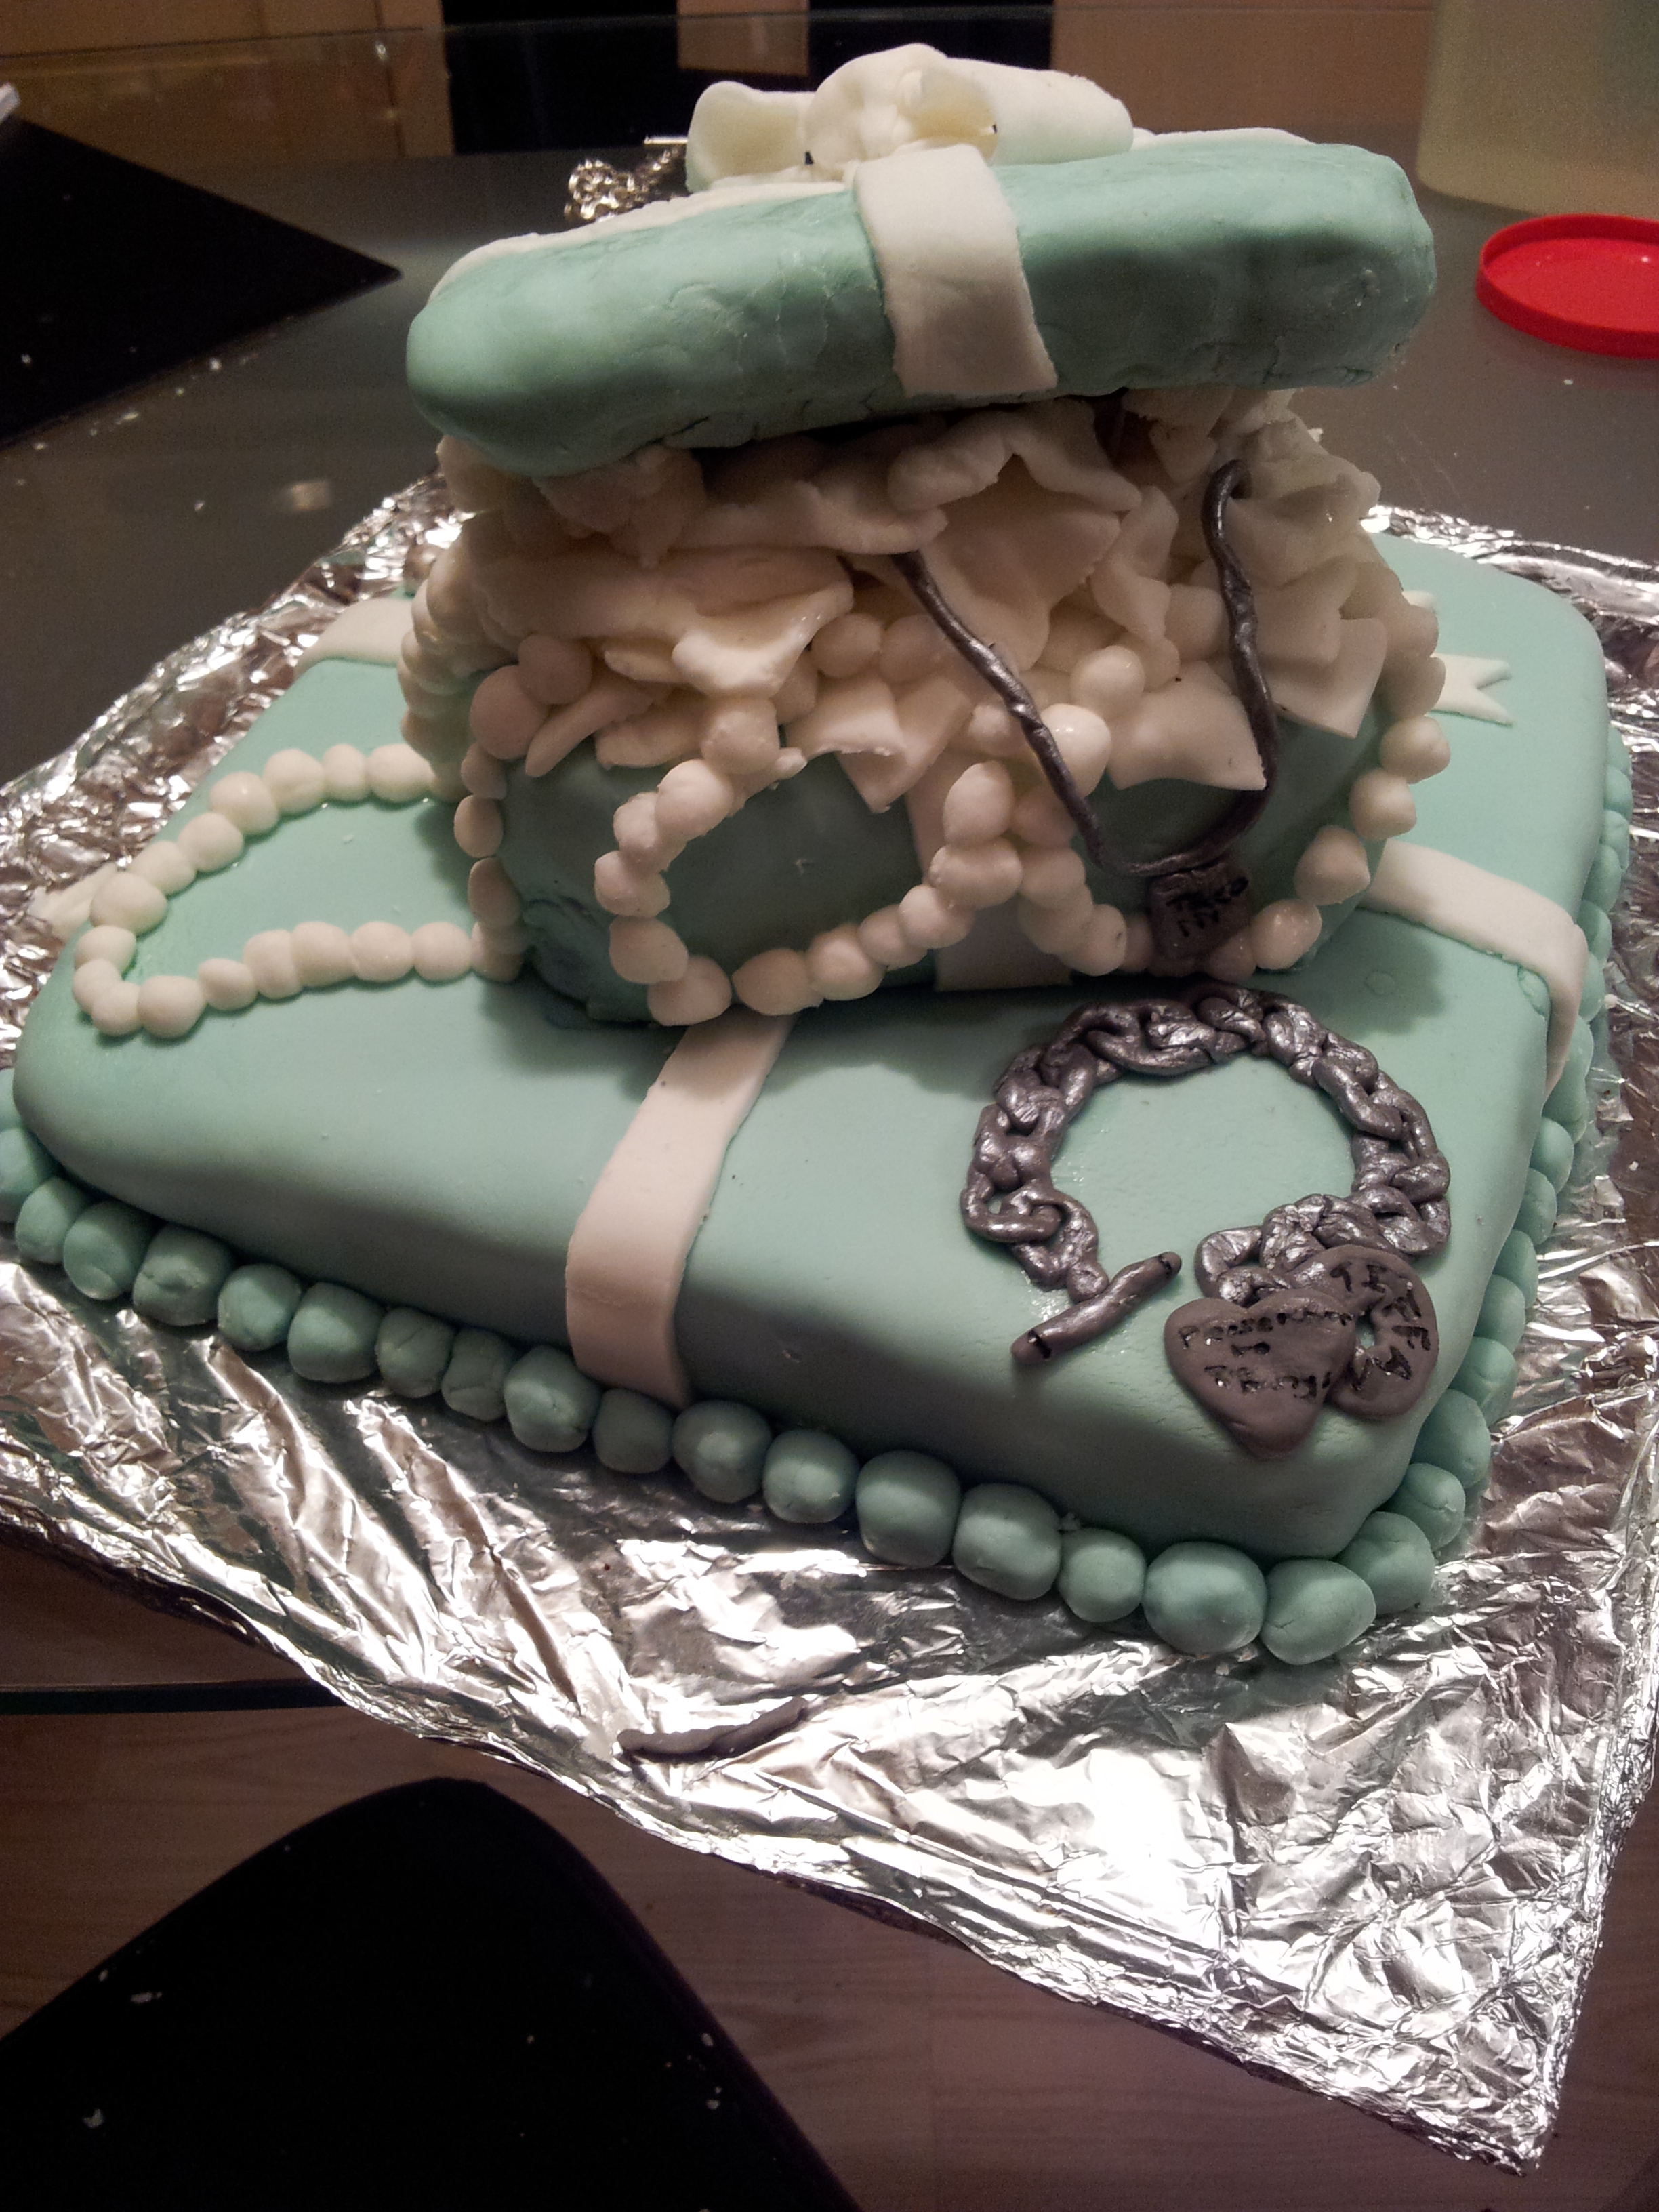
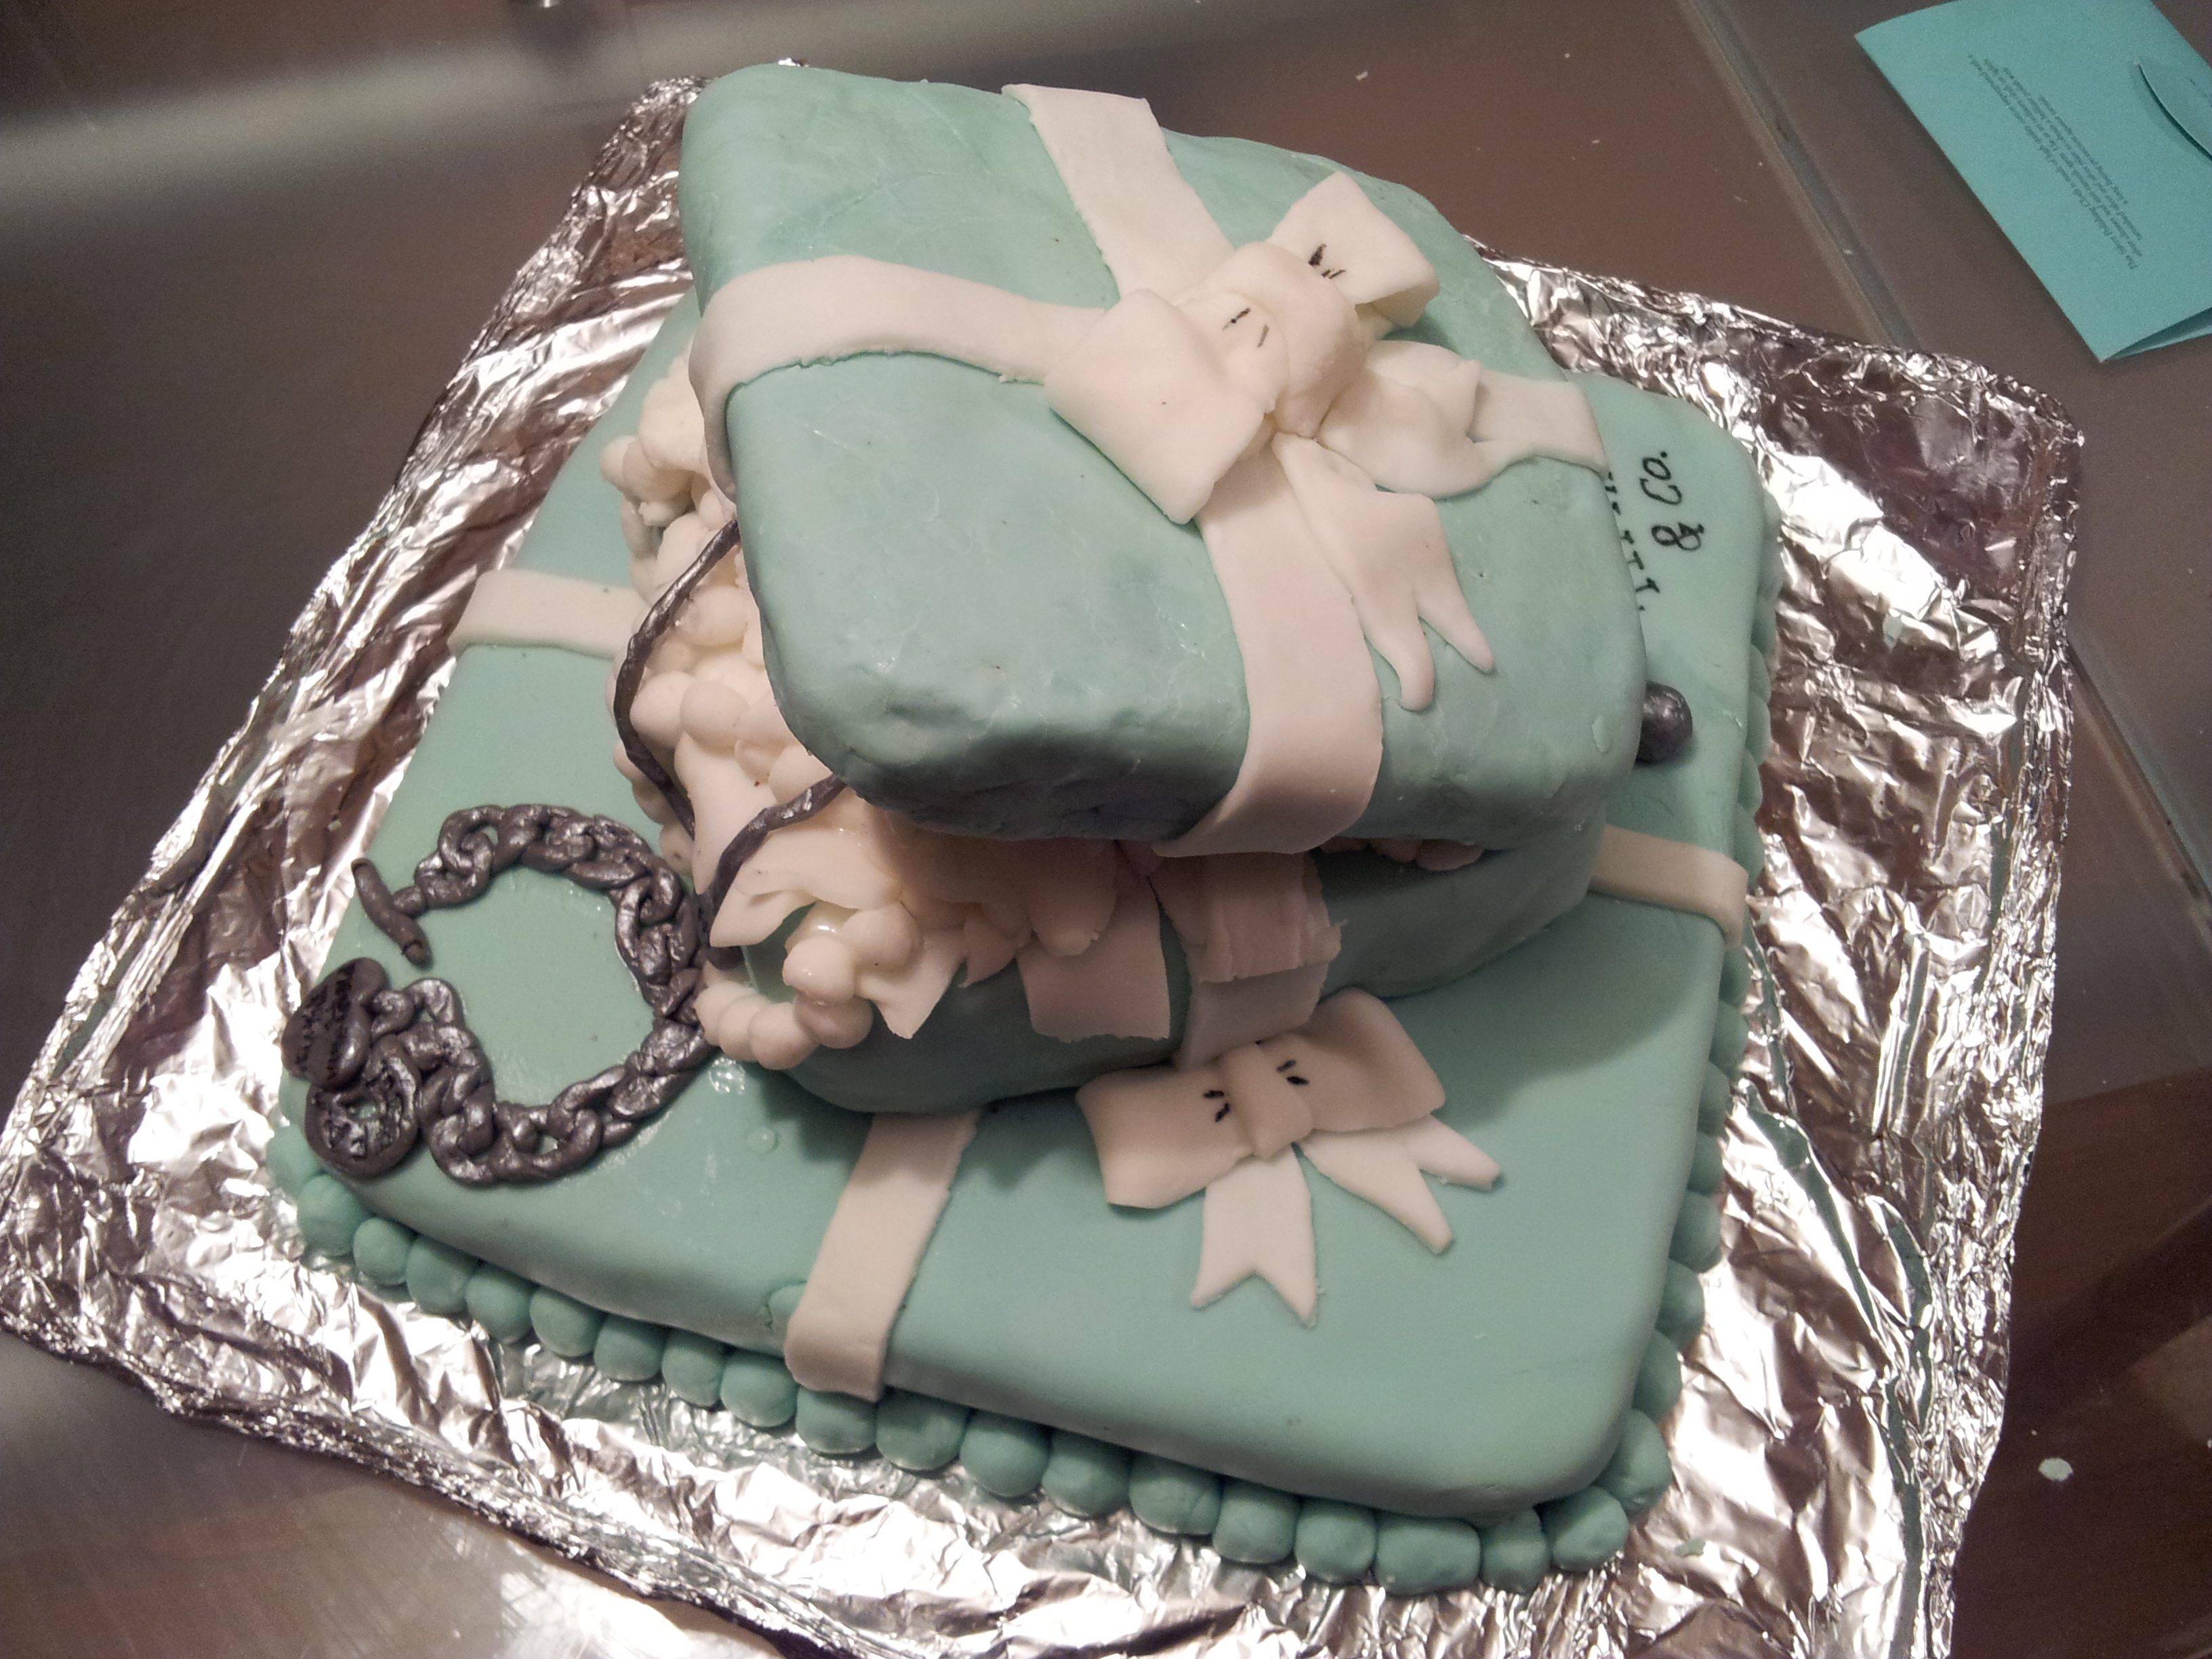
This Tiffany cake took about 4 hours to make but it was totally worth it!! The thing that actually took the most time was creating the Tiffany Blue Colour.
I’m not sure about the US, but in the UK it’s hard to find Teal coloured fondant so I had to need the colour in using blue and green food colouring. And to ensure the whole cake was the same shade I had to do this in stages…. I actually worked my arm muscles so much that they hurt for two days!! Crazy.
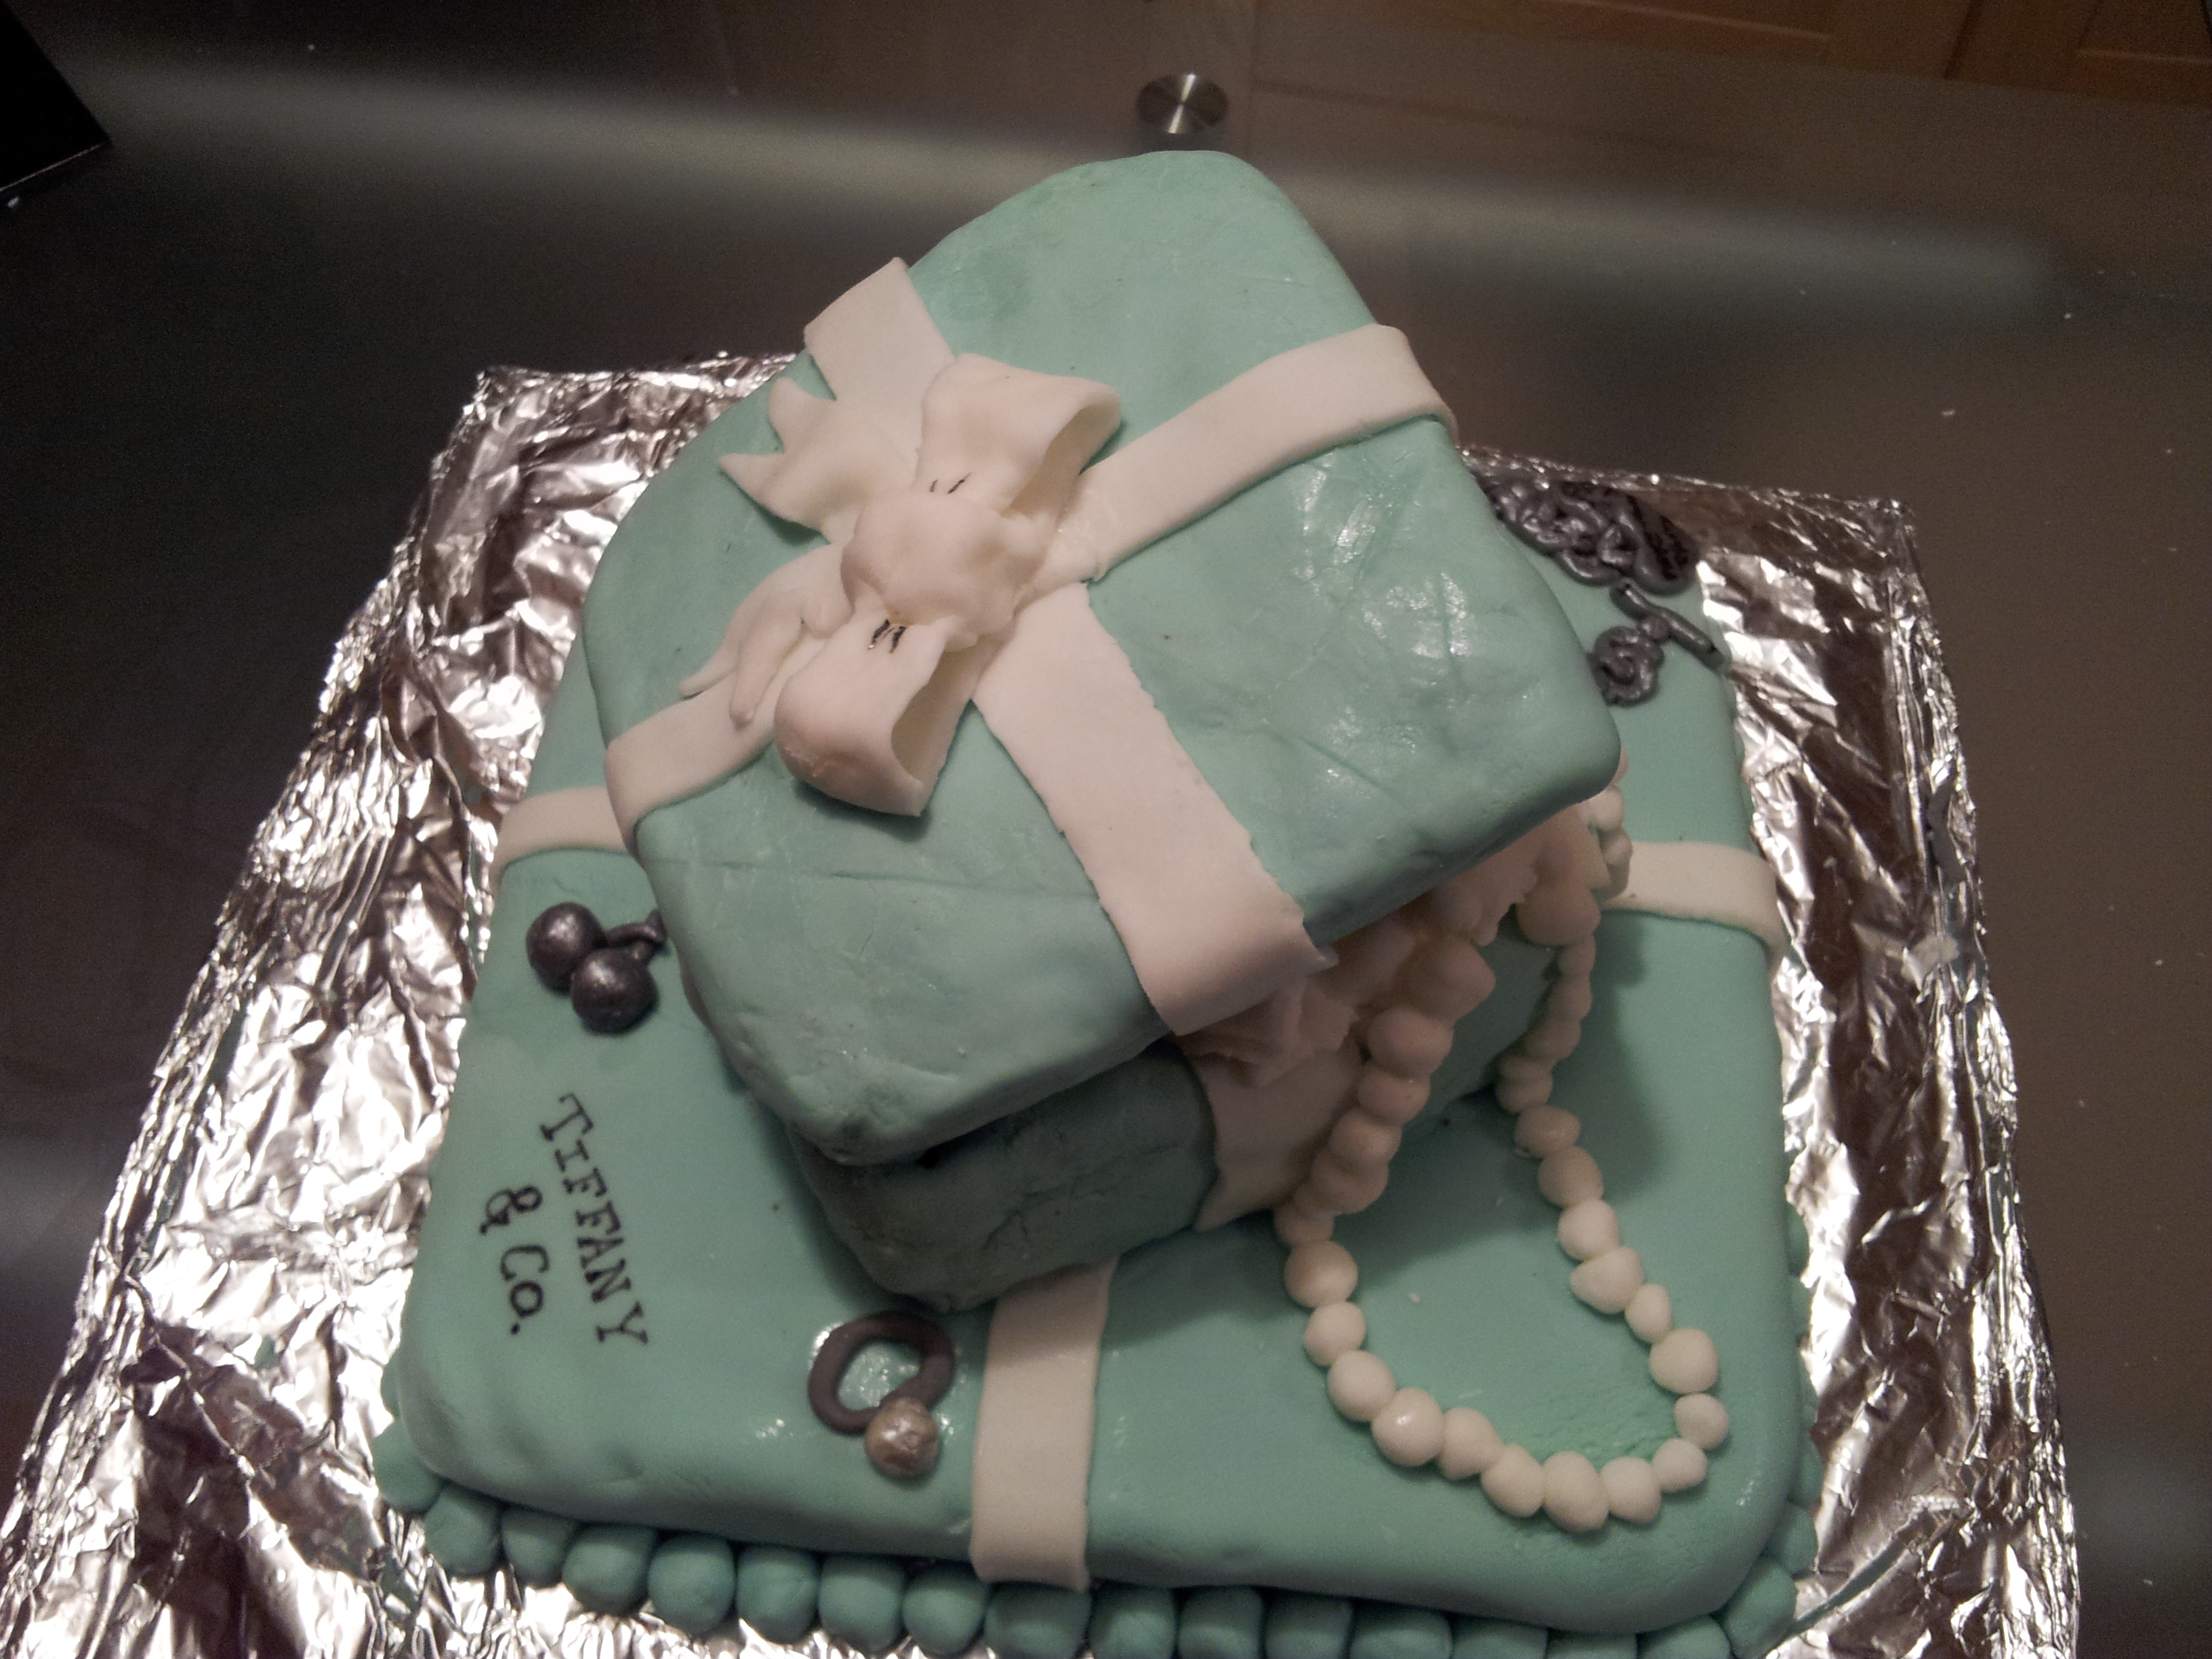
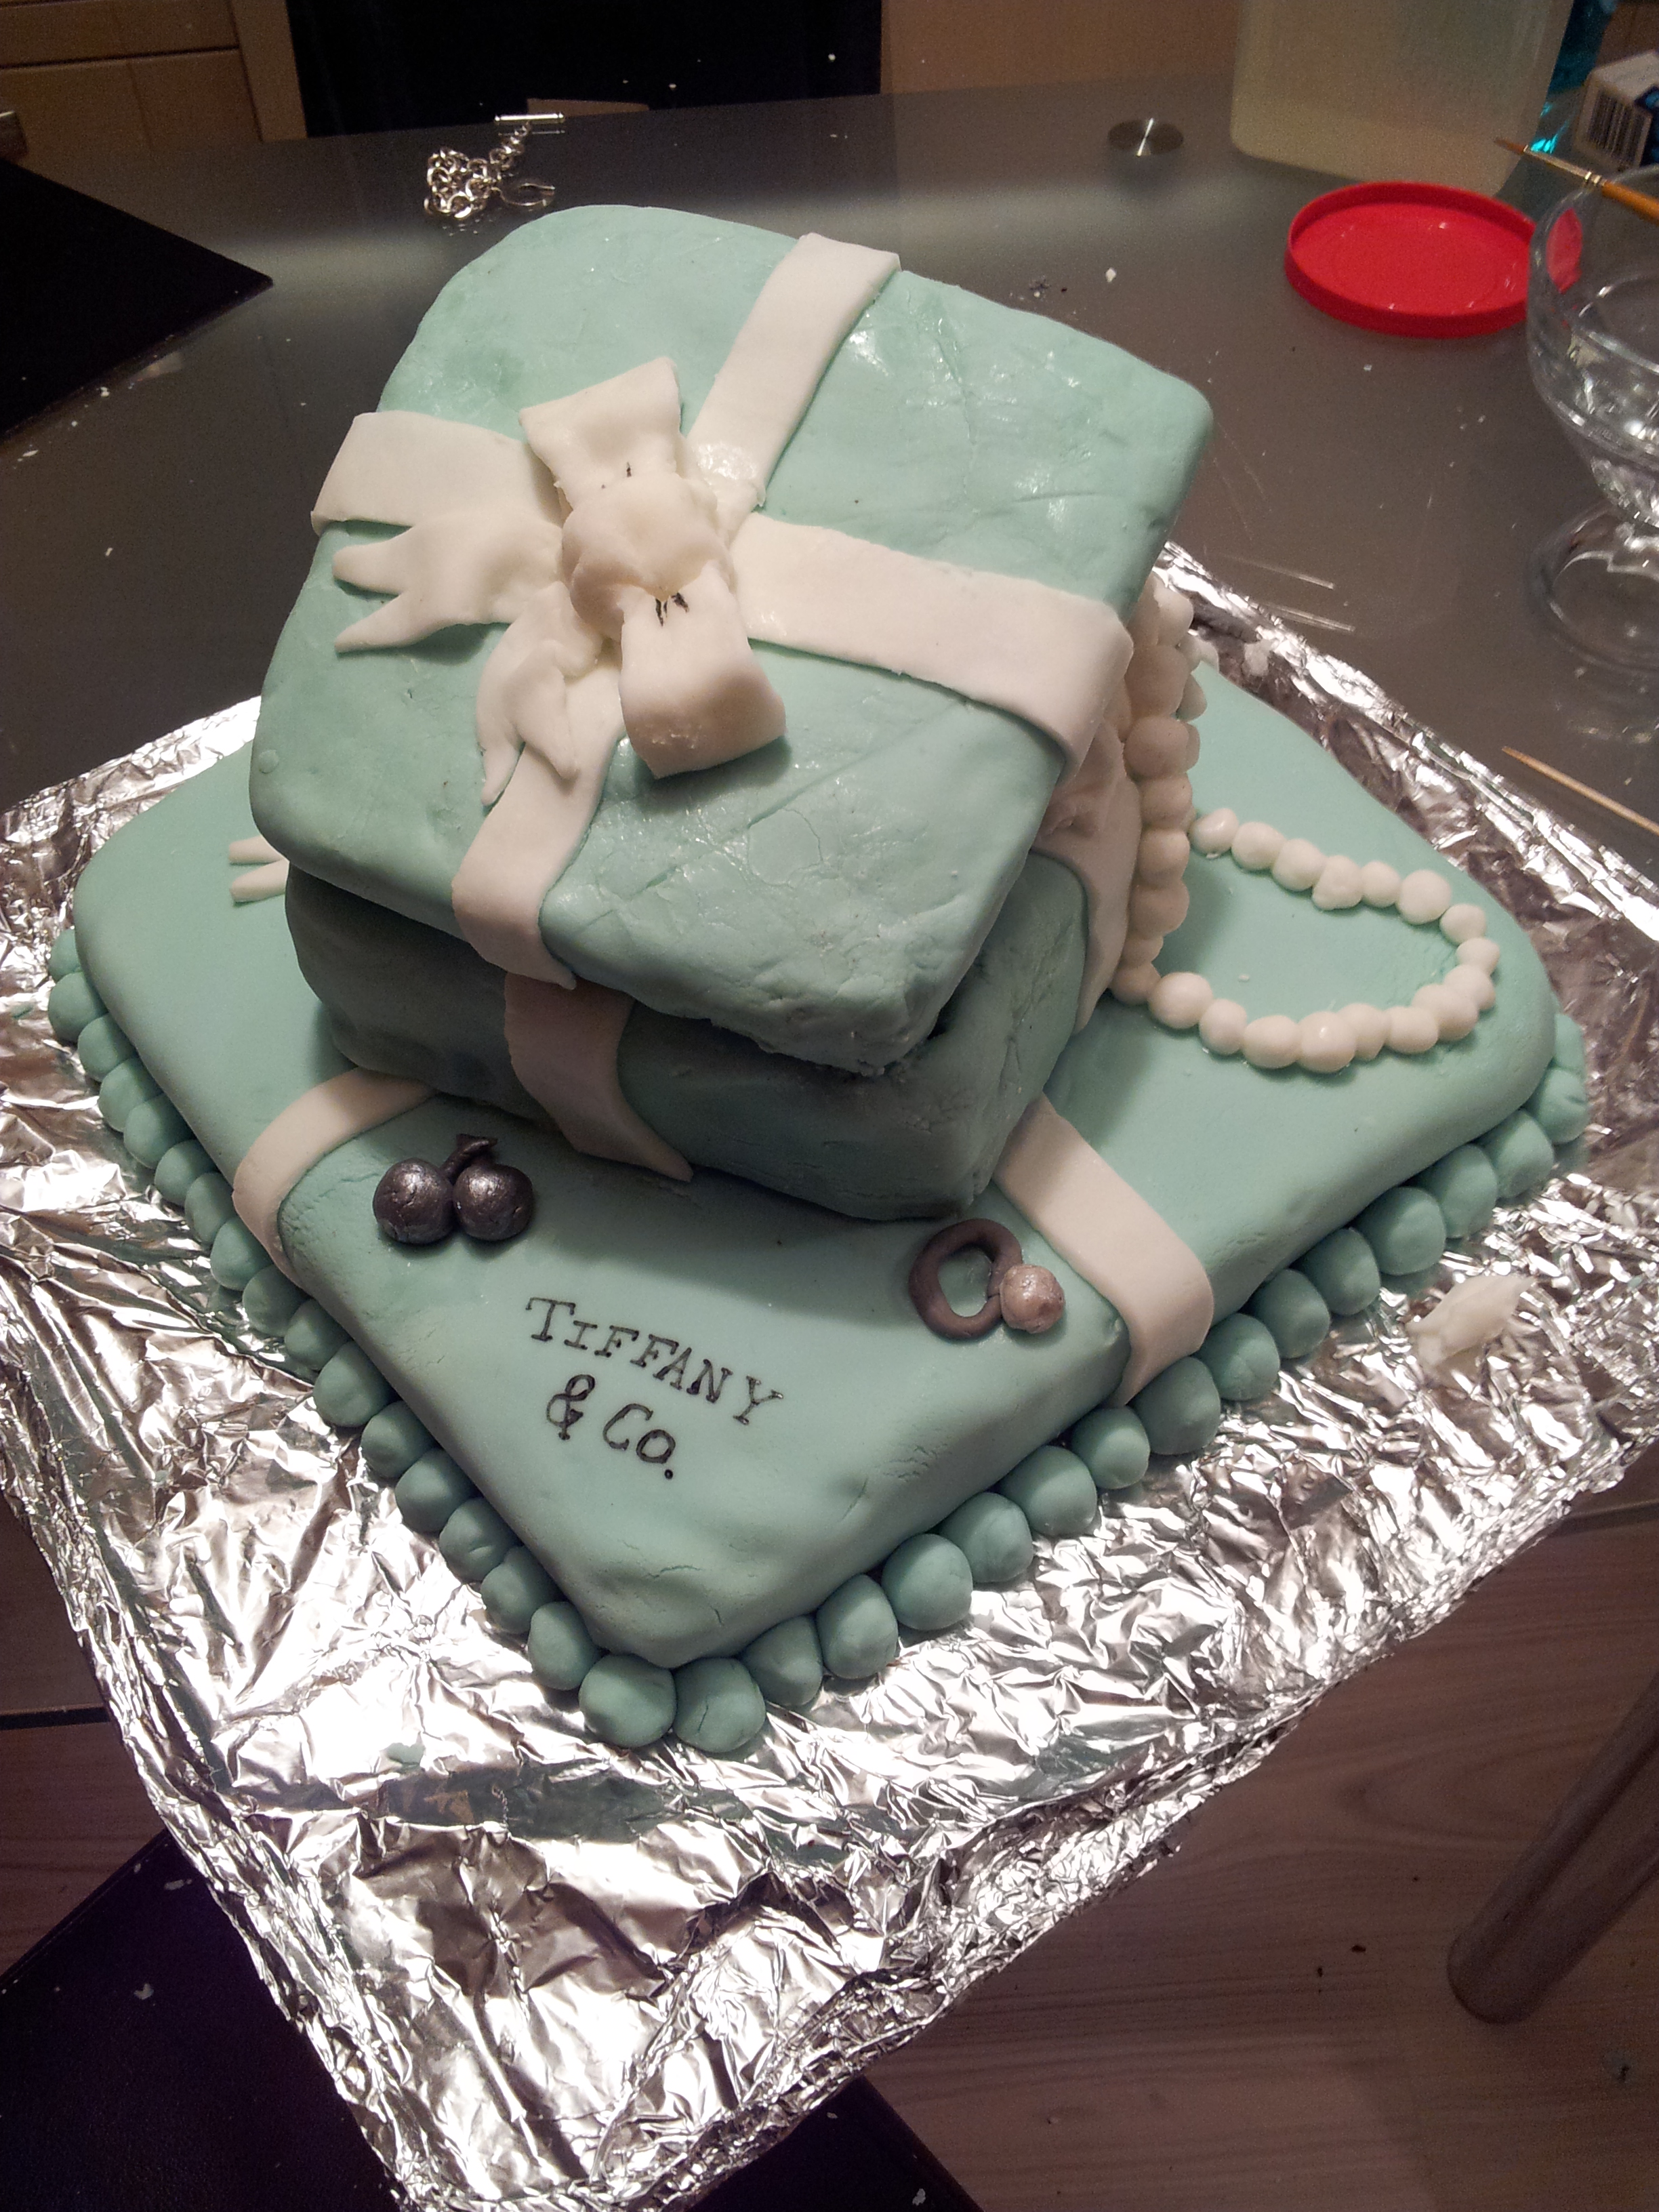
I decided that I wanted to make it multi dimensional so I made the treasure chest open and used shredded fondant to make it look like tissue paper. I then looked at Tiffany products and modelled each piece of jewellery on this.
I used Grey fondant for the silver jewellery and then painted it with silver to give it that shine.
To create the logos I just got a thin edible pen and very slowly copied the photo.
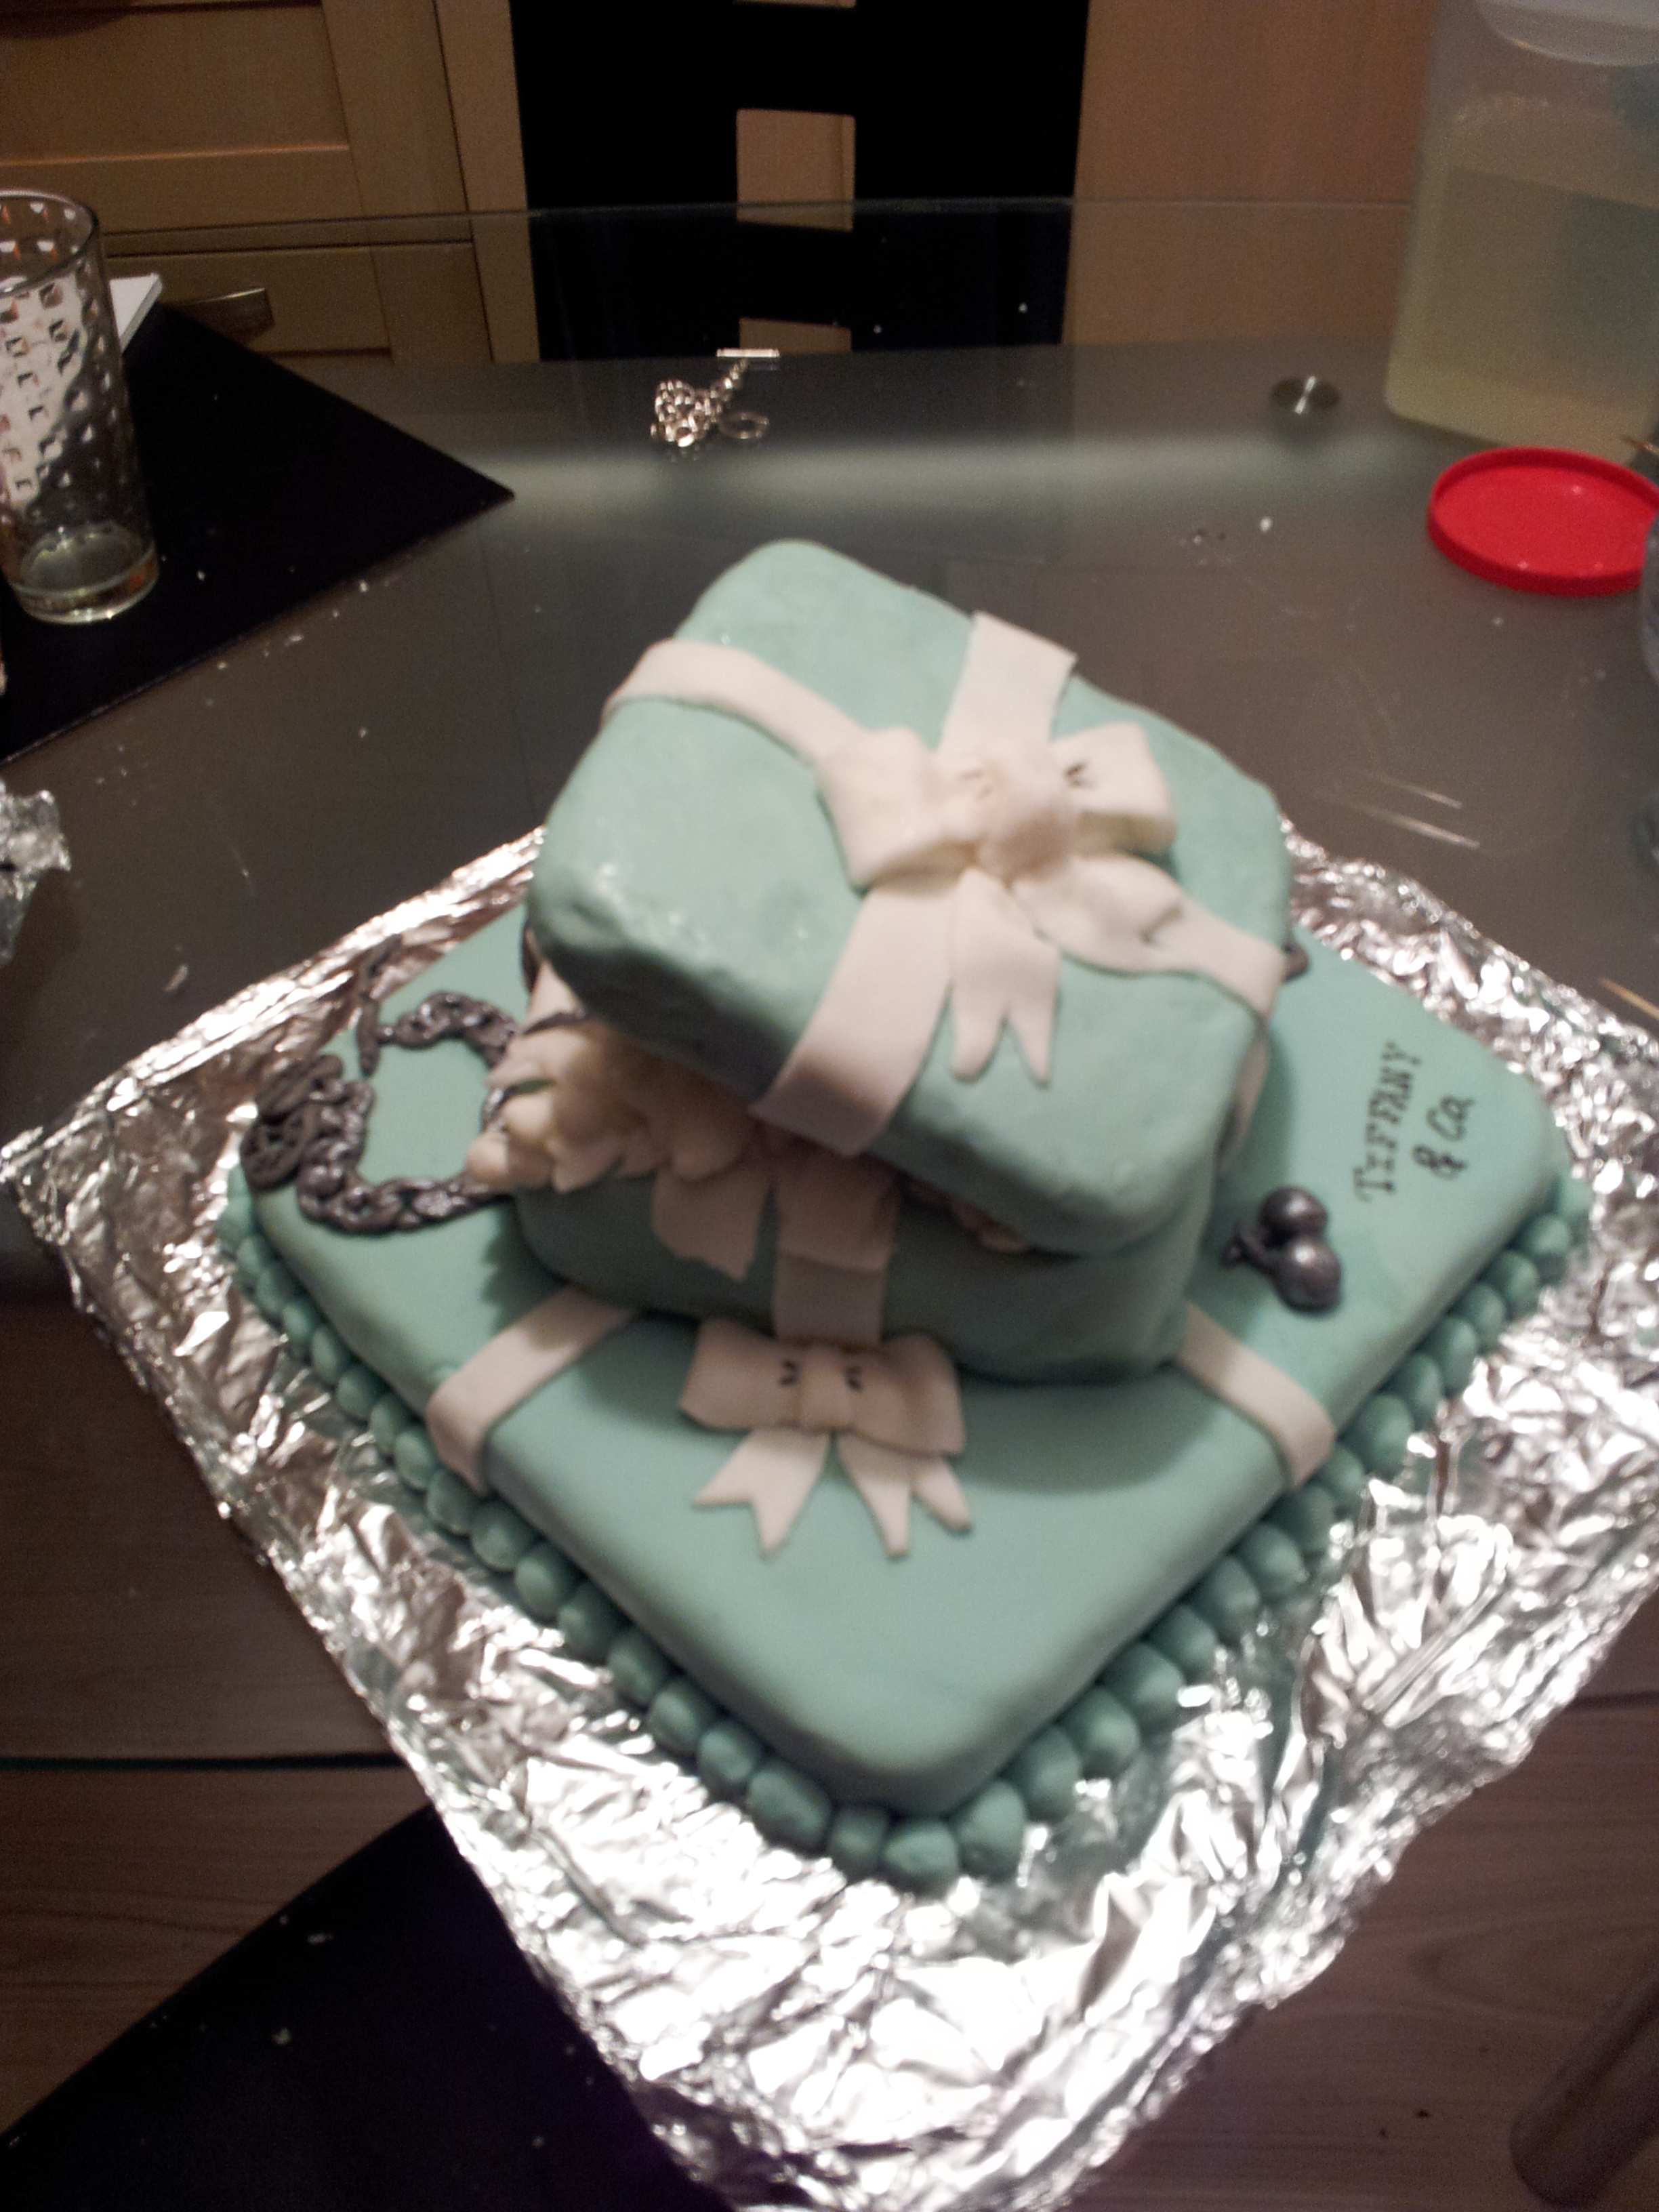
I must admit I’m proud of the bows, it’s the first time i’ve done bows with fondant and I was very happy with the way they came out.
Here are some more pictures for you to have a look at!!


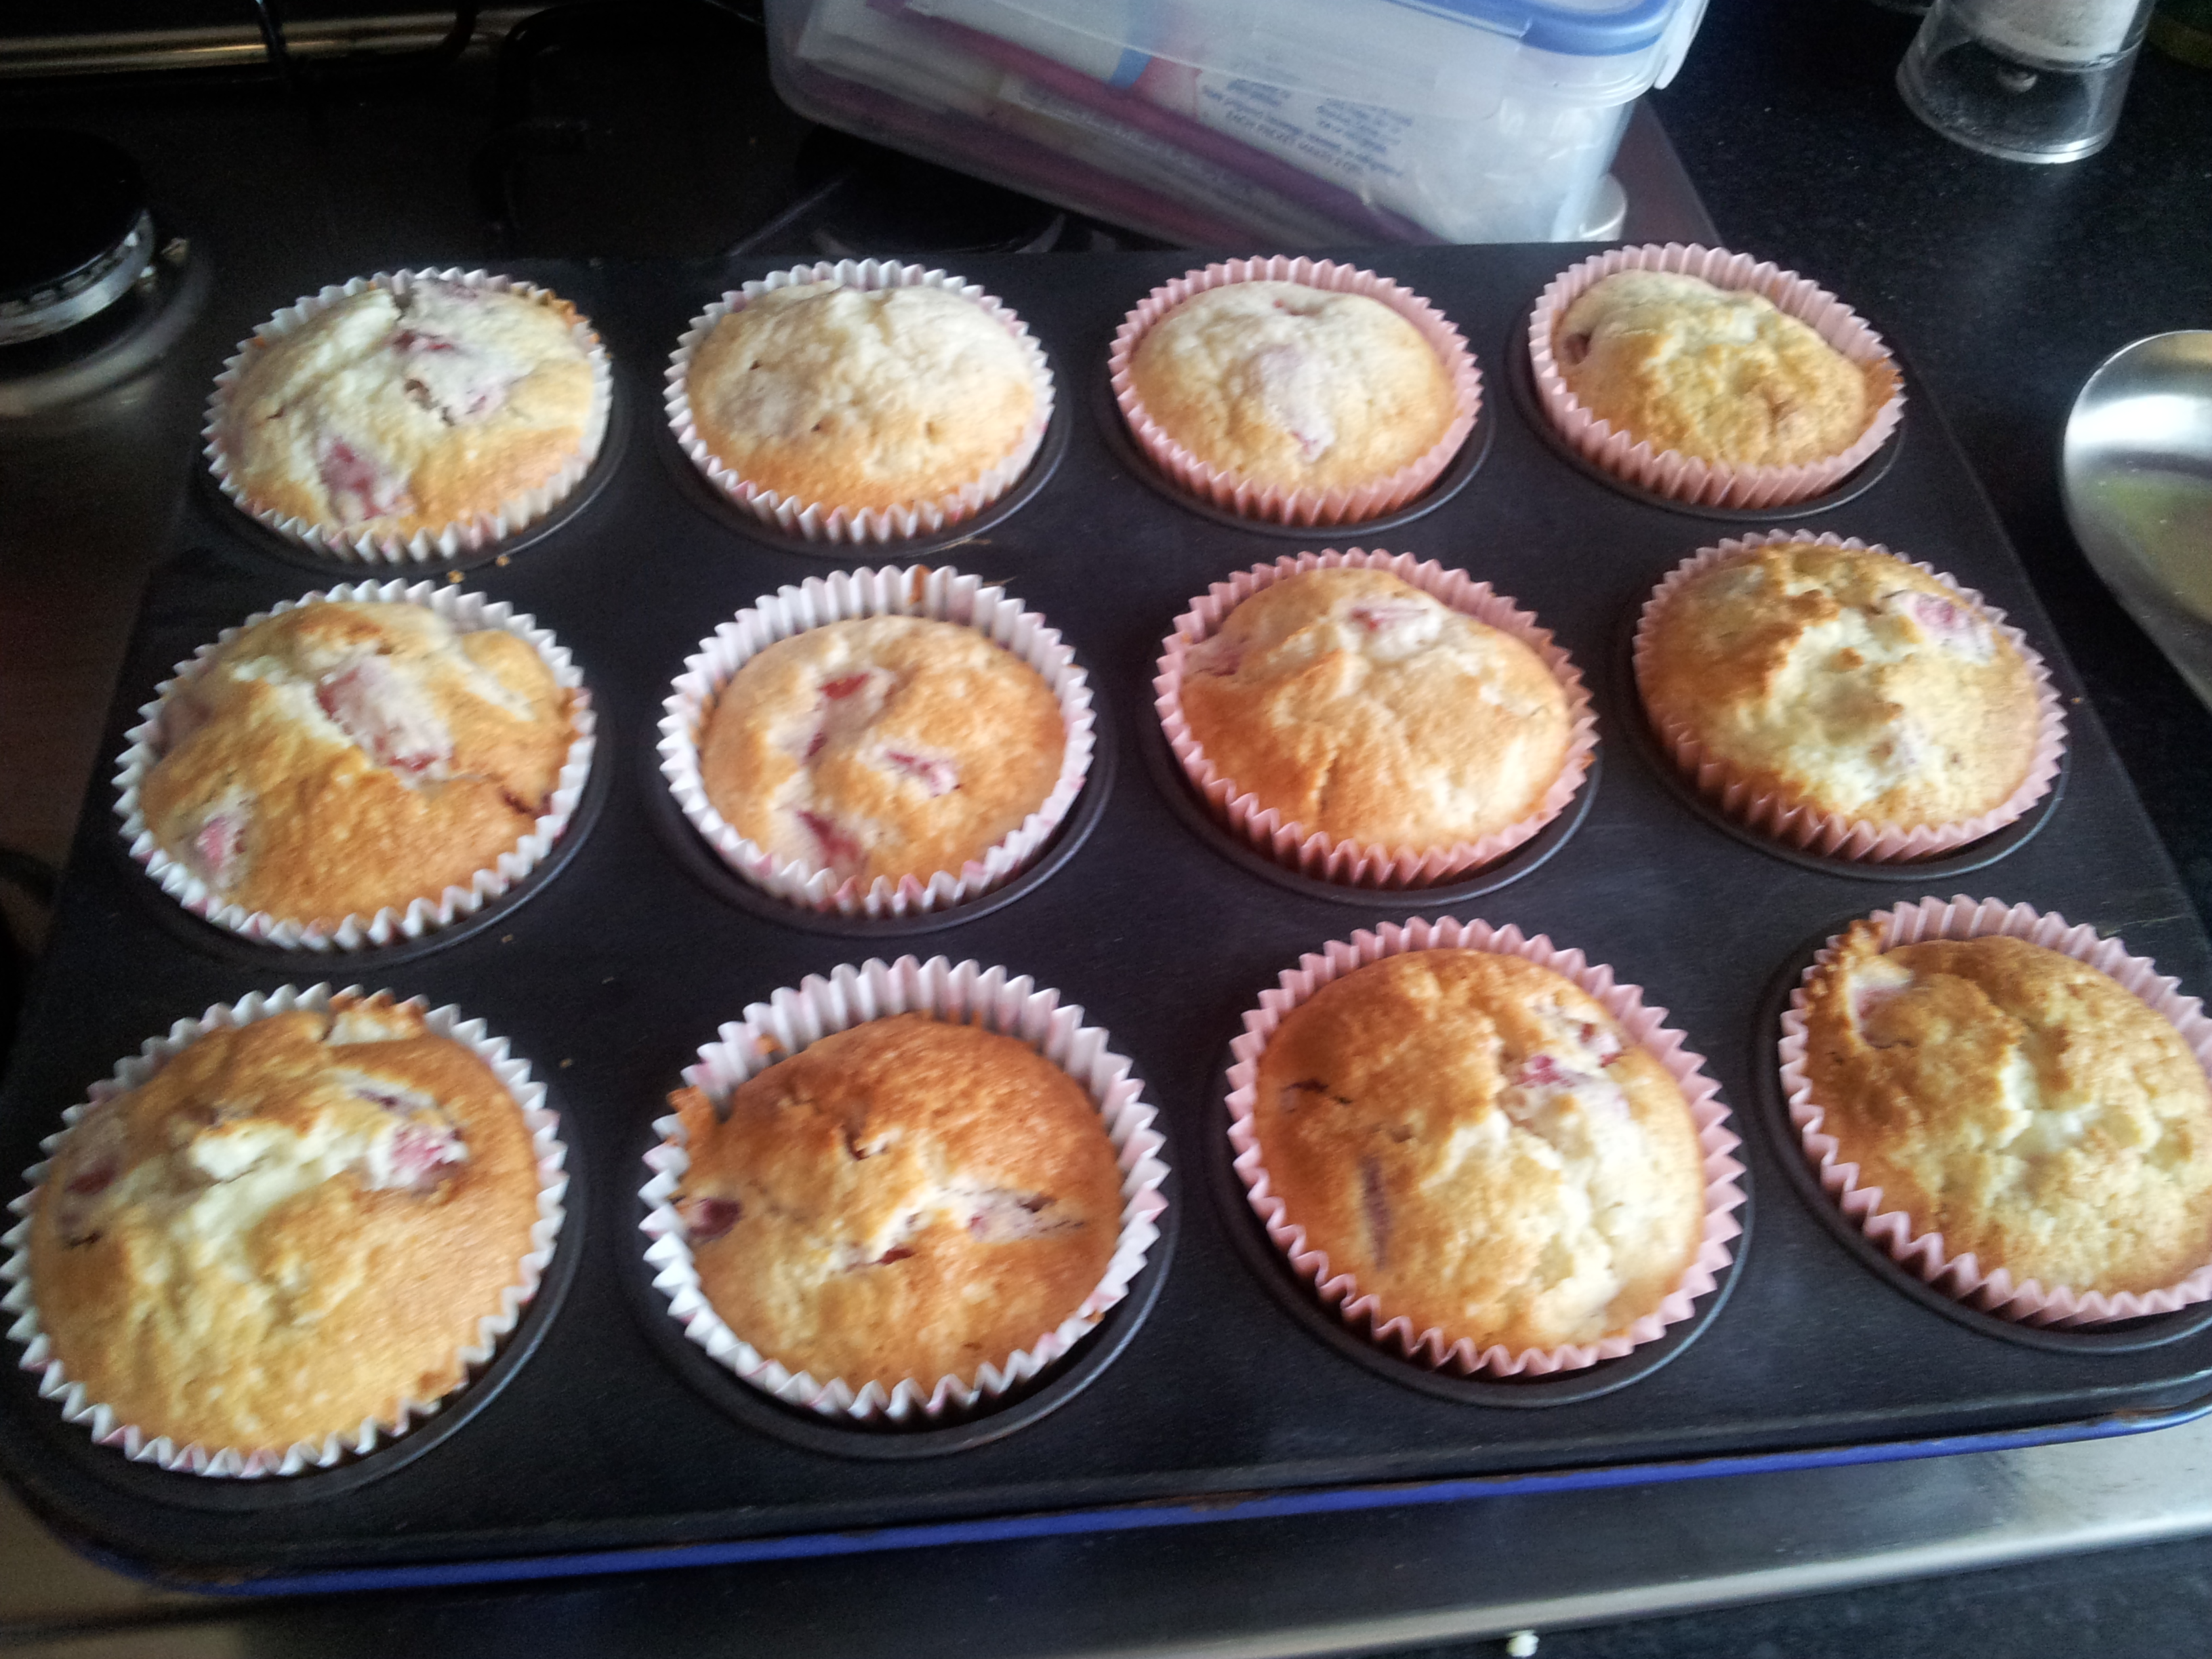
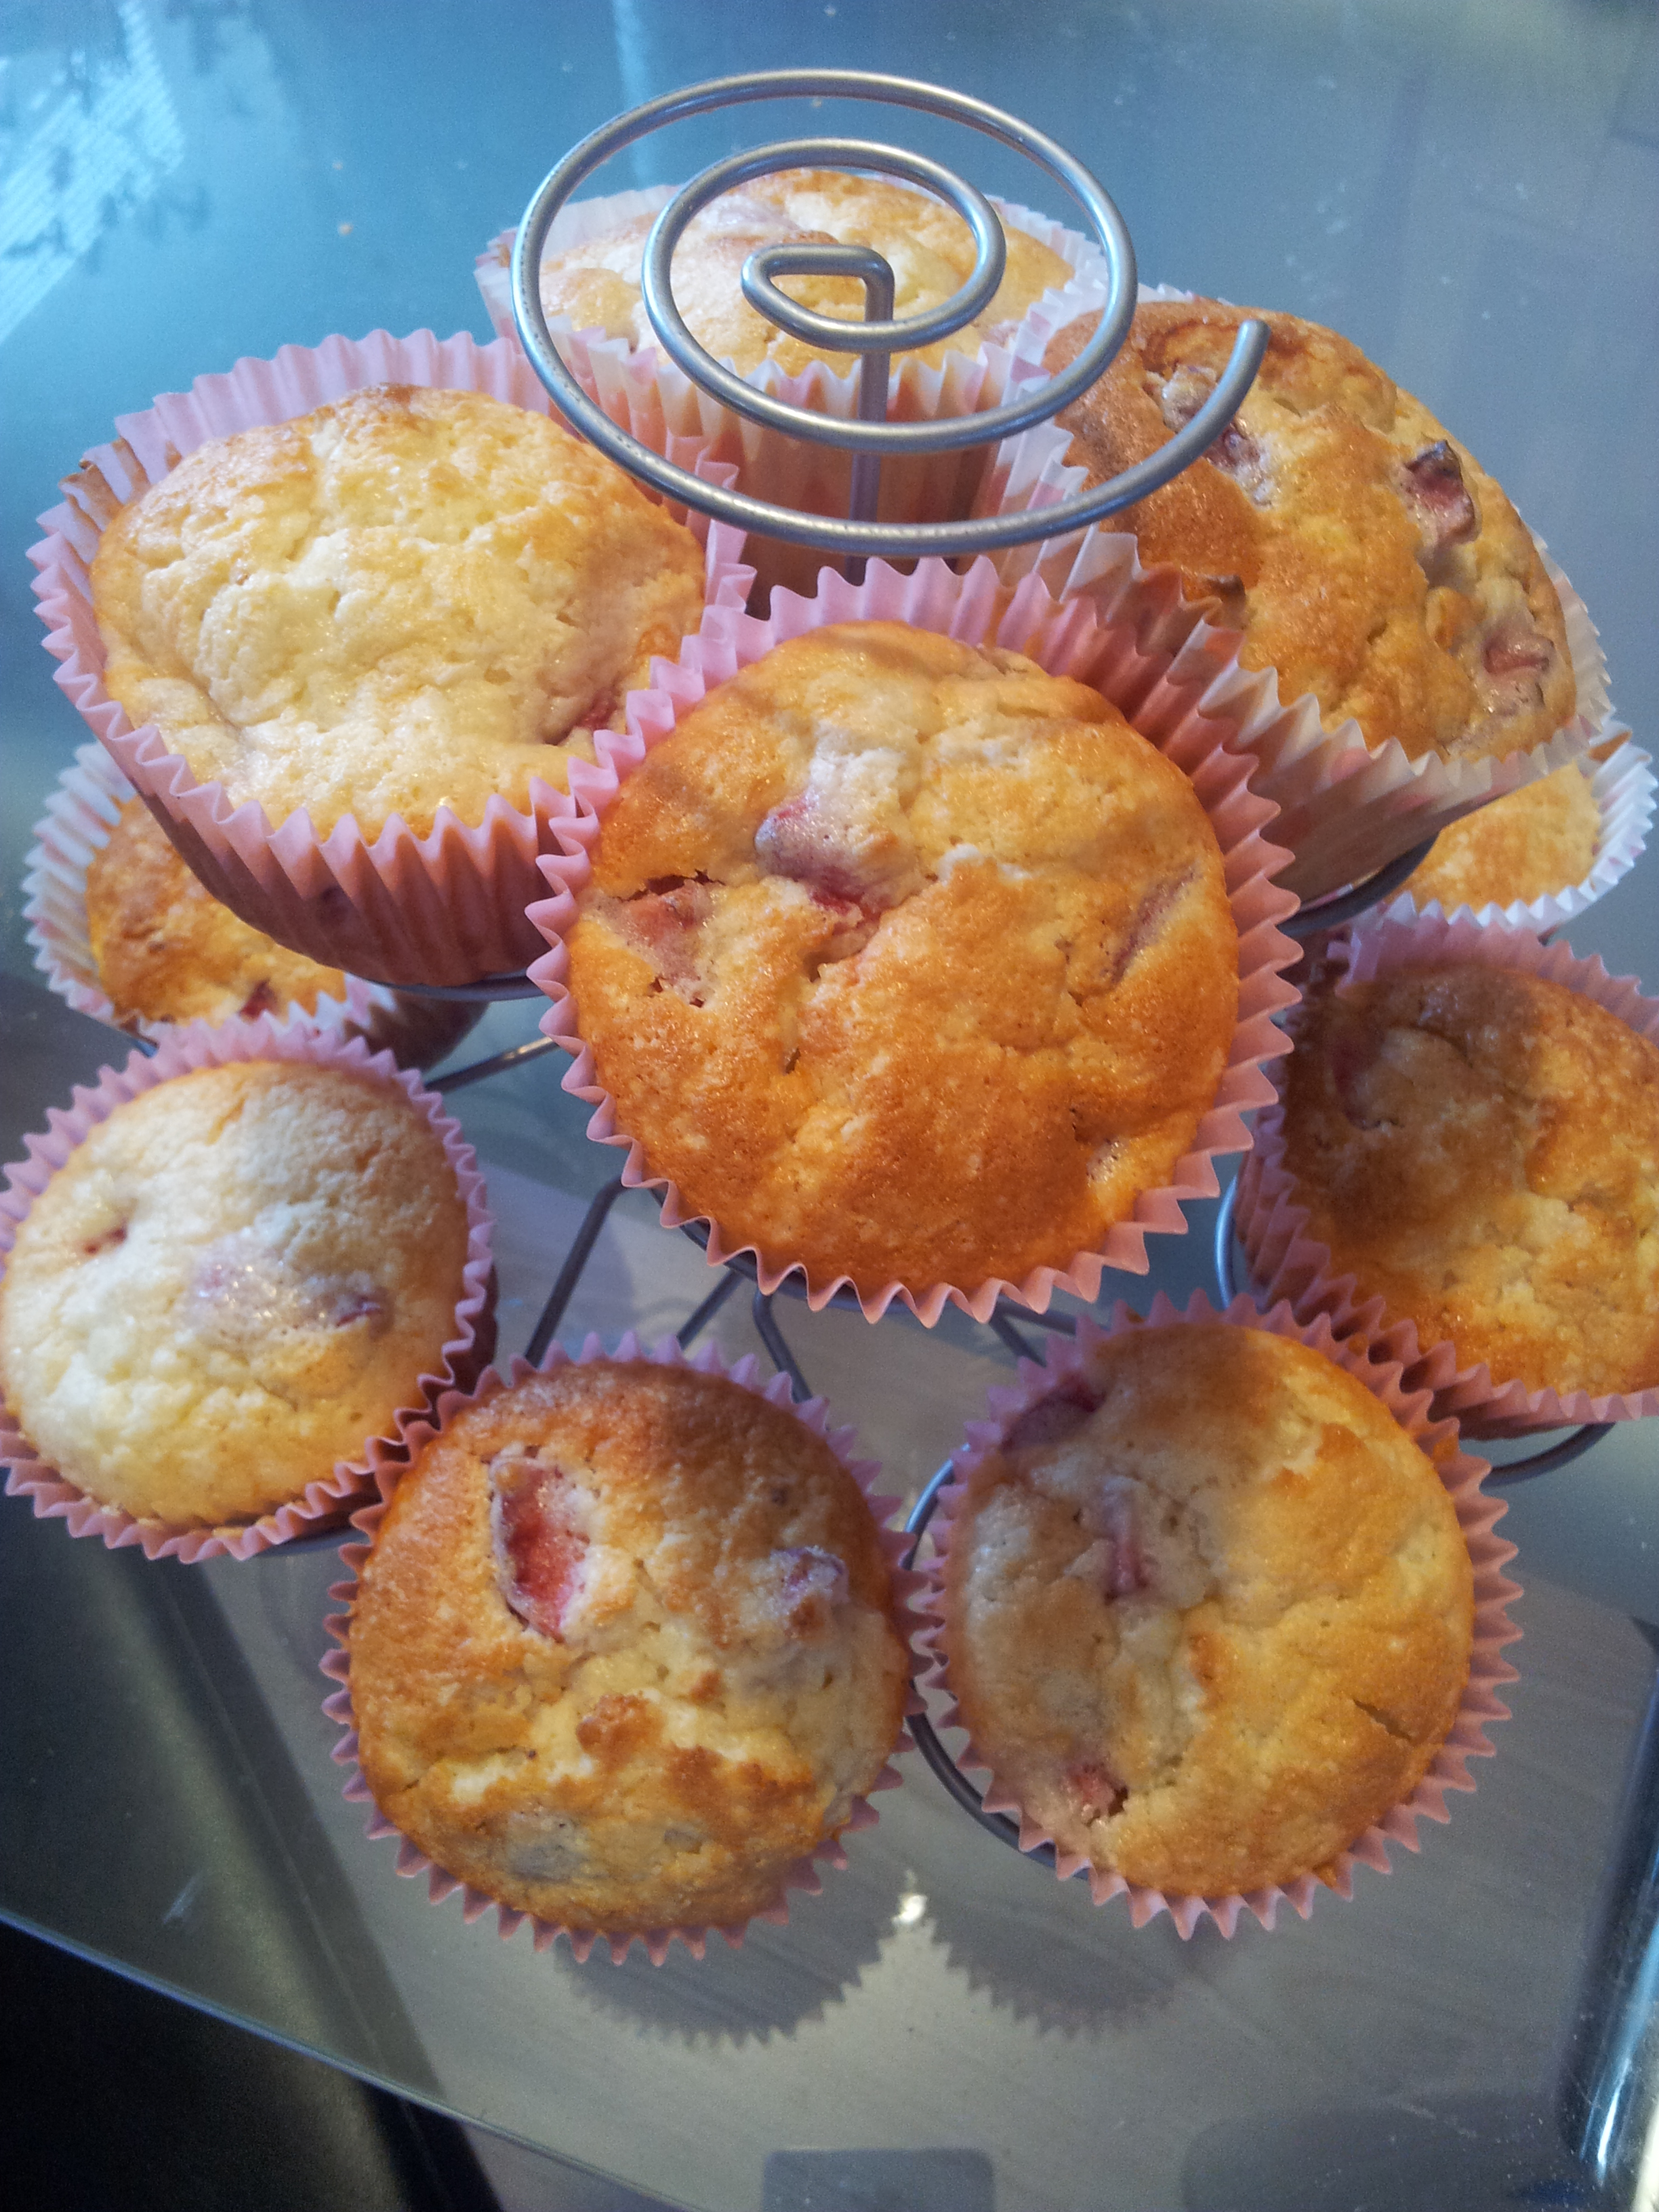
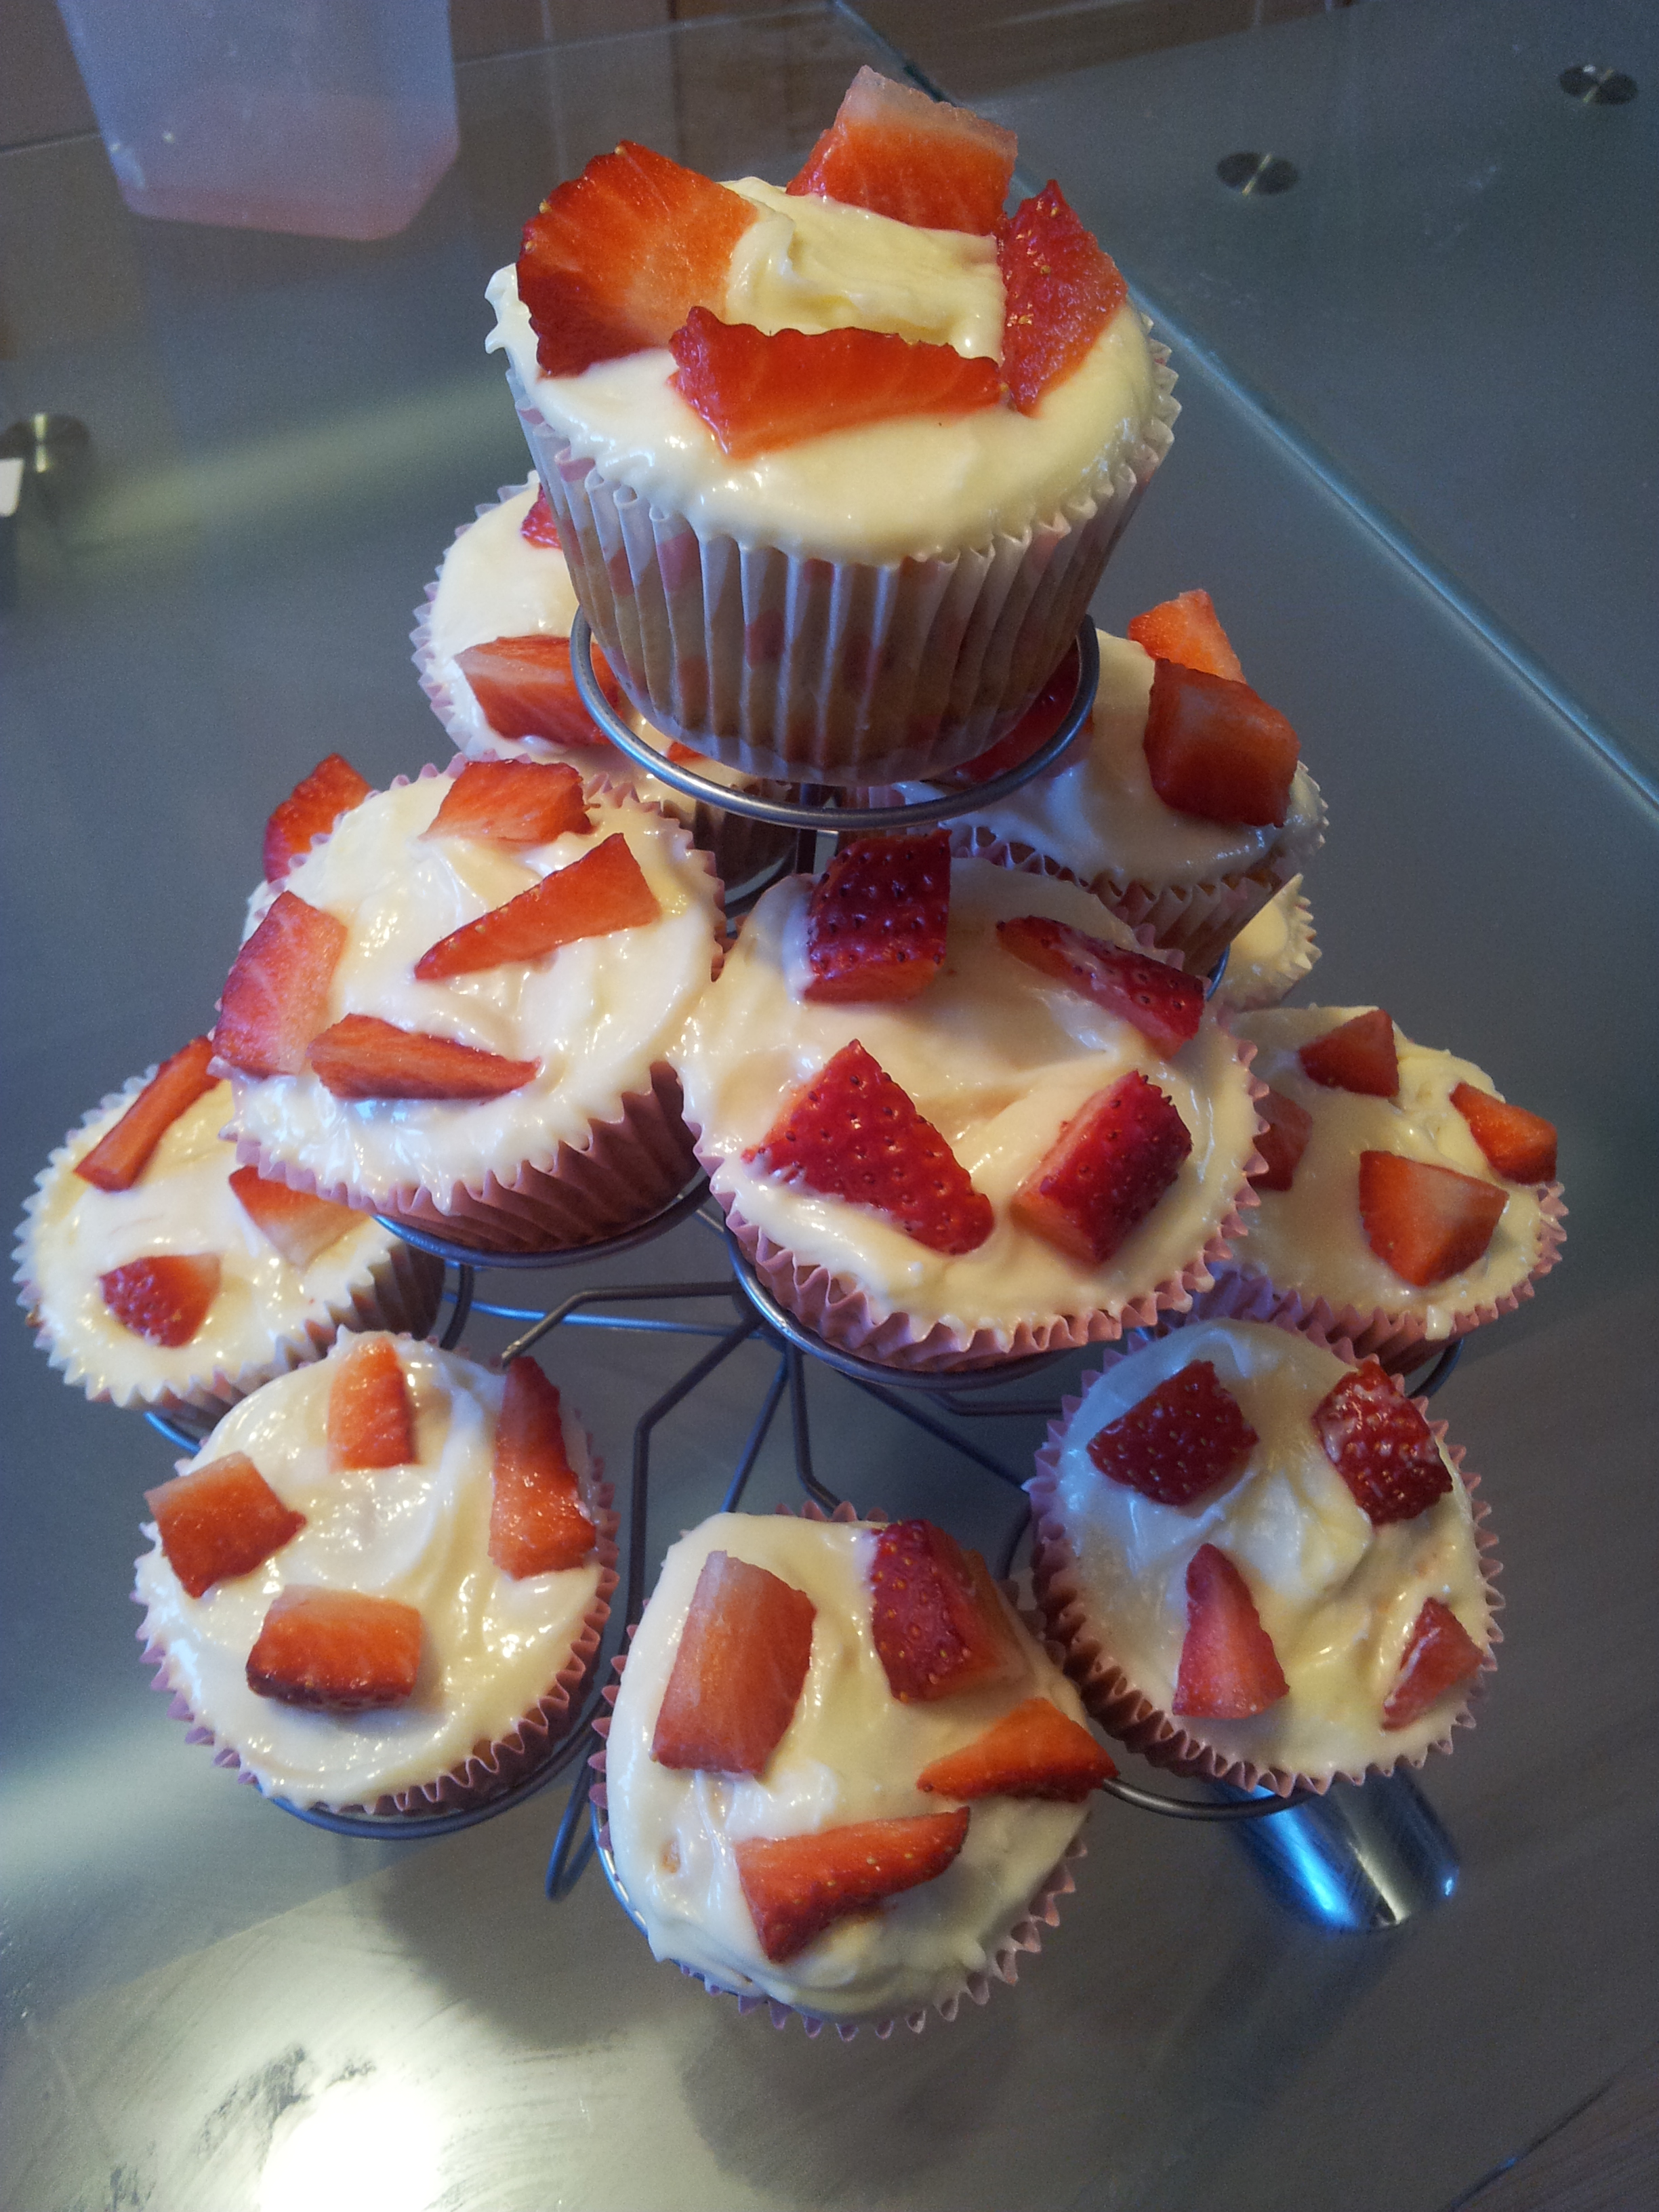 These Strawberry Cheesecake Cupcakes are AMAZING! They are very fluffy on the inside and really do taste like Cheesecake.
Ingredients for Cupcakes
Ingredients for Cream Cheese Frosting
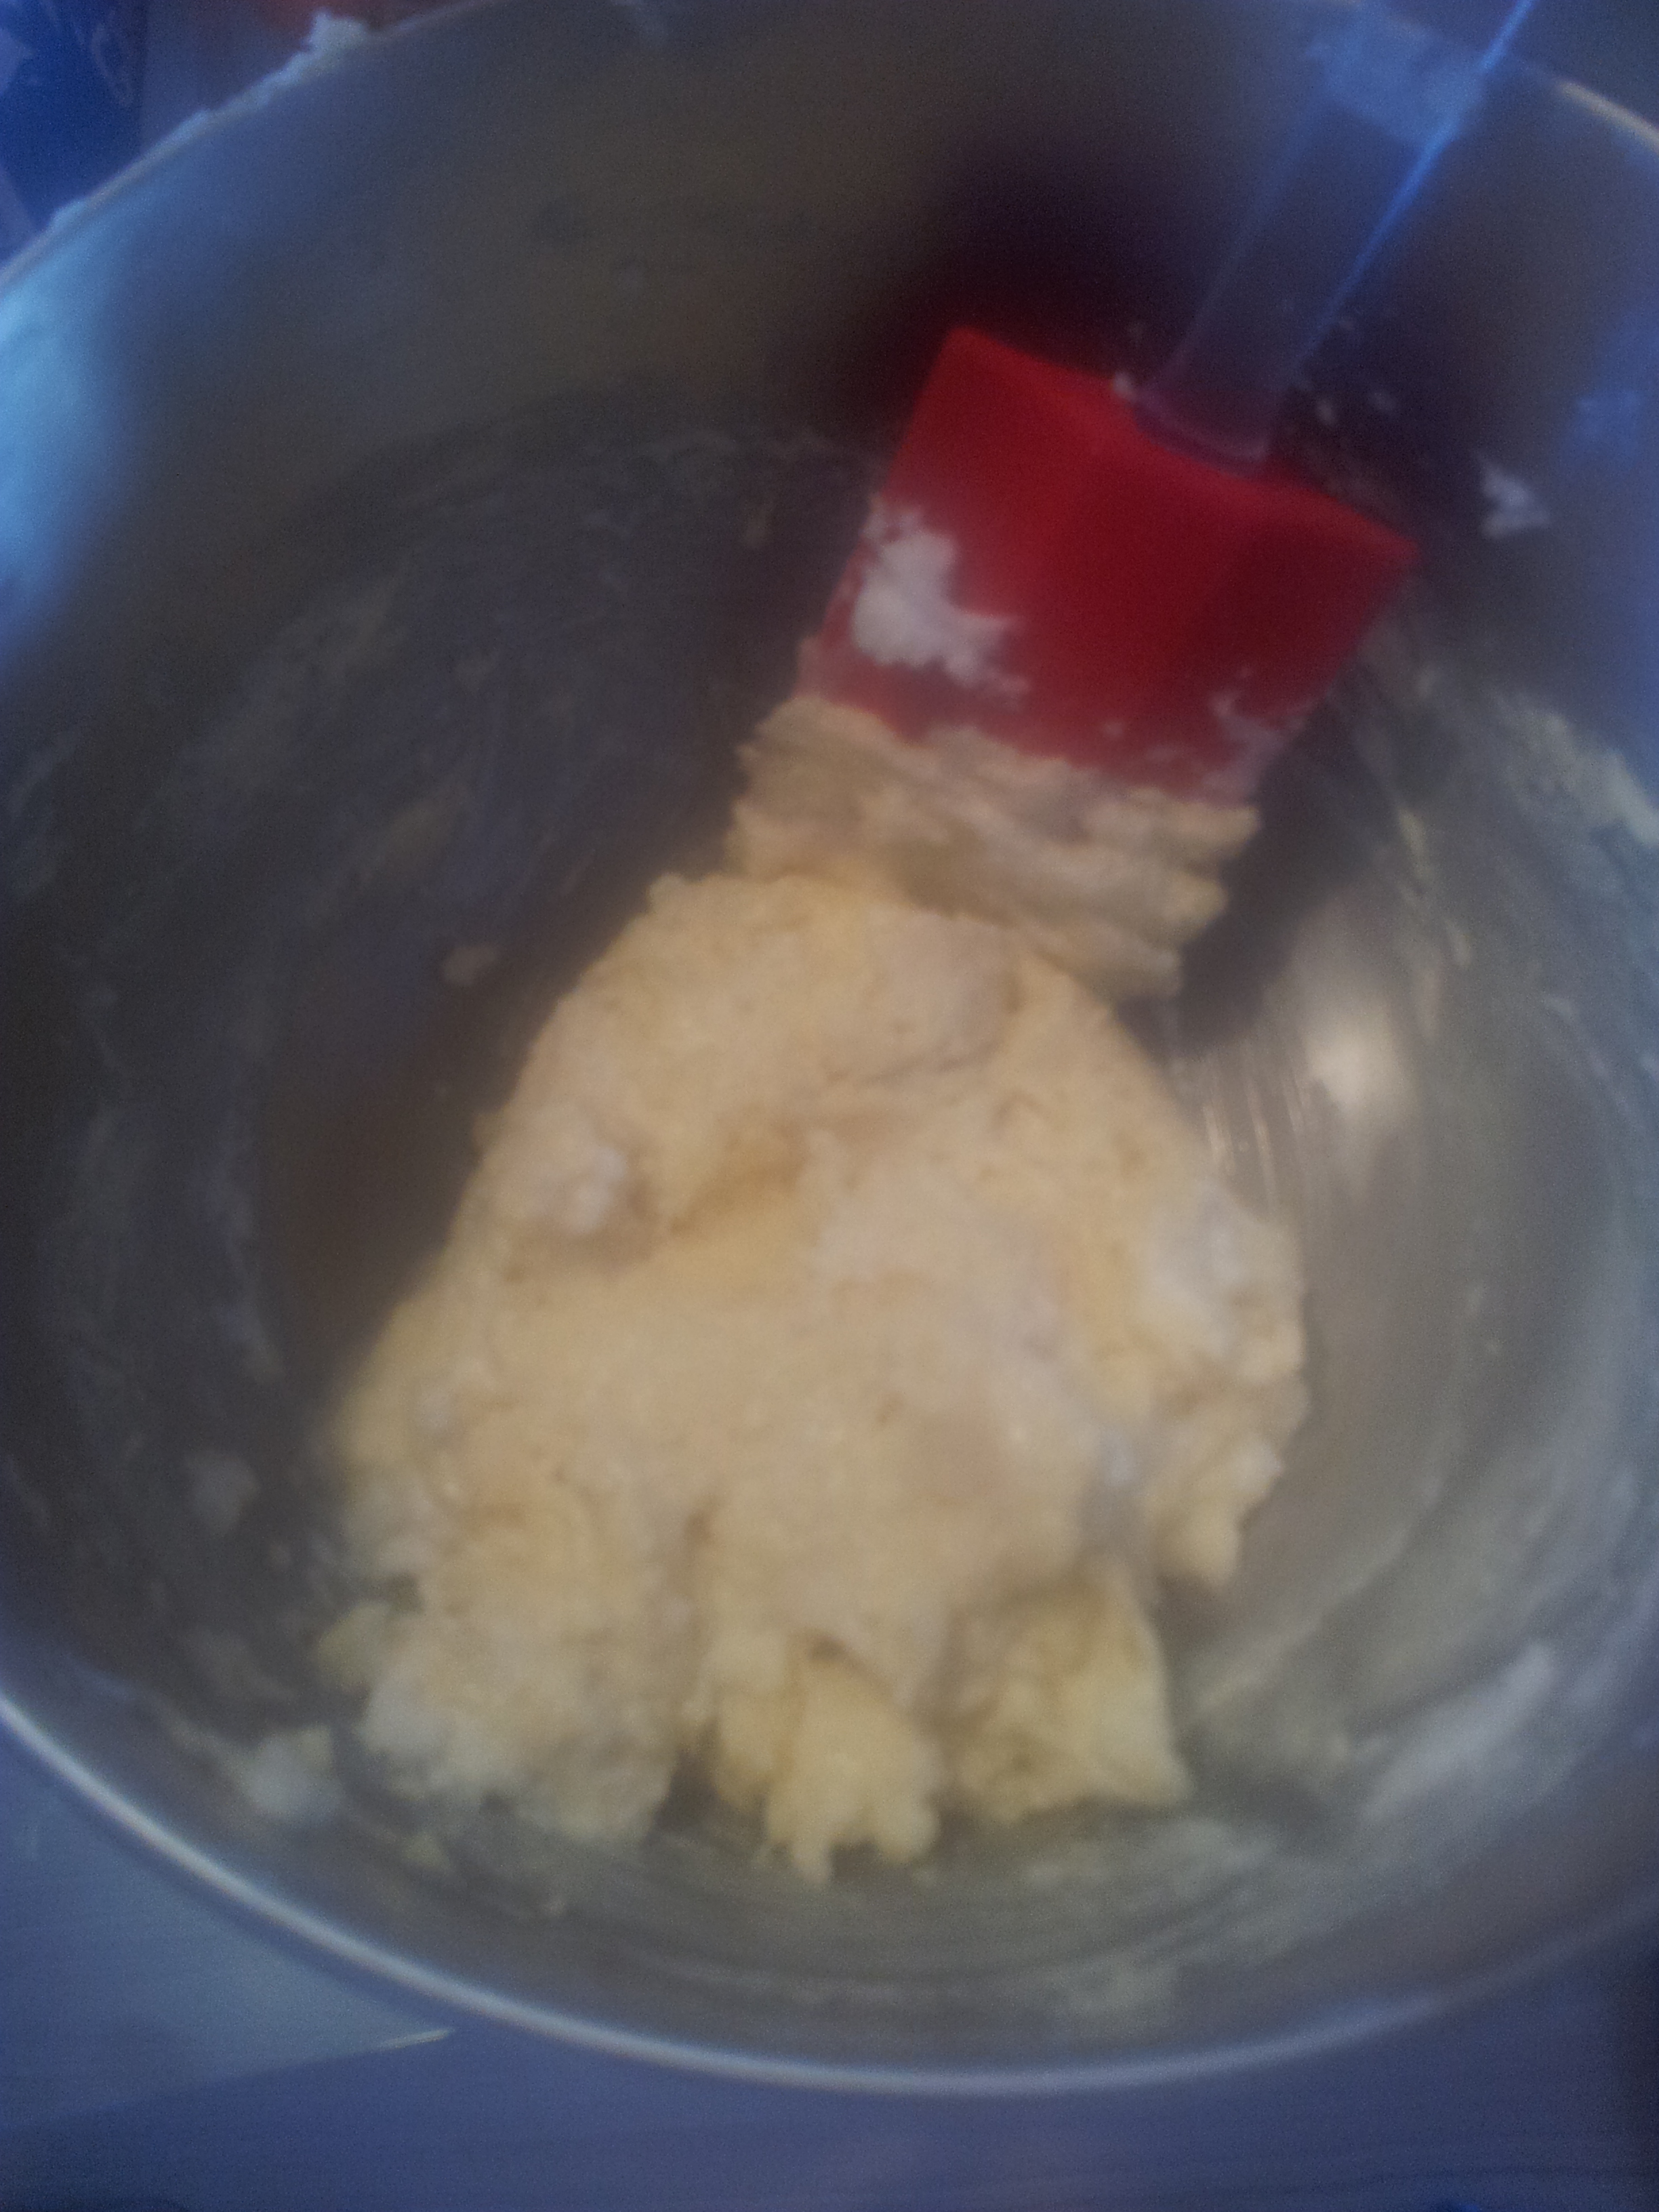
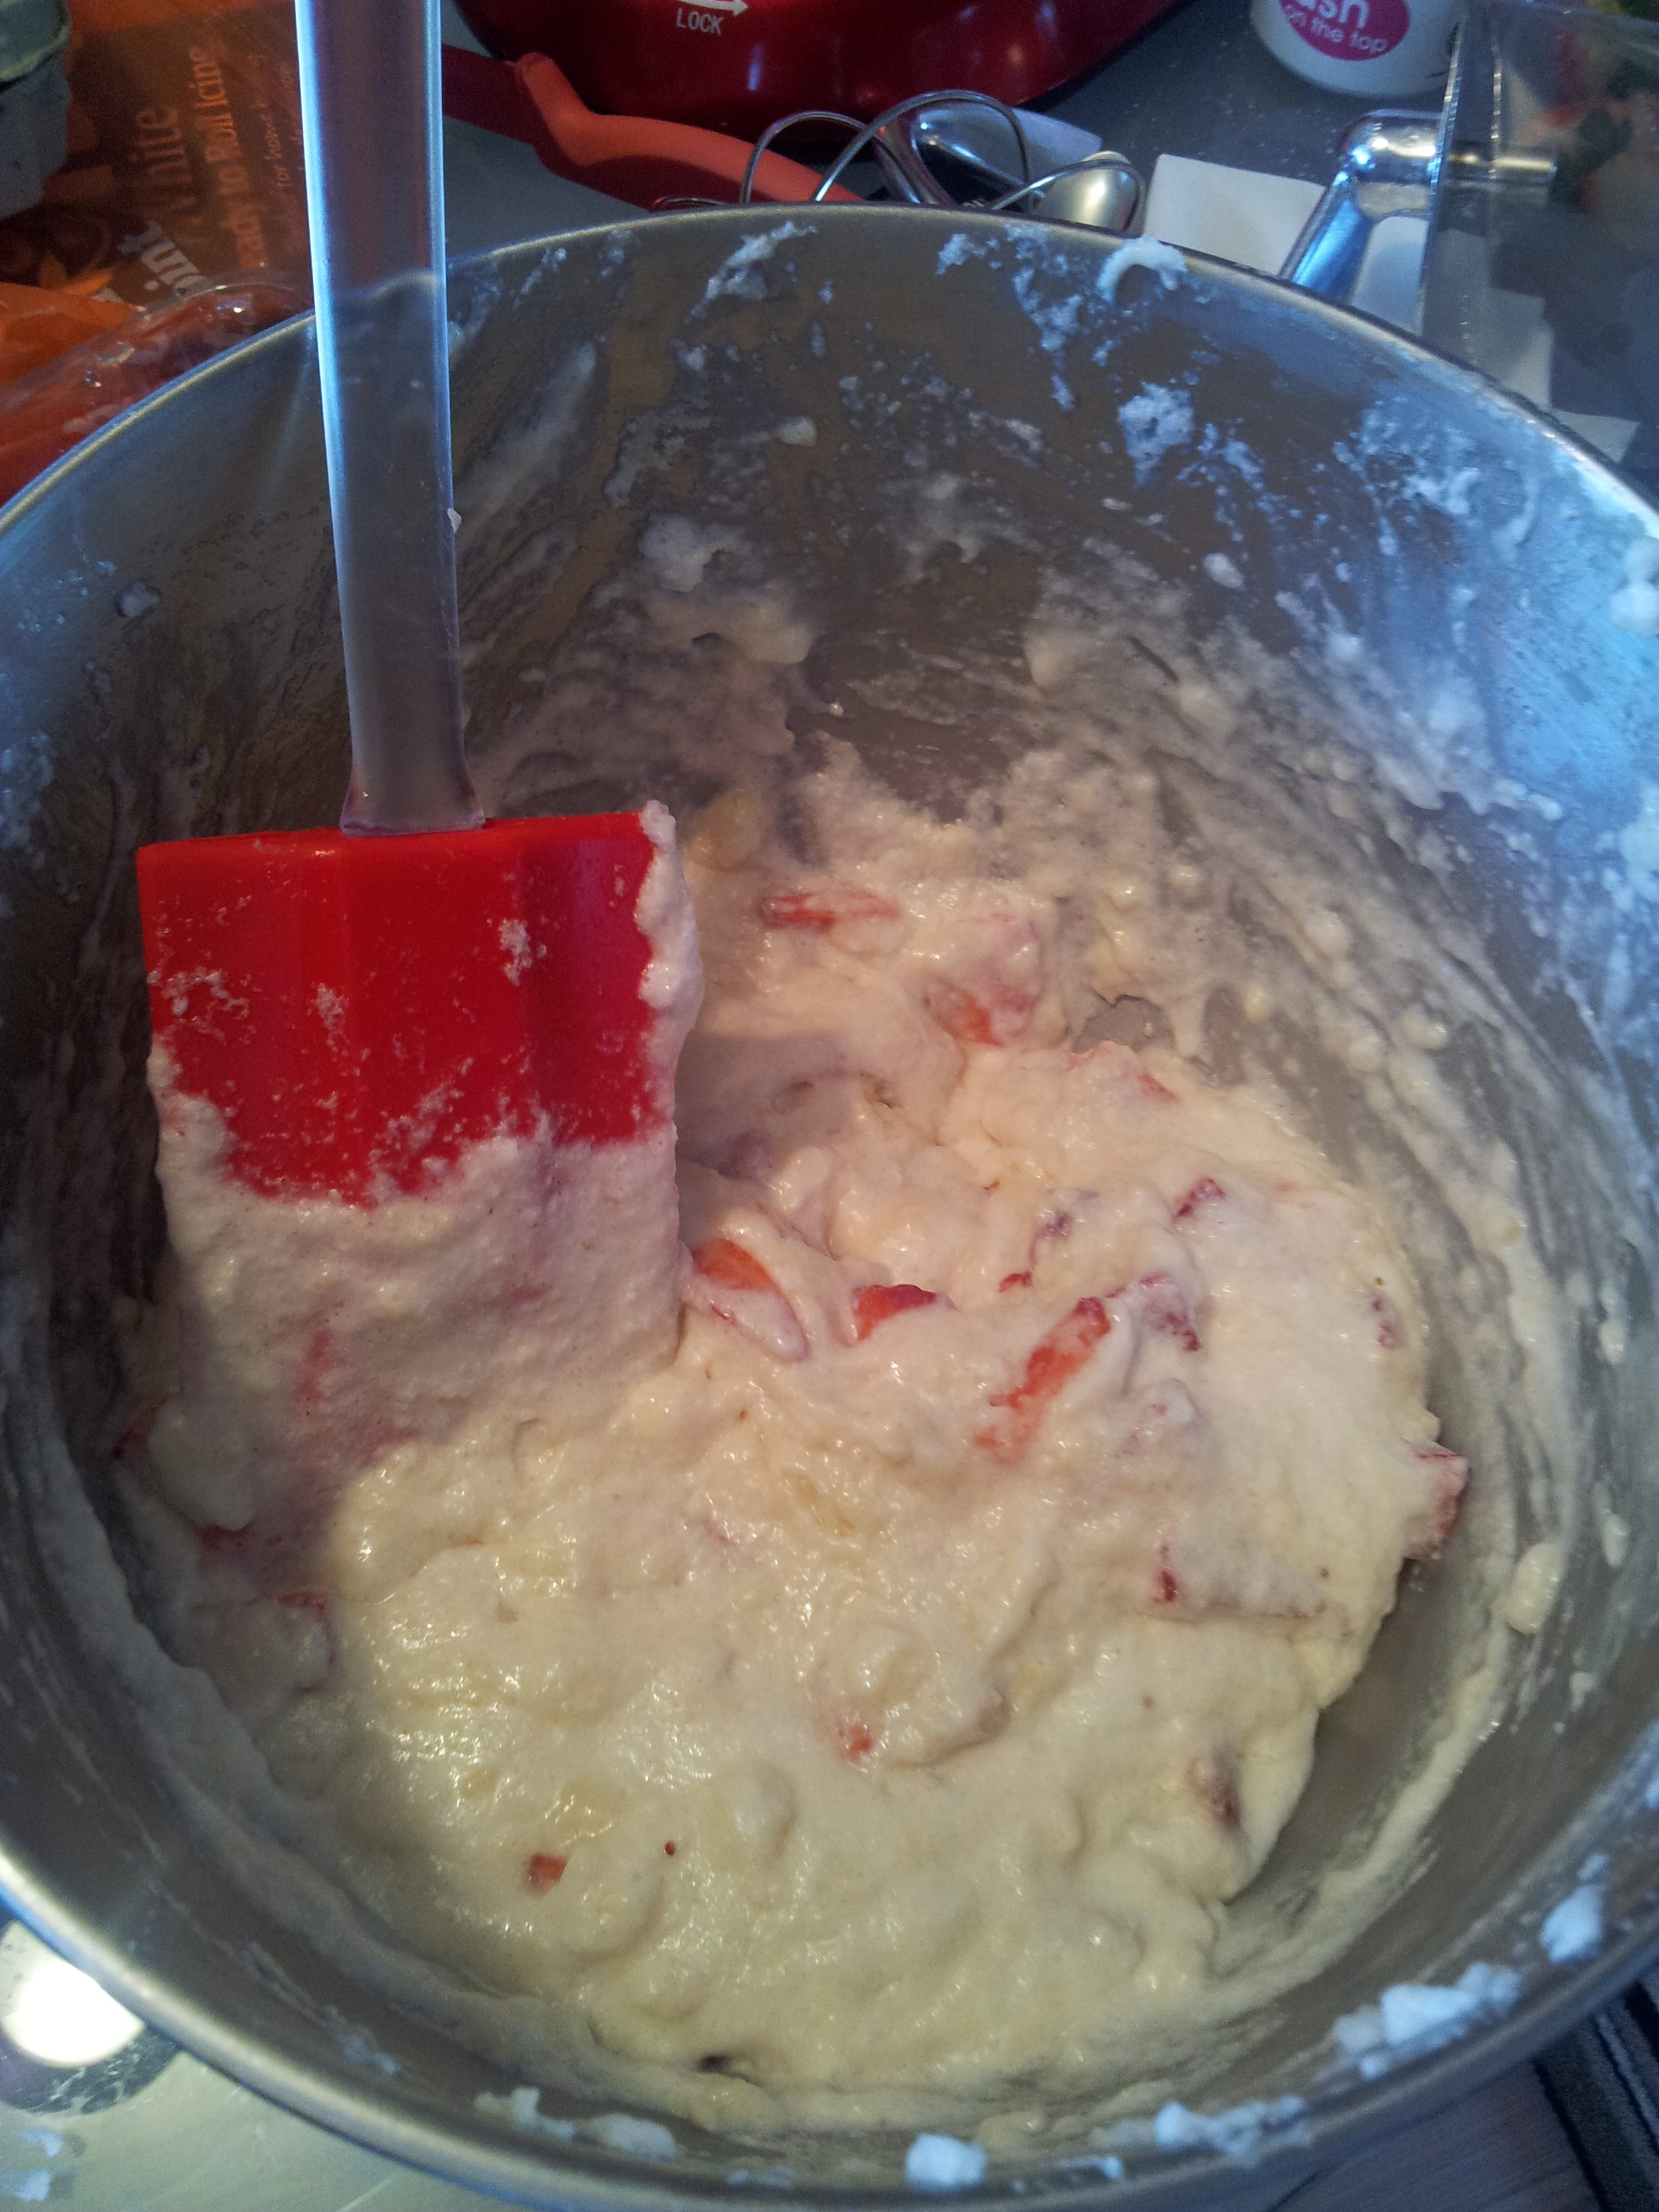
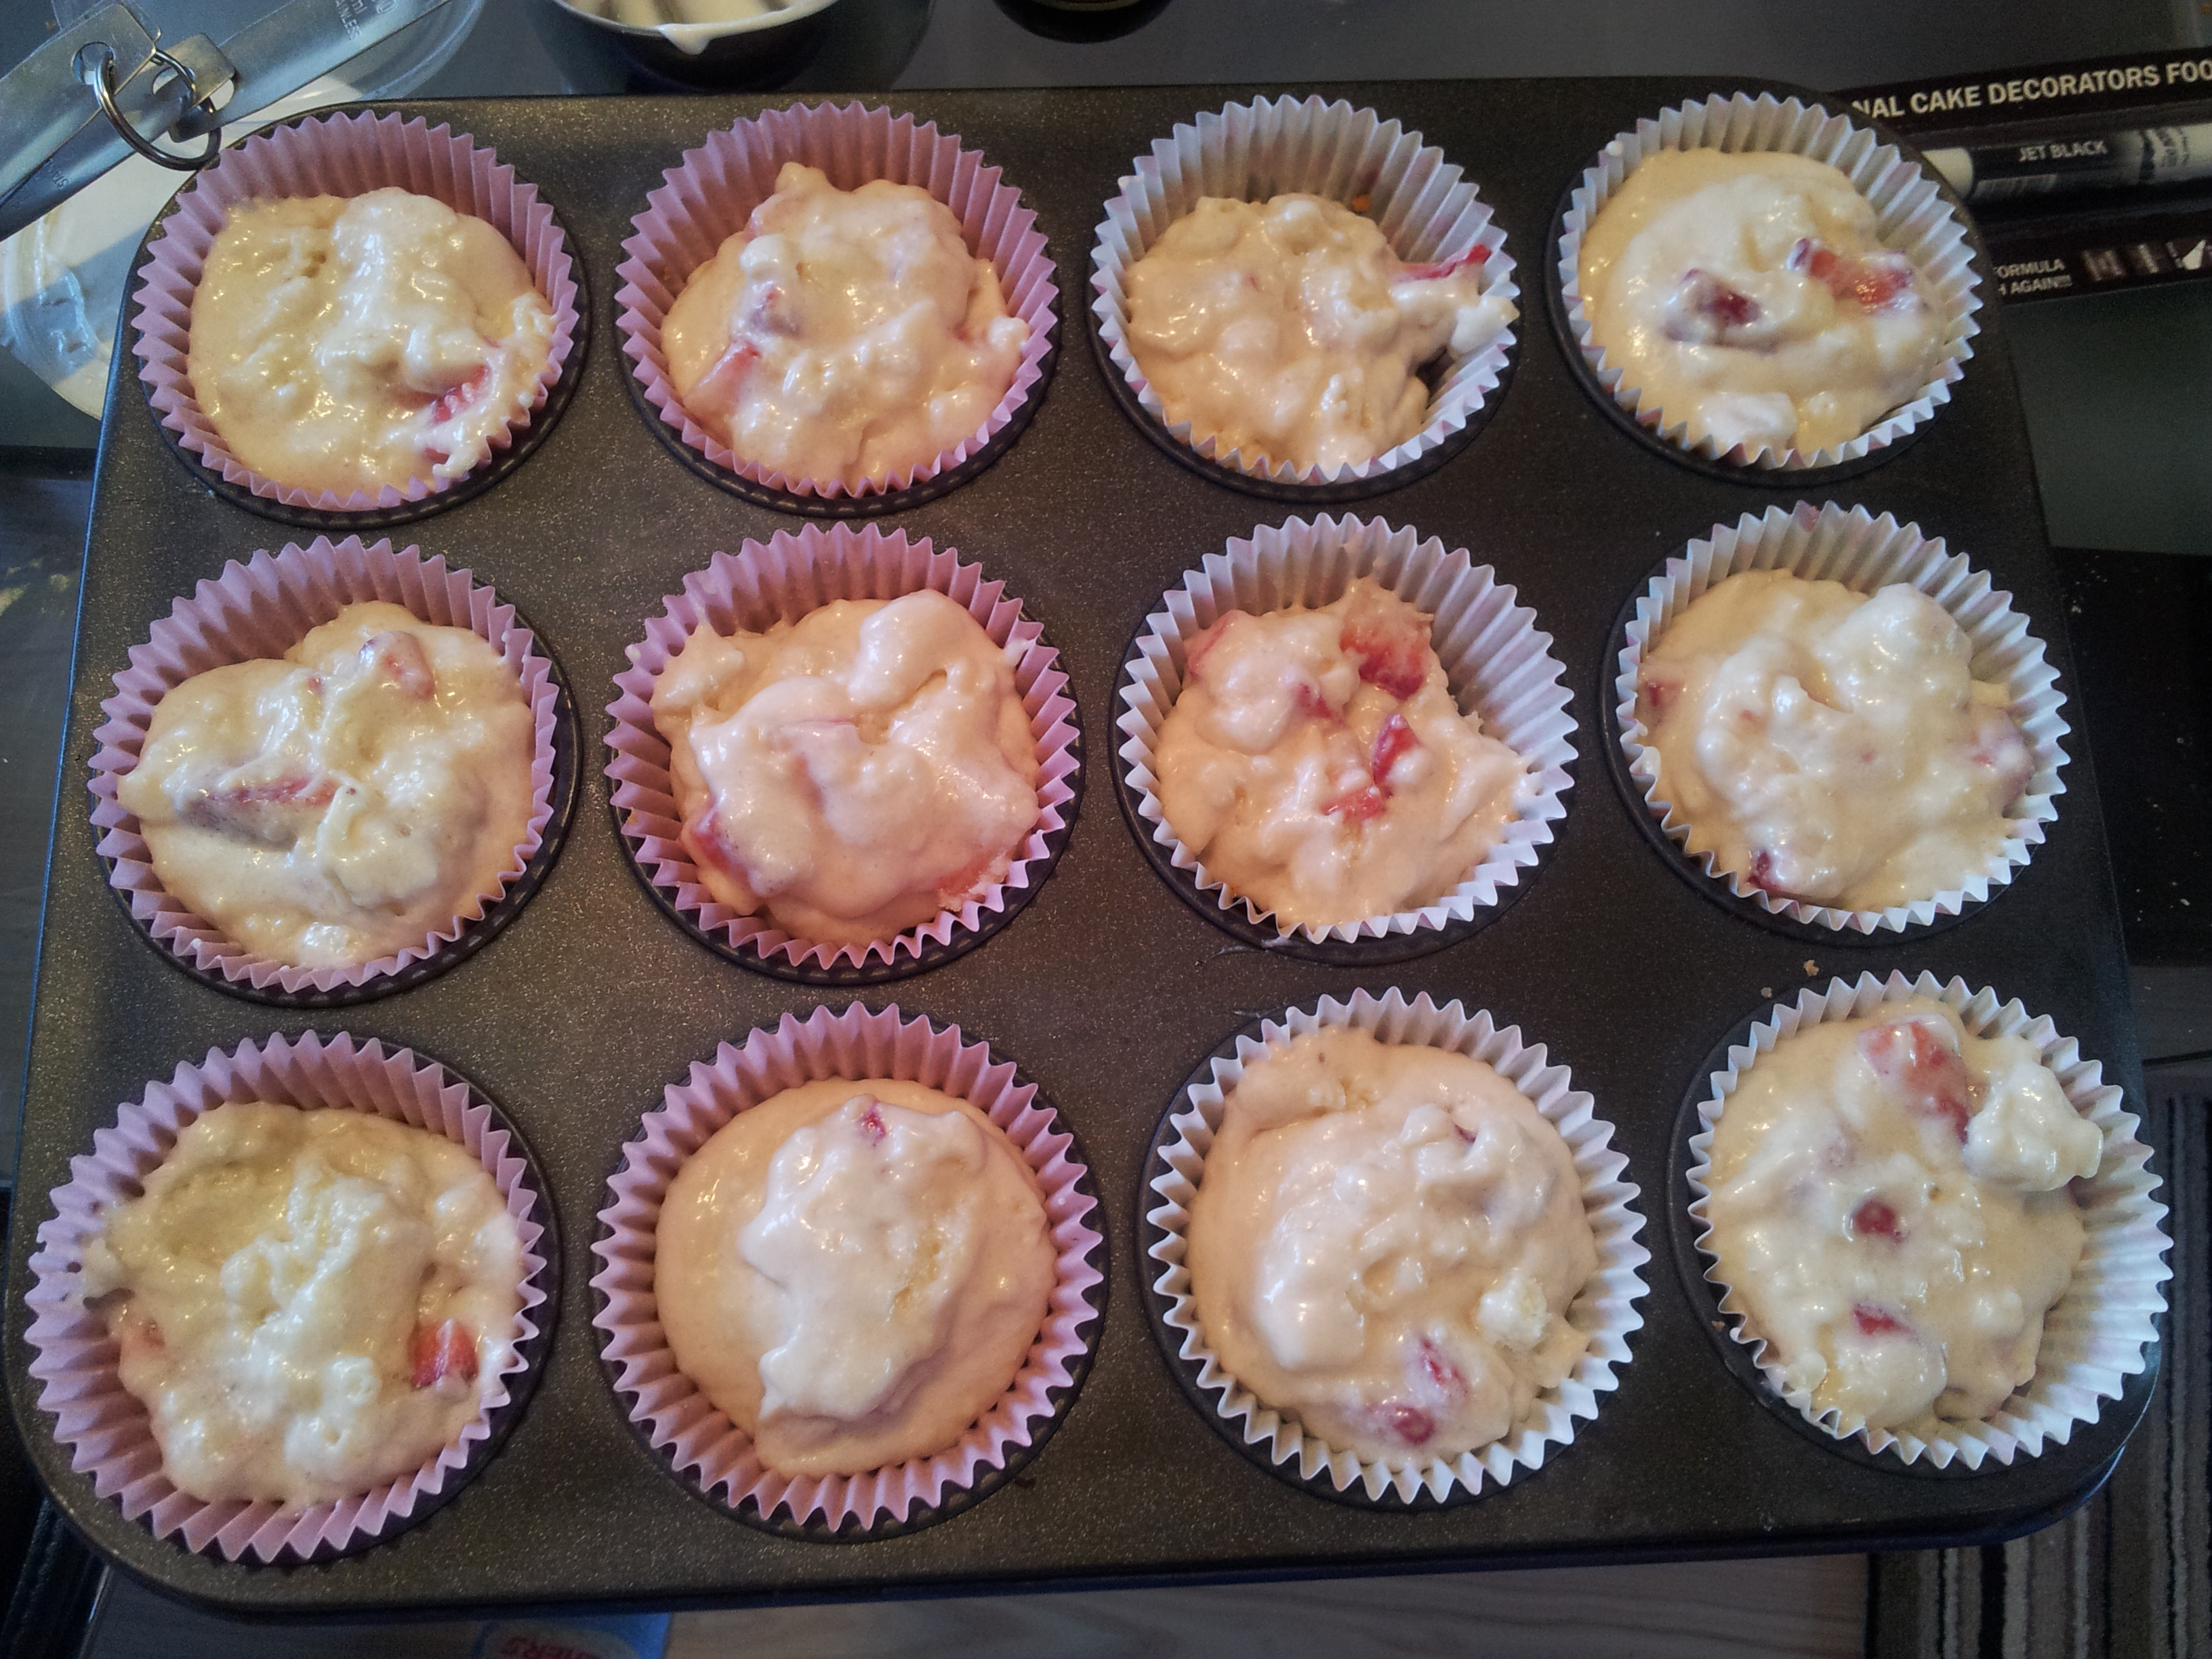
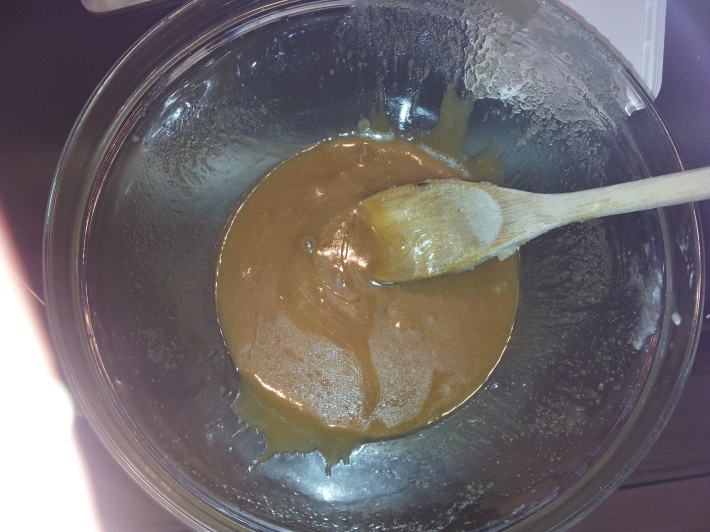
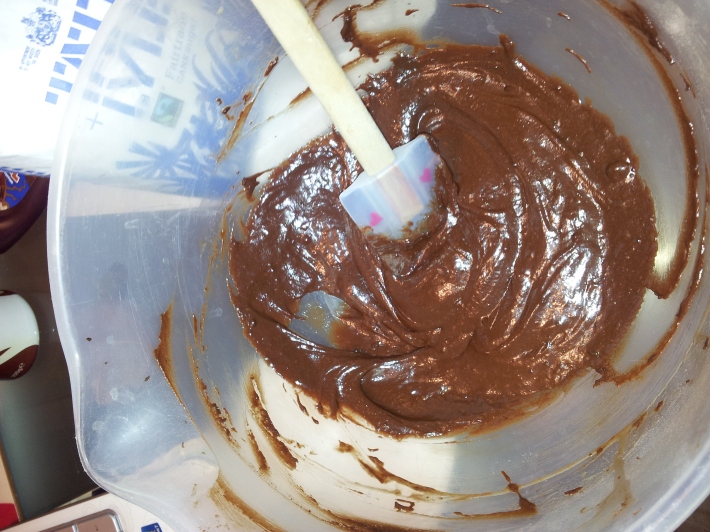
Directions


Cream Cheese Frosting


I saw these on a few cooking websites so thought I’d try these for myself and maybe give them a little twist.
These are pretty easy to make and I’l go through in a step by step basis.
Brownie Cupcakes
Now I’ve made 2 types of these. Chocolate brownie cupcakes and White Chocolate Brownie cupcakes. The ingredients are exactly the same except you substitute cocoa powder with white chocolate powder (I used hot chocolate mix which actually worked really well!)
Ingredients
Directions

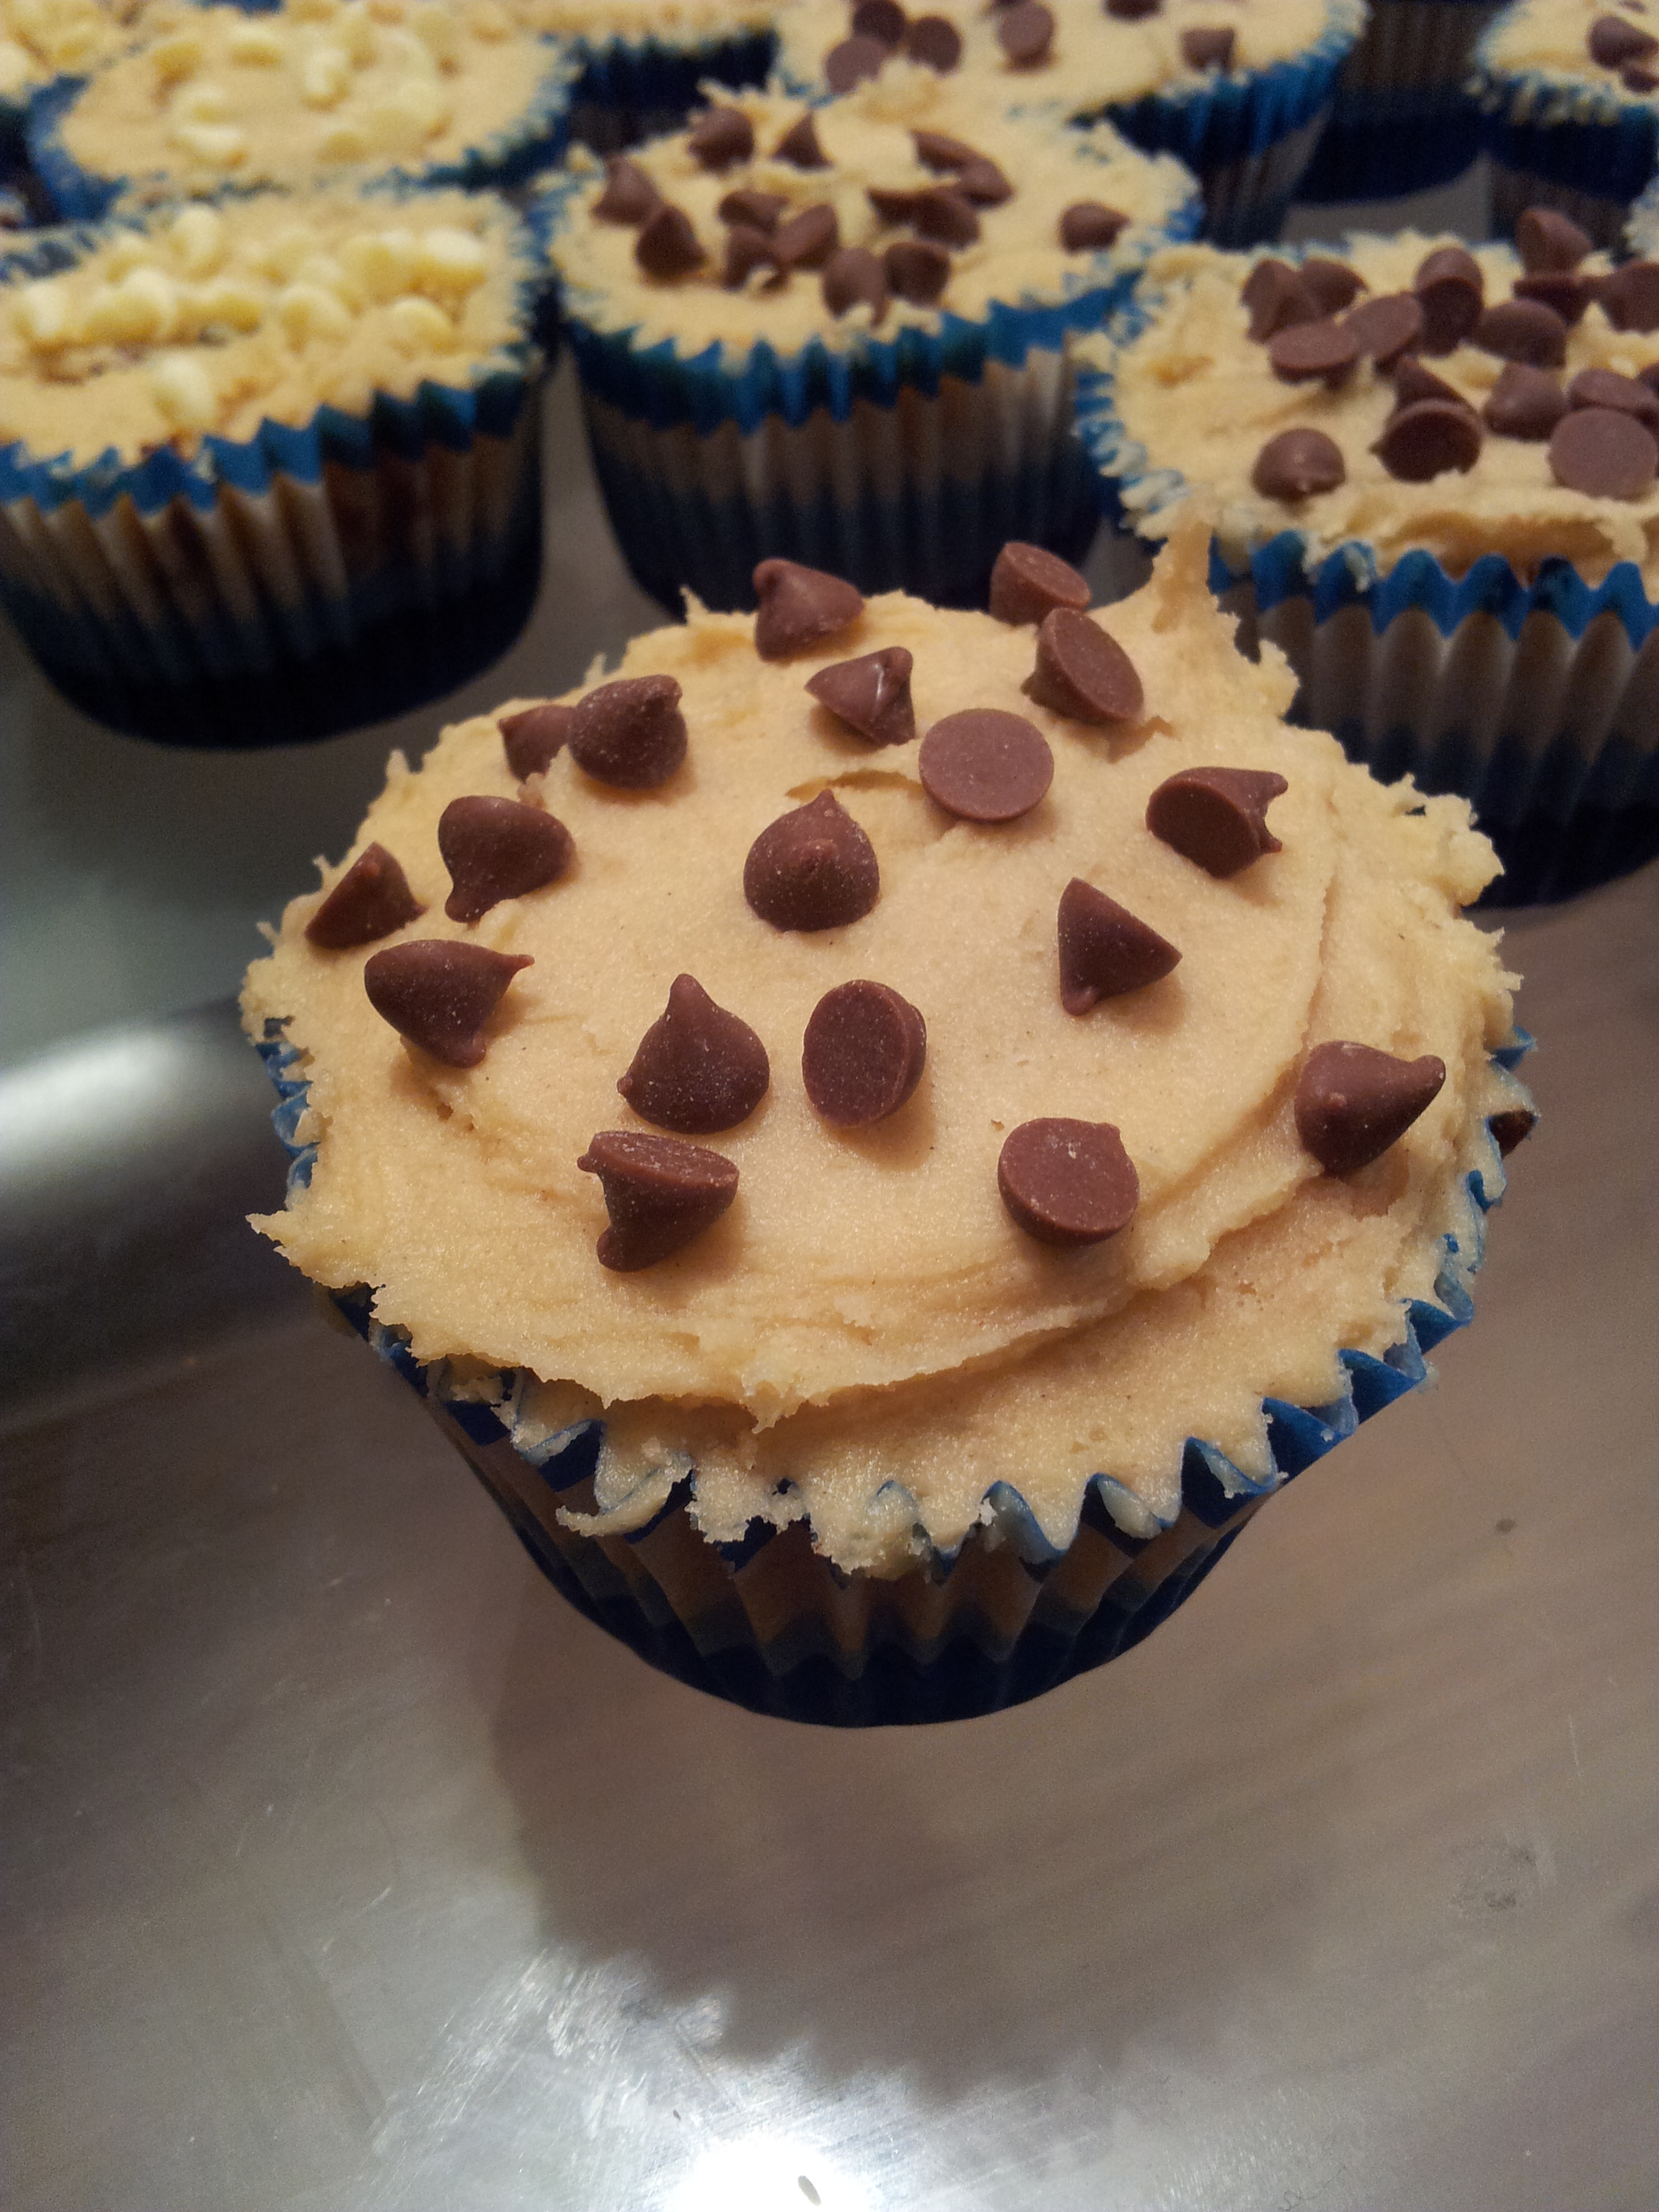
Cookie Dough Frosting
Directions
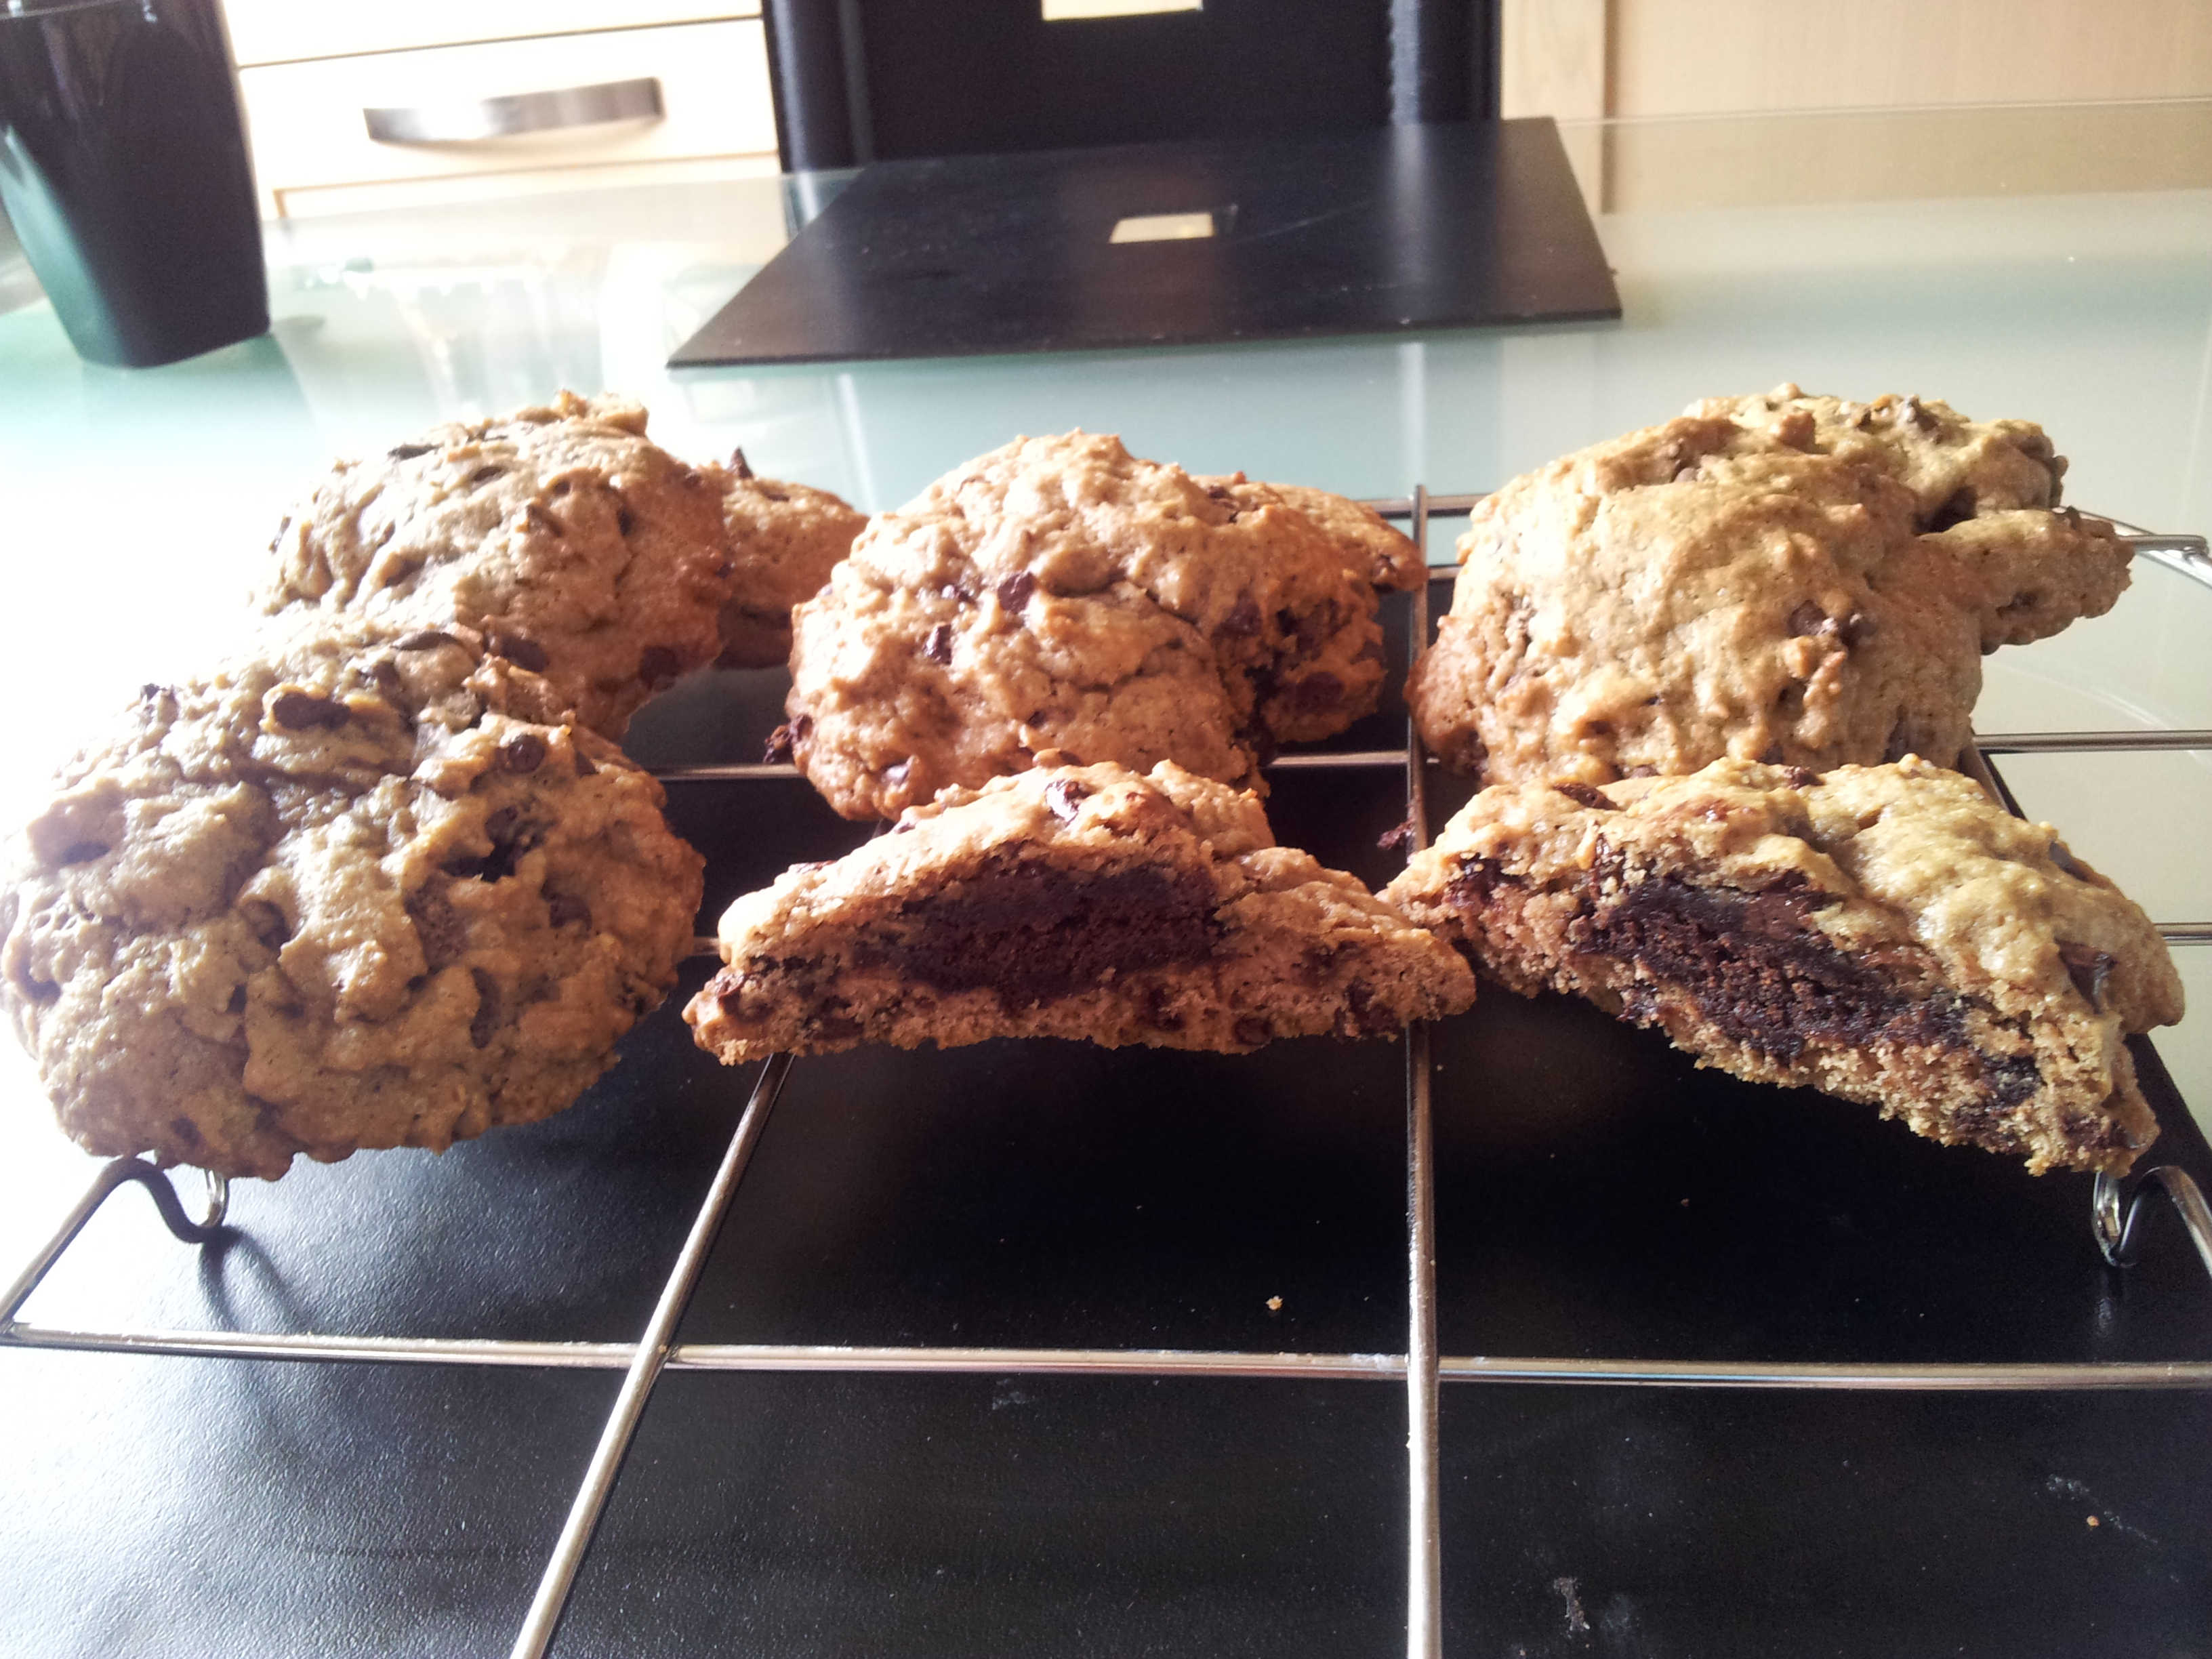
Now these cookies are absolutely delicious and have a surprise inside! They aren’t actually cookies but cakes because they’ve got a brownie inside…. yes that’s right I just said there’s a brownie inside!
So you start by making a brownie. Normally I like to make a nice and fudgy so they are a real gooey inside.
Ingredients:150 gm (4 ounces) of Unsalted Butter, at room temperature
200 gm (about 7 ounces) of Bittersweet Chocolate, melted
1 Cup of Sugar
2 tsp of Vanilla Extract
¼ tsp of Salt
1 Tbsp Cocoa Powder
2 Large Eggs
2 Tbsp of warm Water
2/3 Cup of All Purpose Flour
1) Preheat your oven to 180 c/ 350 F. Spray an 8 by 8 inch square pan with non stick cooking spray and lay the bottom with parchment paper.
2) Chip your chocolate and melt it in a microwave
3) mix the butter and sugar together and stir in the eggs one egg at a time.
4) Add Vanilla and mix
5) Add the Chocolate to the butter and sugar mix
6) In a different bowl, mix the flour and Cocoa Powder together
7) Add the flour and Cocoa powder into the other bowl.
8) Stir until completely combined and then you have your amazing batter!
9) Pour the batter into the prepared pan and cook for about 40 – 45 mins.
Now comes the fun part!
Cut the brownies into 1 inch squares, you should be able to make quite a few of them!
Chocolate Chip Cookie Dough
1) Beat the butter with a mixer until creamy.
2) Add the brown sugar and continue beating with the mixer until smooth.
3) Then start to add the eggs and Vanilla. Once again beat until smooth.
4) Combine flour, baking powder, soda and salt in a medium bowl and stir together with a whisk.
5) Add flour to the butter mixture and beat until combined.
6) Stir in the mini chips.
Make sure the dough is covered and chilled in the refrigerator for at least an hour
Preheat oven to 350 degrees.
Combining the two!
Now you are going to need about 1/2 a cup of cookie dough for one cookie…. That’s right… 1/2 cup for one!!
Then put them on some parchment paper and then create a dip in the middle with your thumb so you can put the brownie inside. Move the dough so it wraps around the whole brownie.
Once you’ve done this for each one stick them in the preheated oven for about 18 minutes.
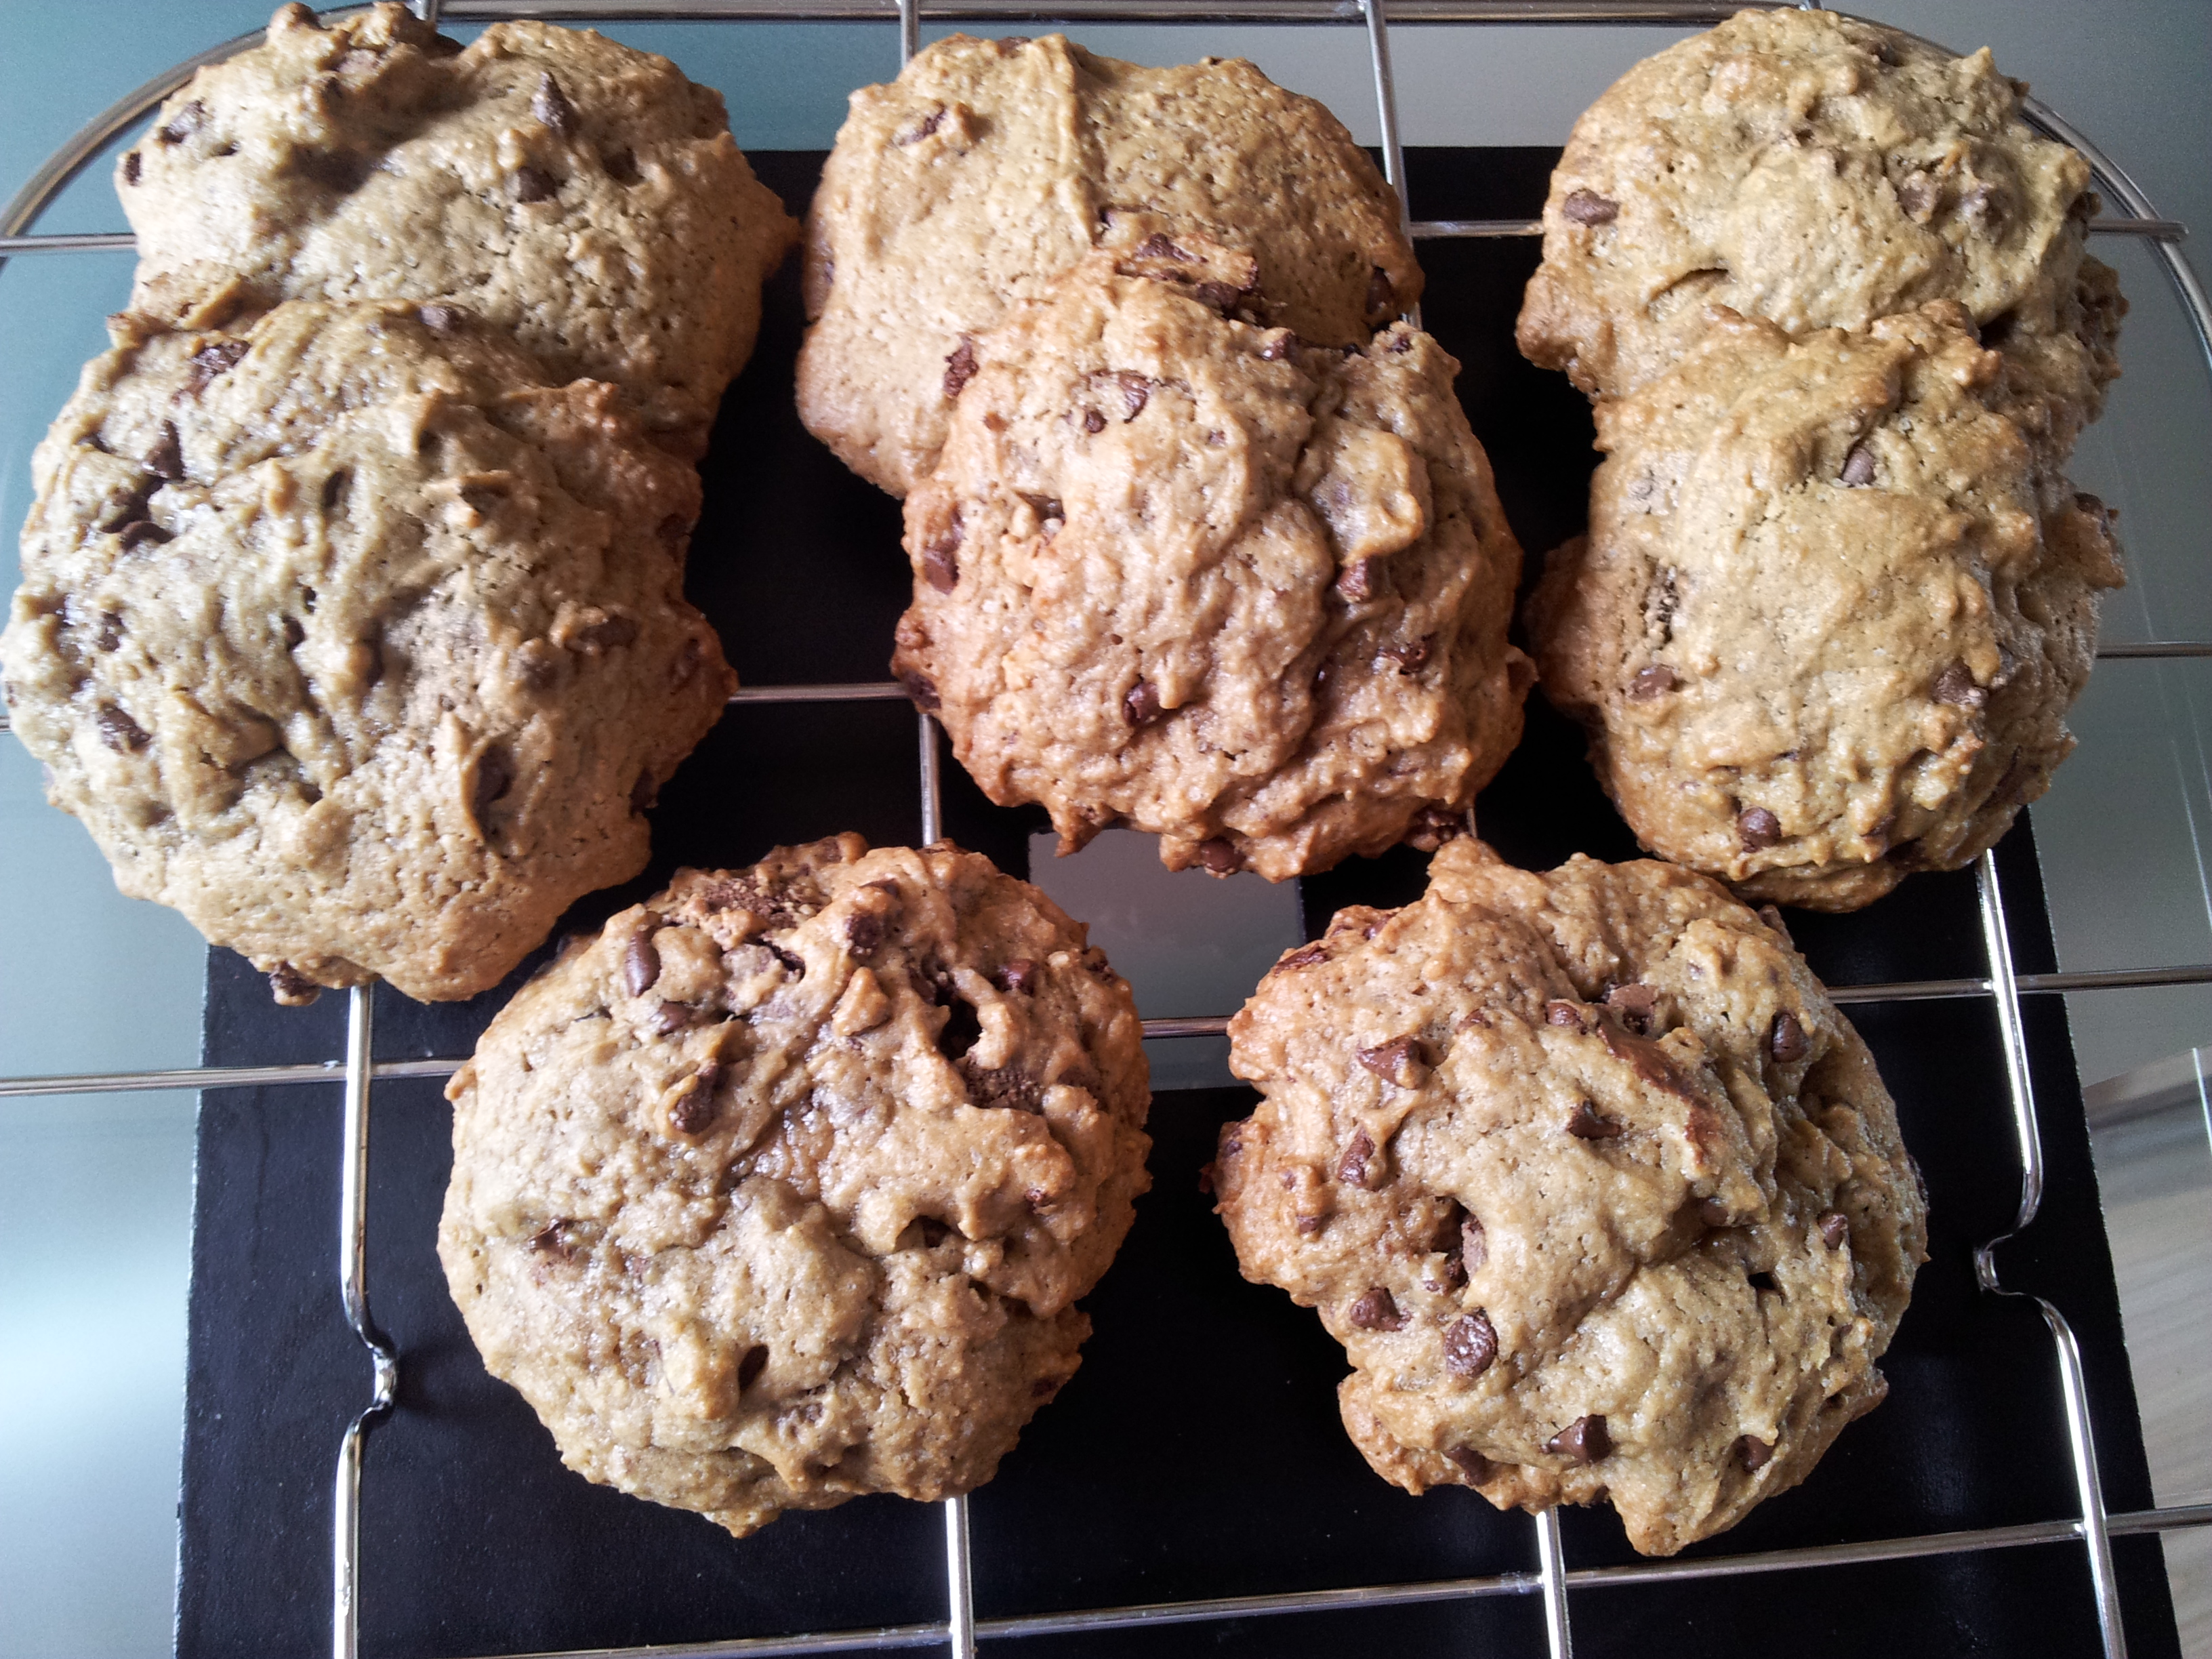
Leave to cool and then you’ve created these babies!
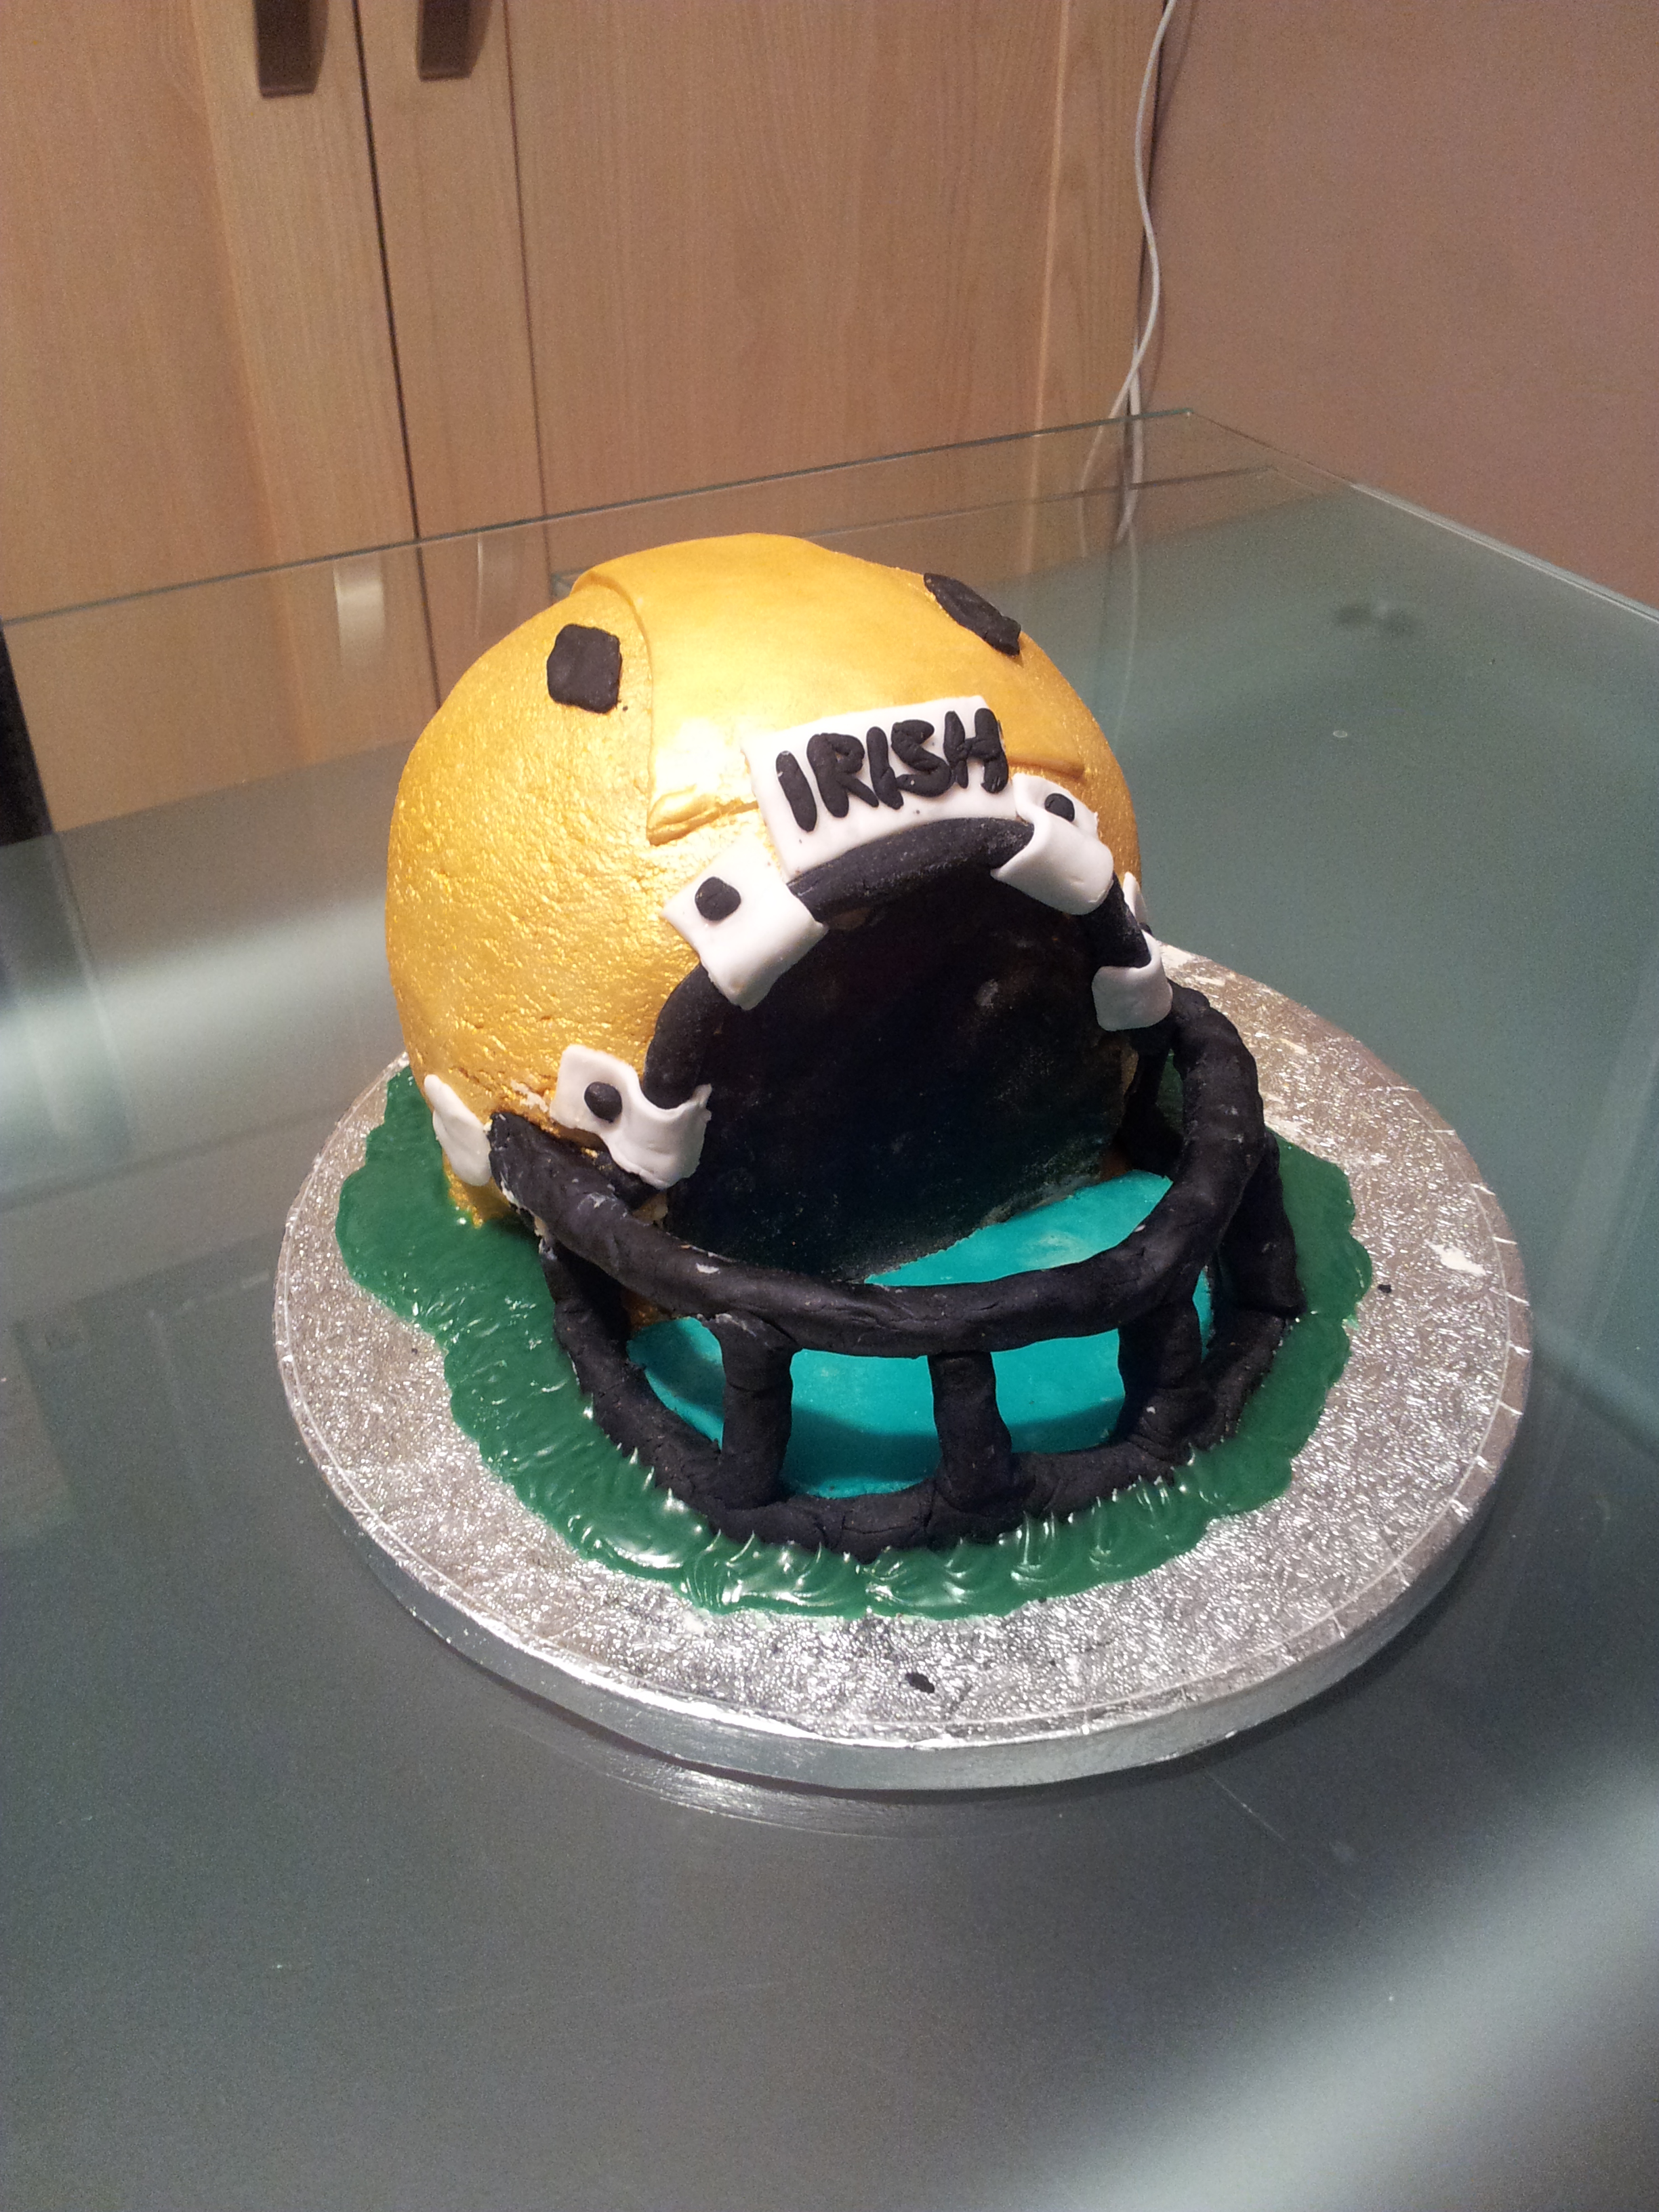
Thought I’d post these beauties on as they took ages! They go with my Fighting Irish Helmet cake!
Lets go Irish!

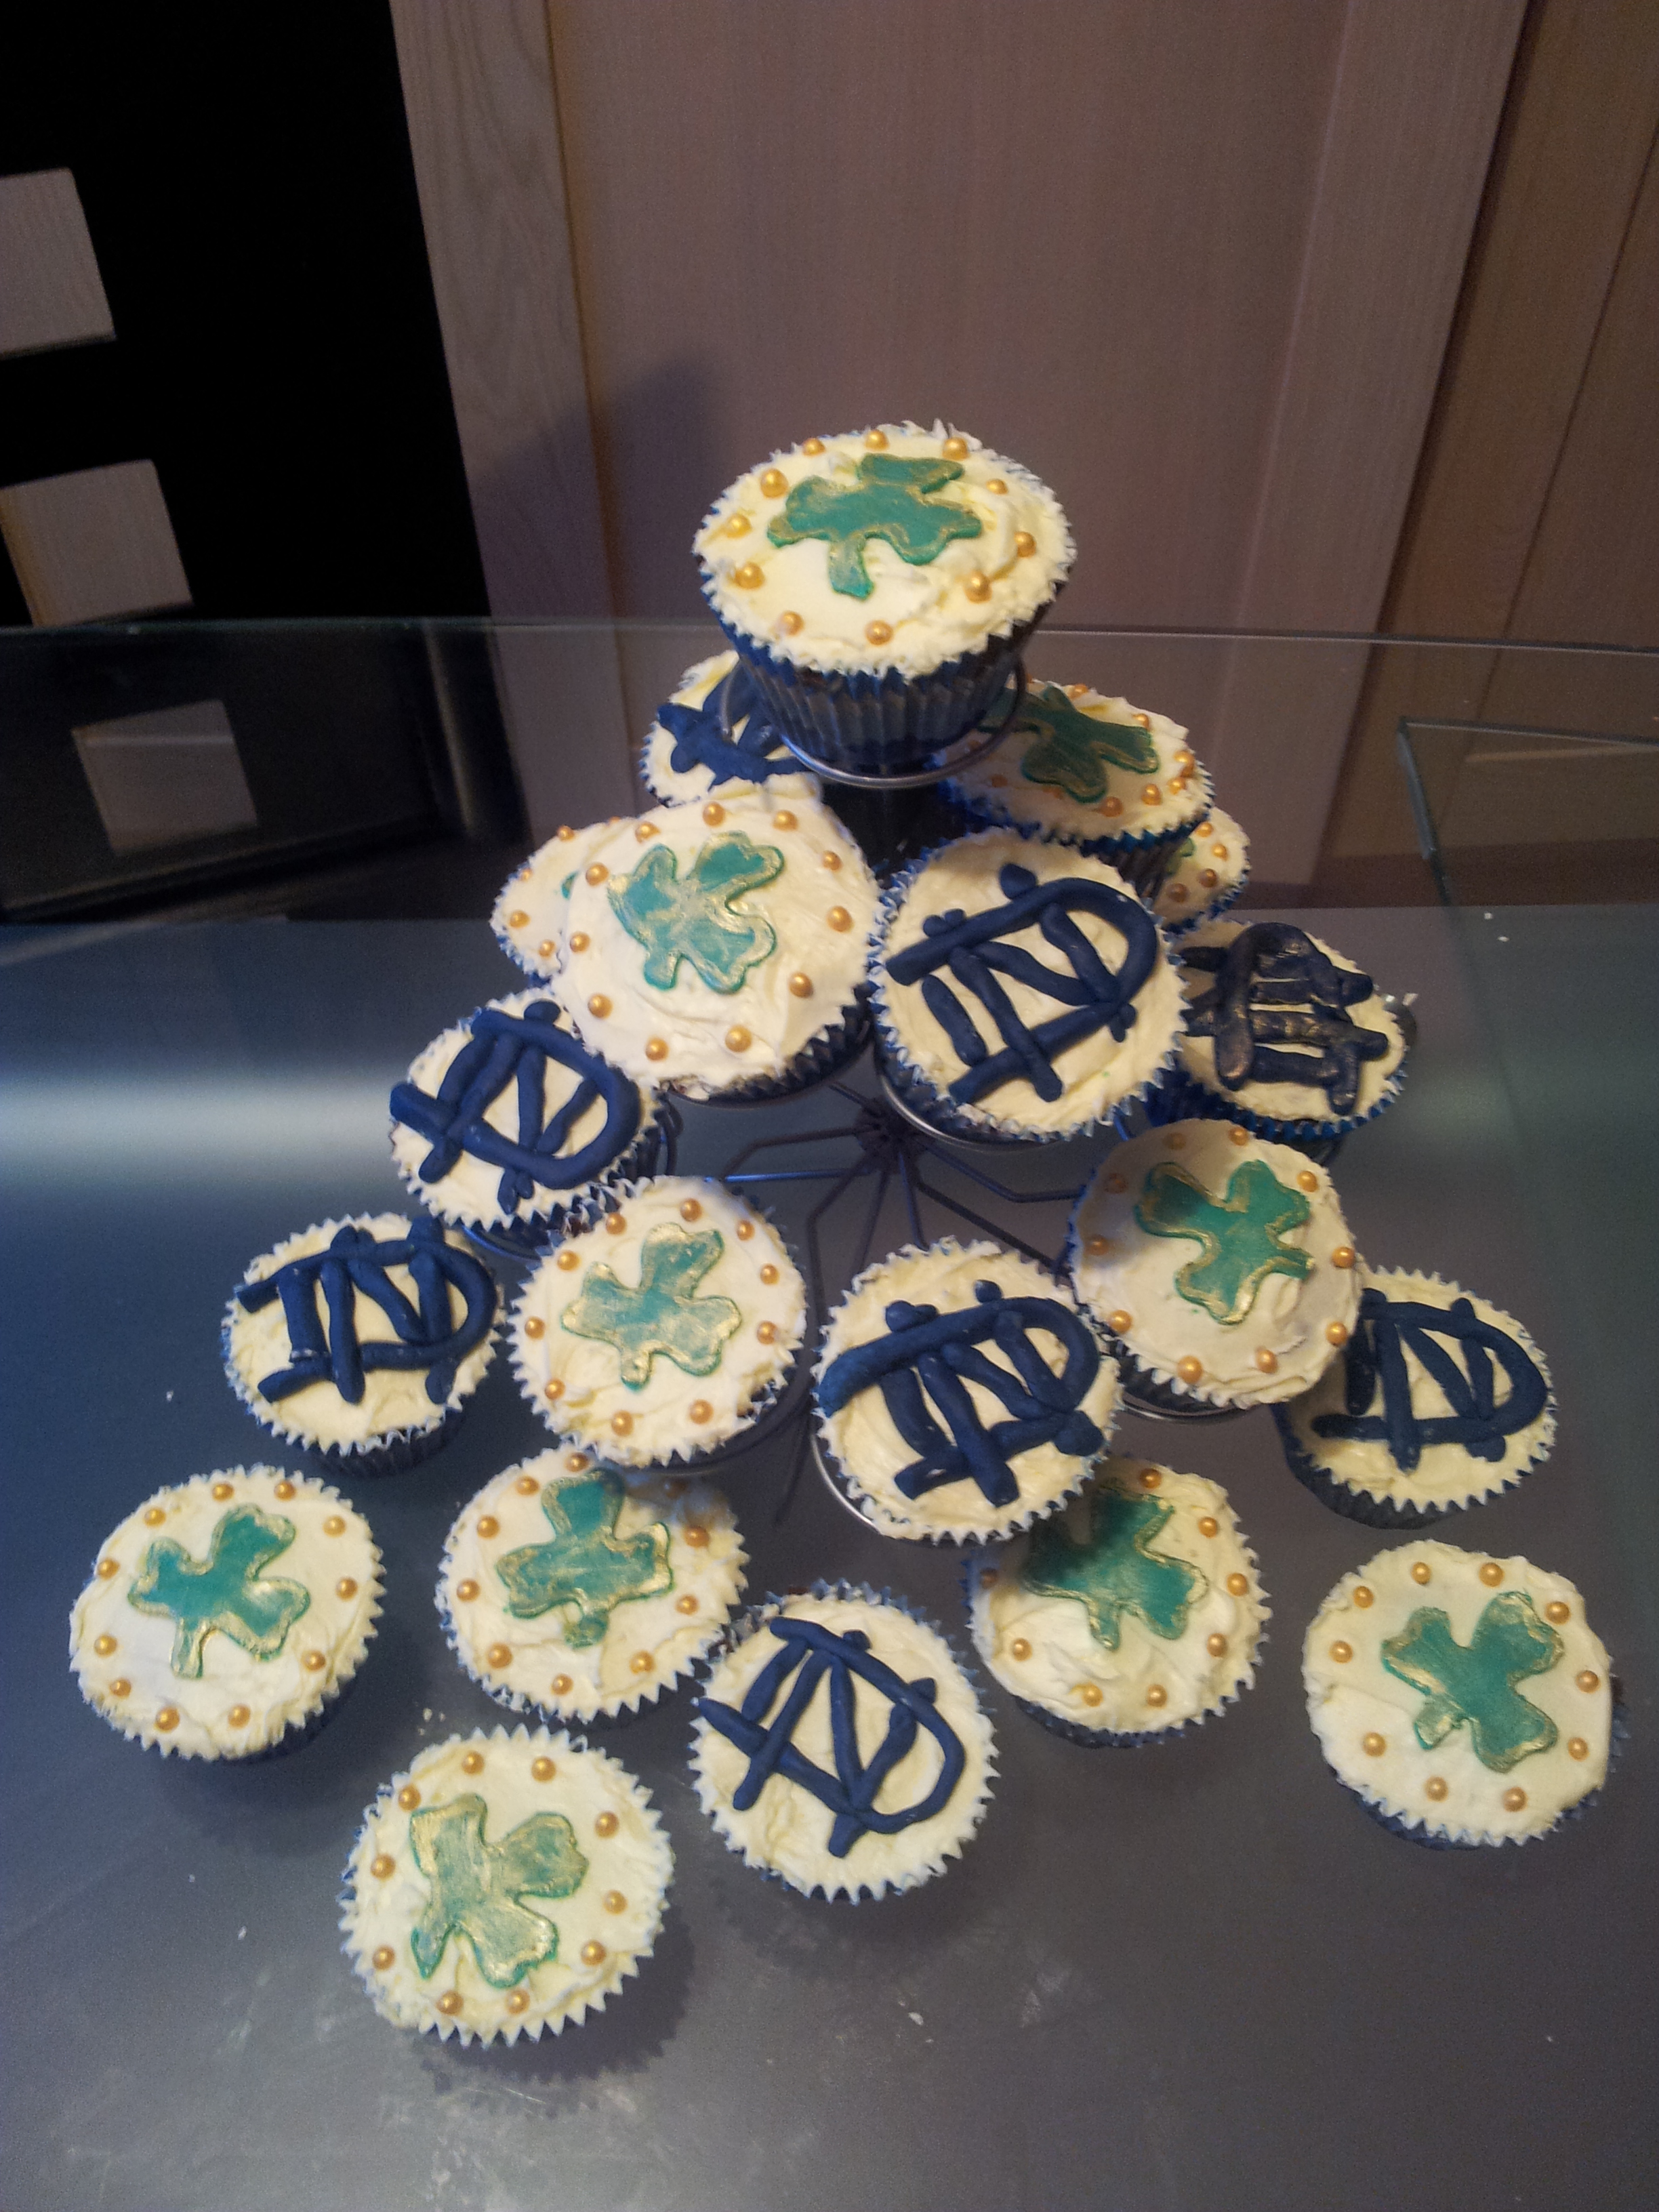

So, my favourite American football team is Notre Dame as my dad went there. They have had a great undefeated season this year, which has been the first undefeated season since 1988. They are in the BCS National Championship Game this year on the 7th so I thought I would make a Notre Dame cake in celebration!
I was looking on the internet for ideas and decided a helmet cake would be cool to make and also suitably challenging.
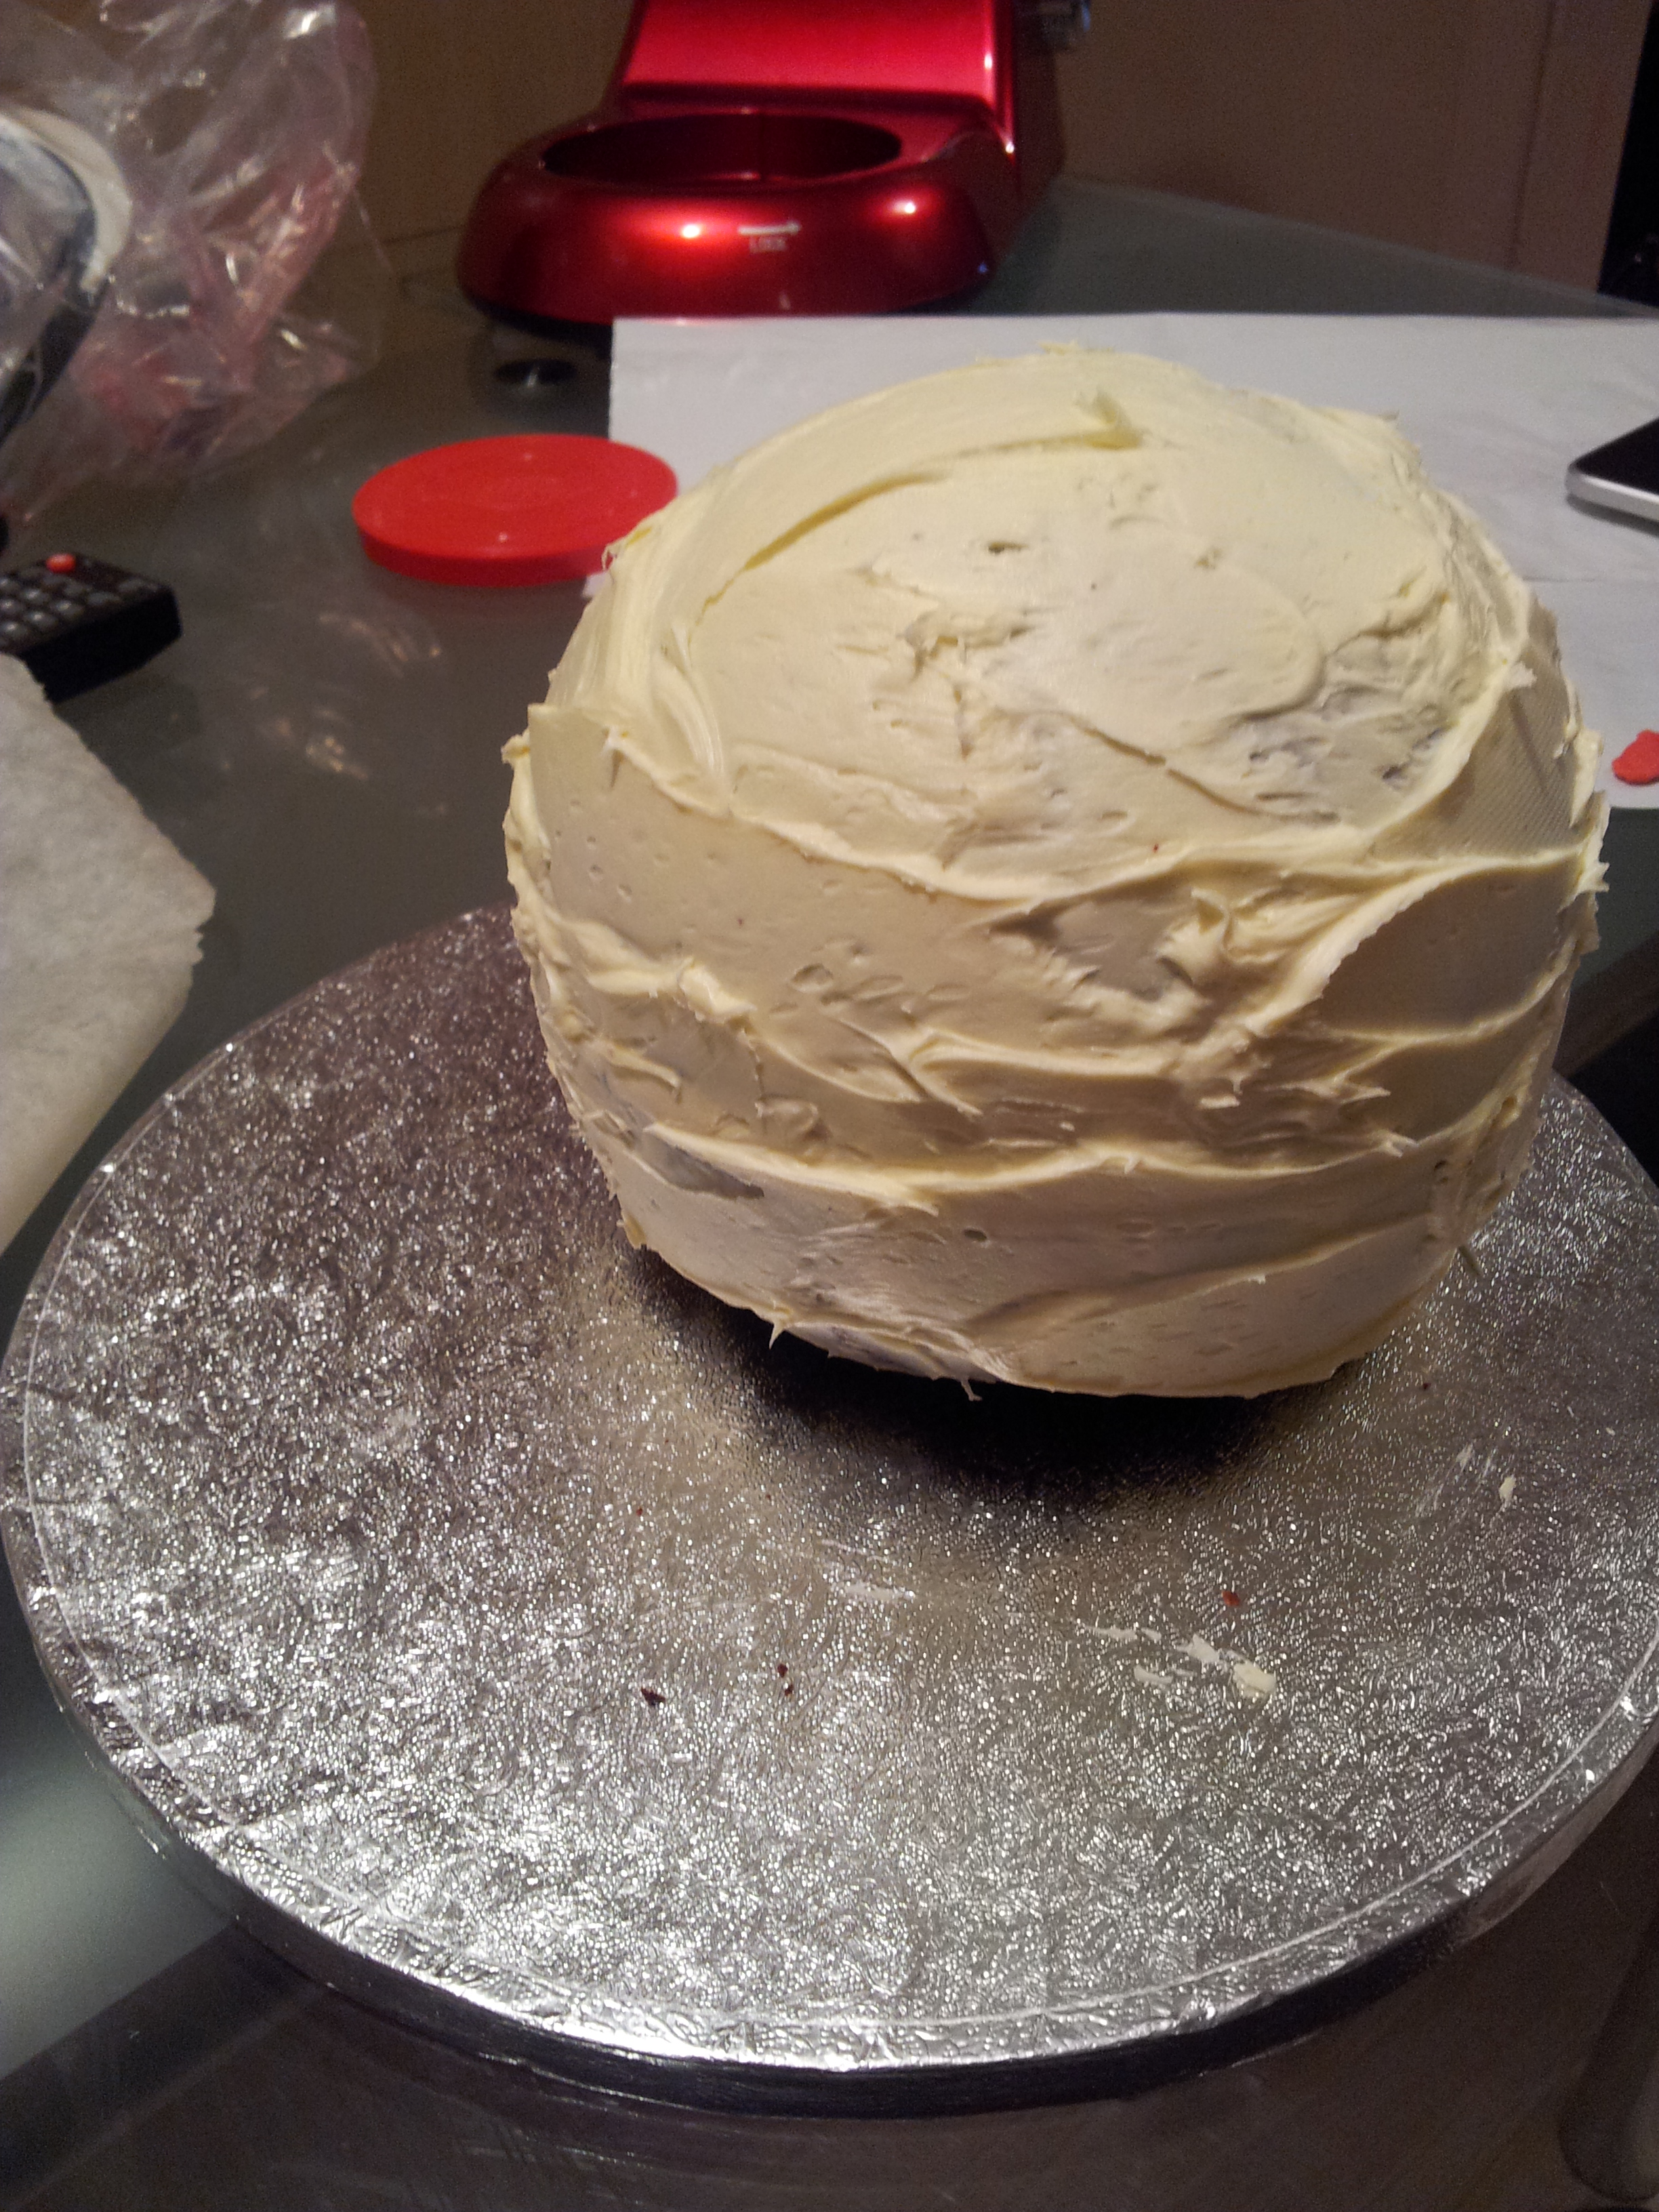
So you first have to start with a ball cake tin to make the two sides of the helmet. I then put them together and iced with vanilla buttercream. Surprising it was quite easy but the only difficult part is at the end when you try and ice the final side as it moves around but not a big deal.
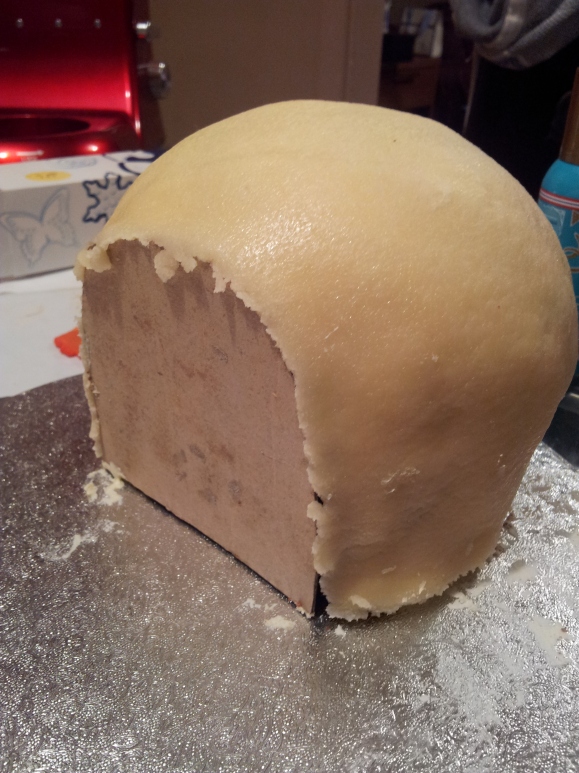
Once it was fully iced, I needed to cut a piece of the front off to make it look like the hole in the helmet. I cut a thin piece of cardboard to fit the front and gently cut a side off so i could put the cardboard there.
I decided to use Marzipan as the topping. this was mainly because it took the gold colour that I needed for the Notre Dame helmet a little better than Fondant and also the rigid texture made it look more like an actual helmet. When you are putting the Marzipan over the cake e very gentle. it doesn’t stretch as well as Fondant and cracks VERY easily (A lesson I have now learned)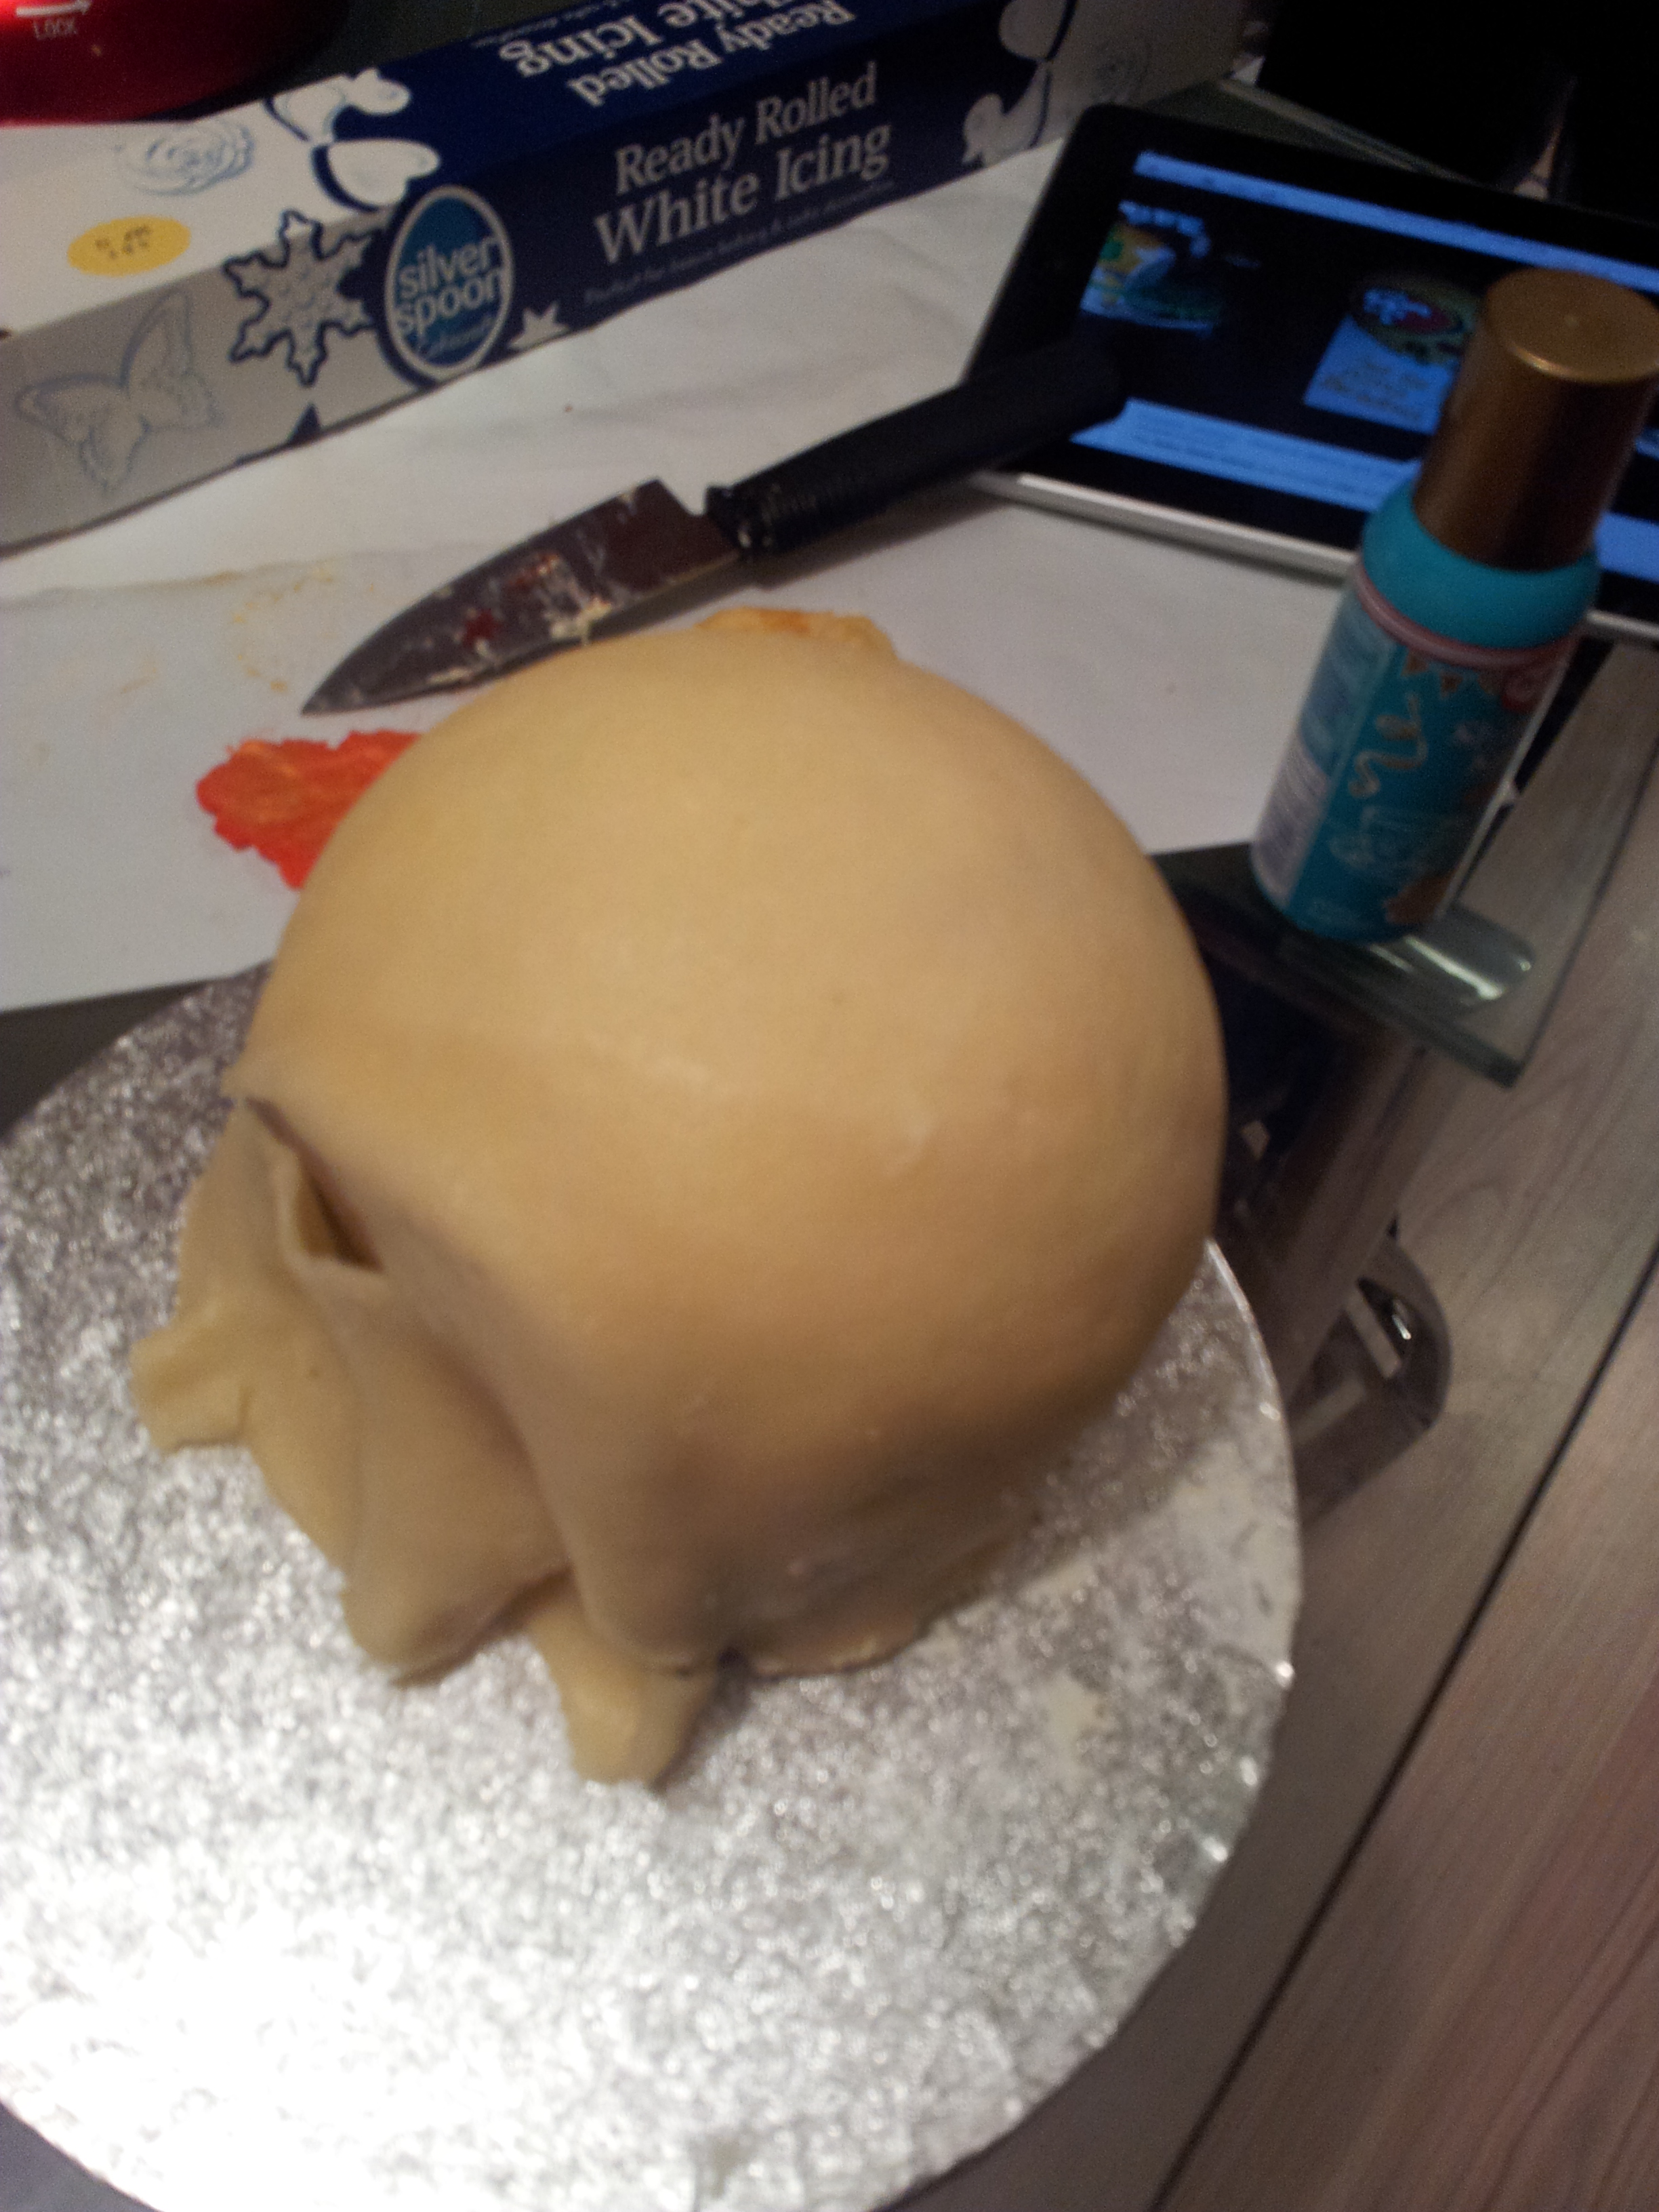 Don’t worry too much about the front where the cardboard is because you will need to gently tear it away from this part next so it looks like the below:
 Now, if I were doing this again, I would remove the cardboard and put the details and spray it with edible gold and then put the cardboard on.But what I actually did next was add the detail that needed to be sprayed gold and then covered the cardboard in buttercream, so I could put black fondant on it. The it was time to spray the helmet gold.
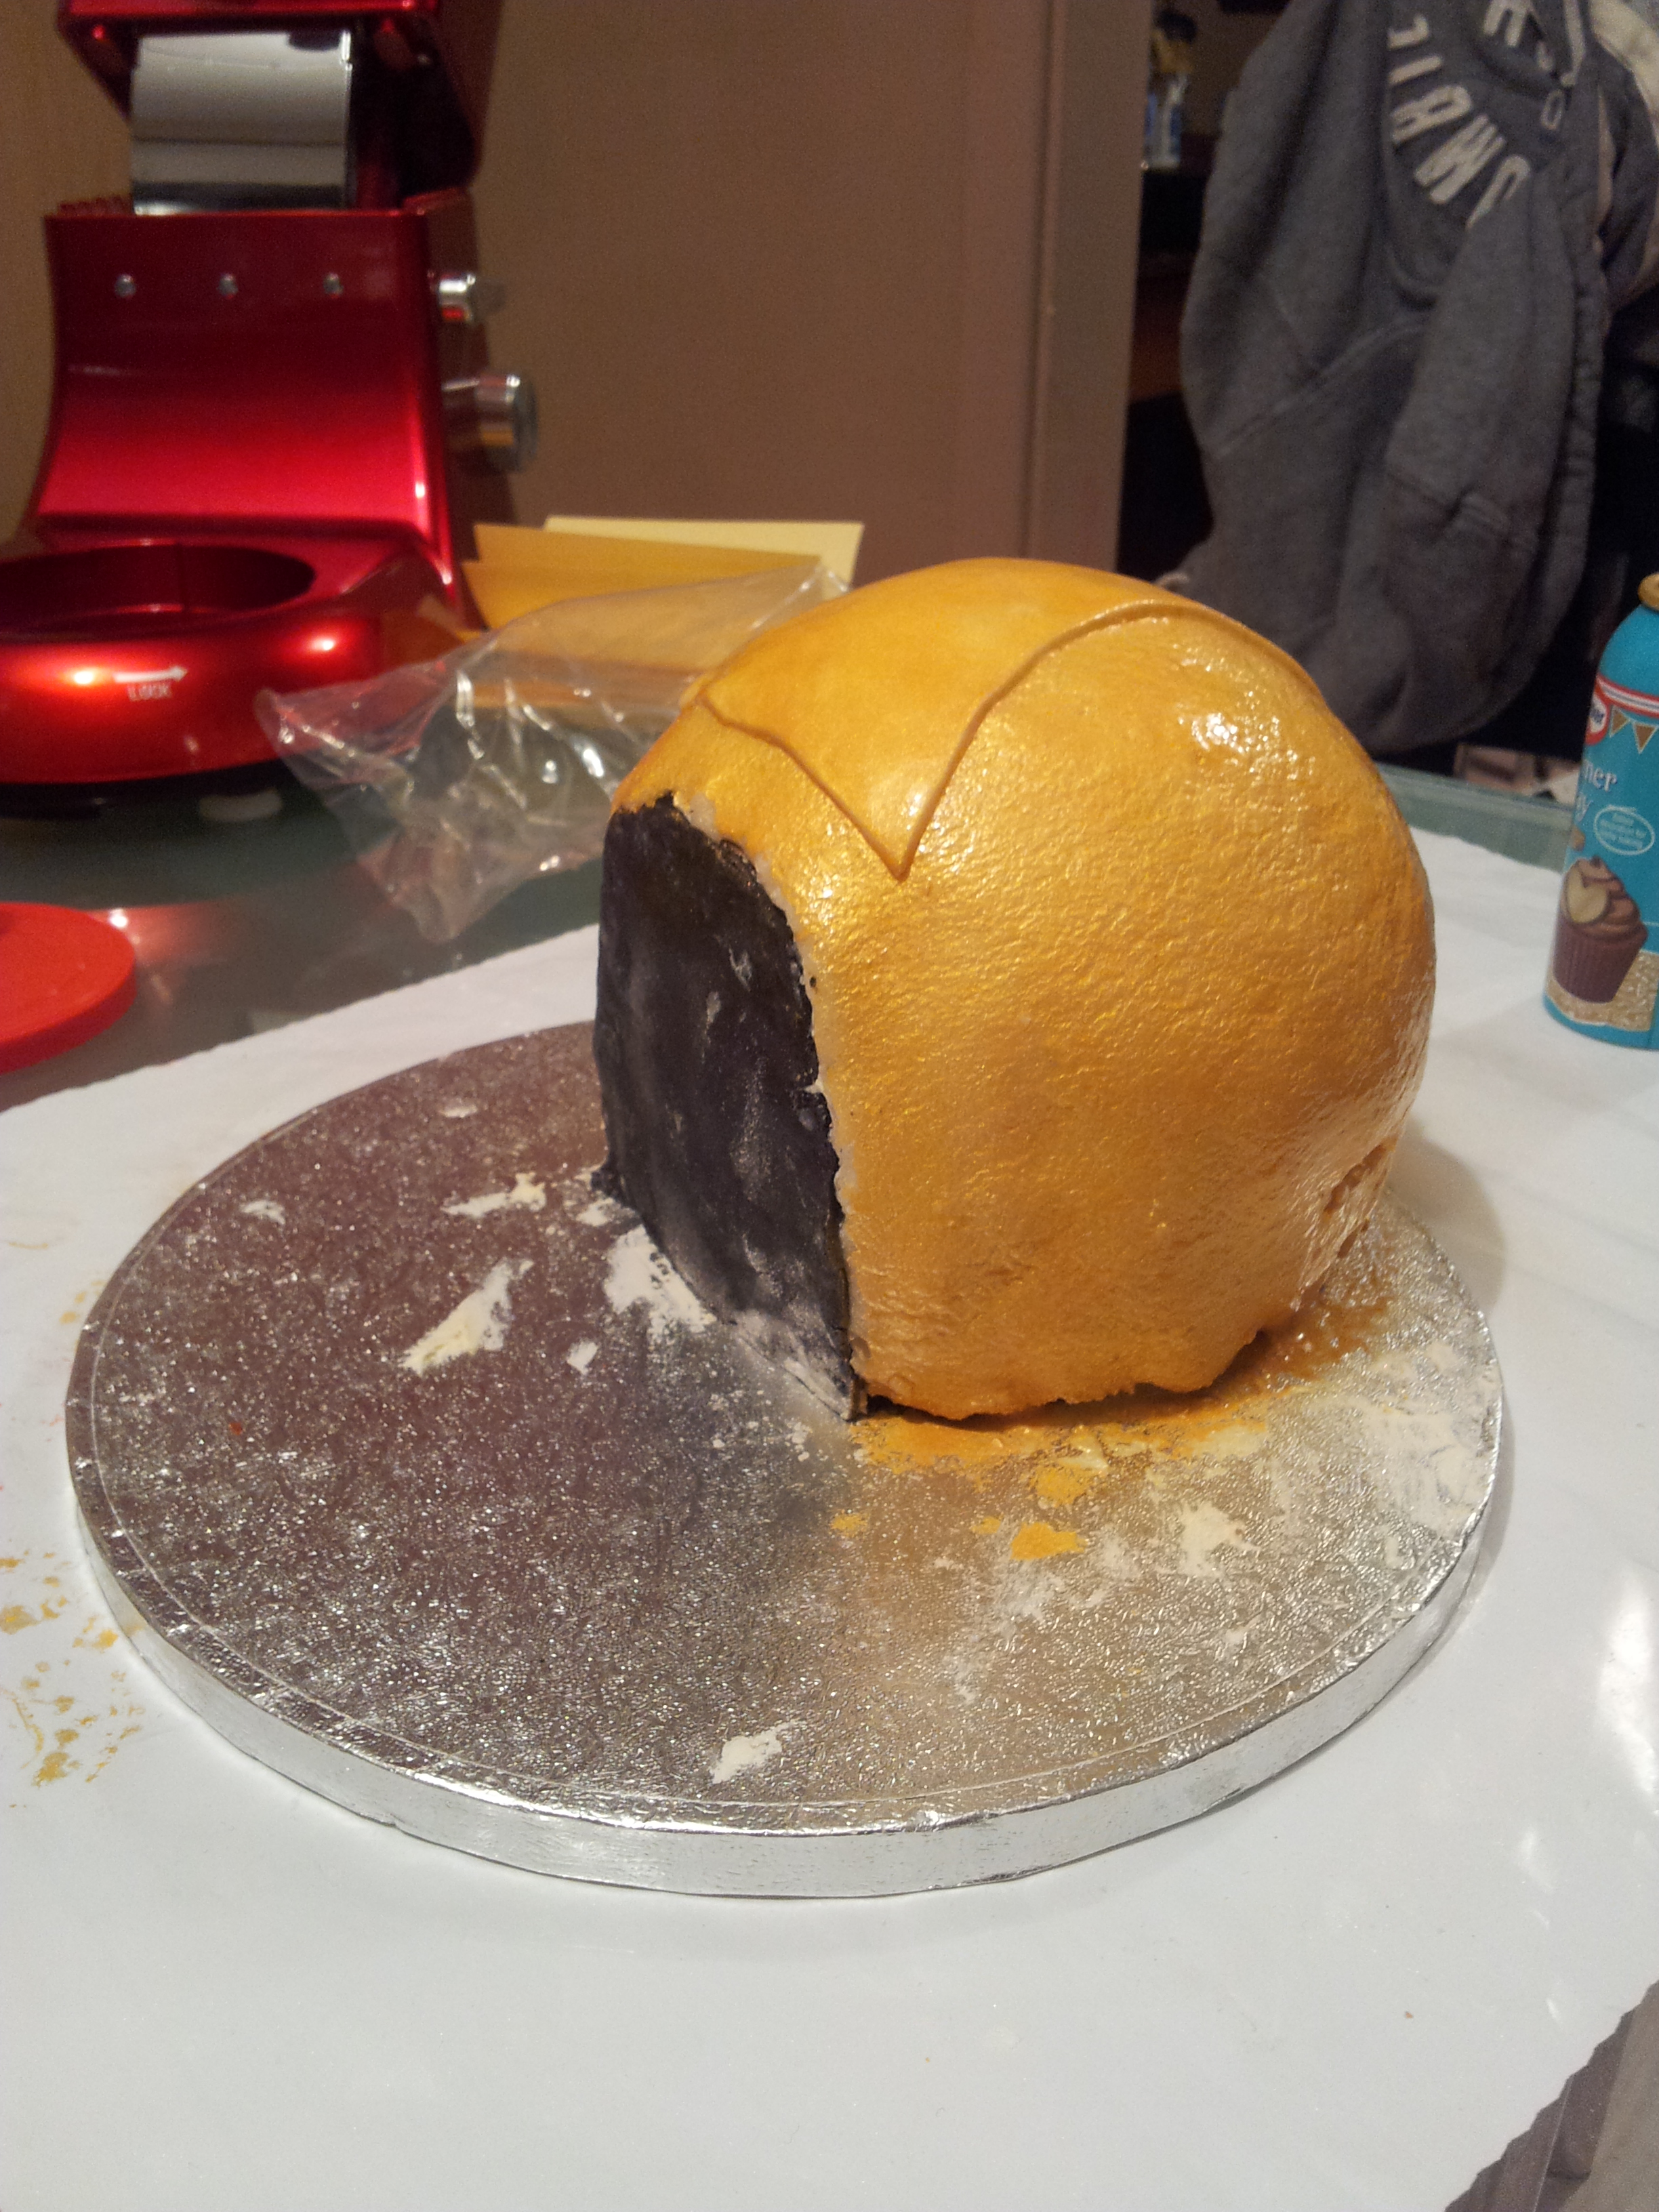
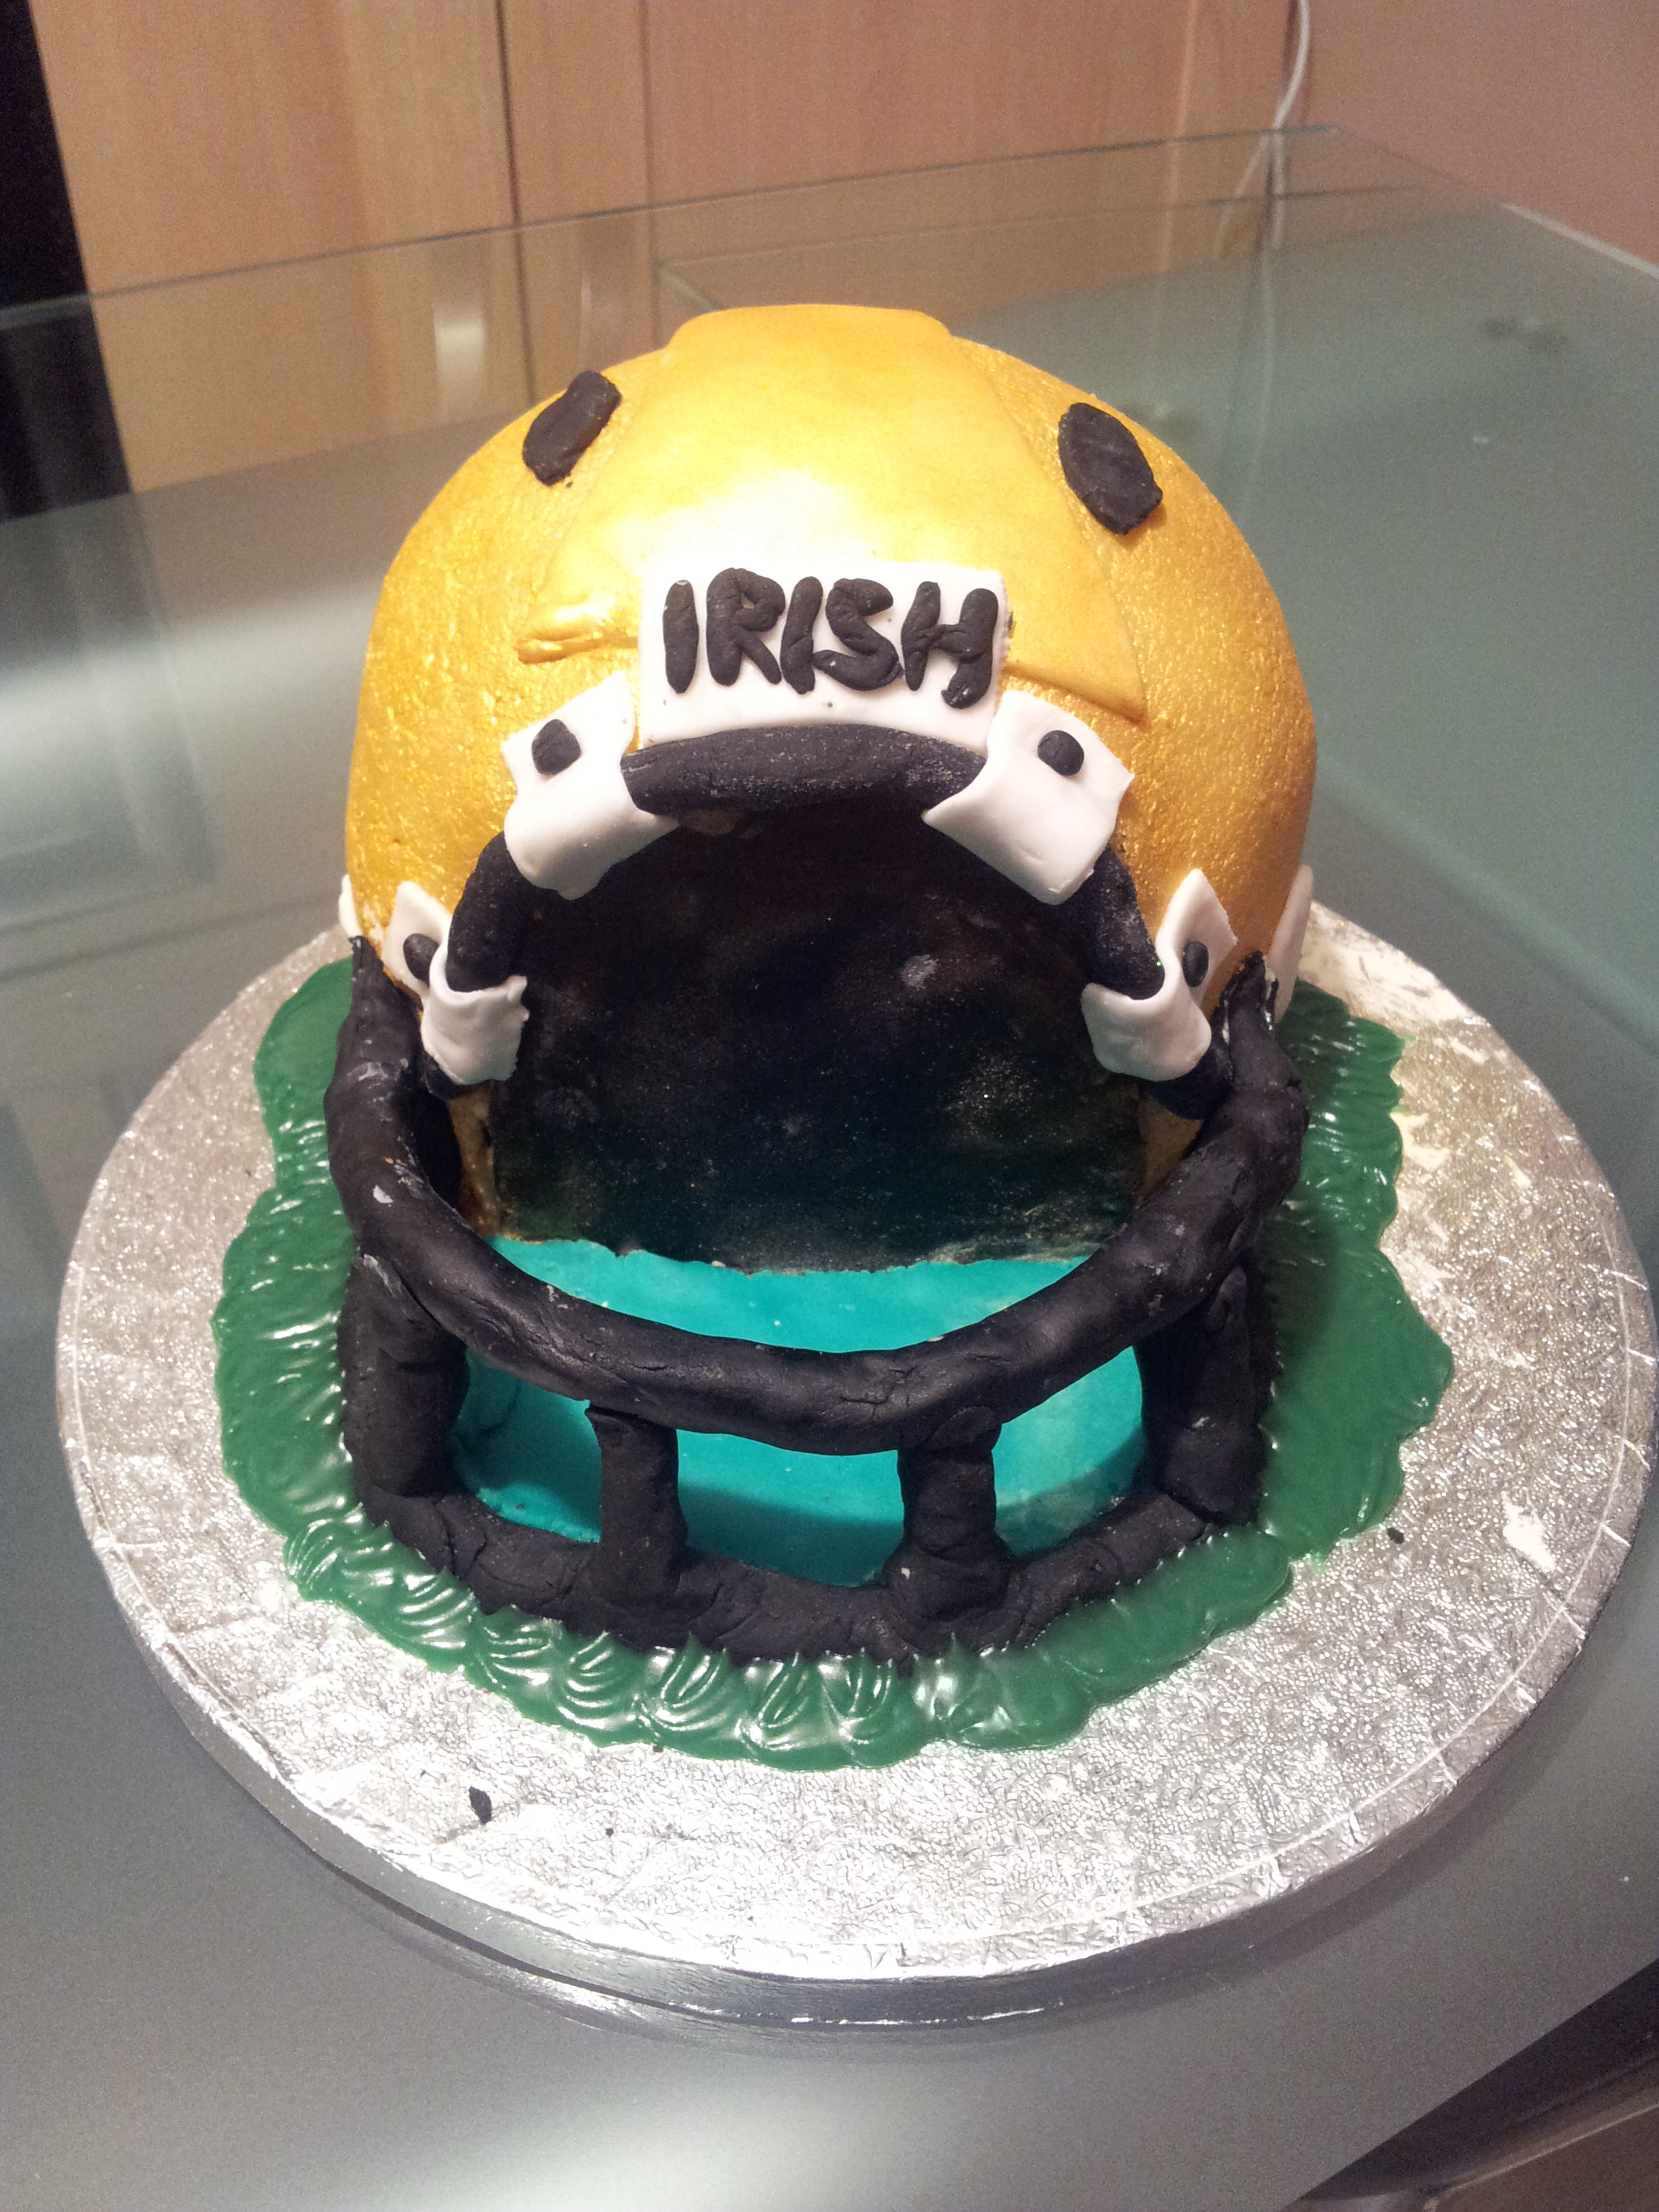
This is what it looked like after… Don’t worry it will look nicer soon! I started adding all of the intricate details which took a long time until it ended up like this.
Now the thing that gave me the absolute most trouble was the face guard. I couldn’t for the life of me think how I could make fondant keep up straight to make the cage look! I tried straws, tooth picks, pipe cleaners but nothing wasworking… Until I thought of foil. Yes foil! So you make it look like a long tube and then cover it in black fondant. It balances perfectly on top and is really good!
The it was all about the final details to get this!
 Here’s a look at the little detail in the back:
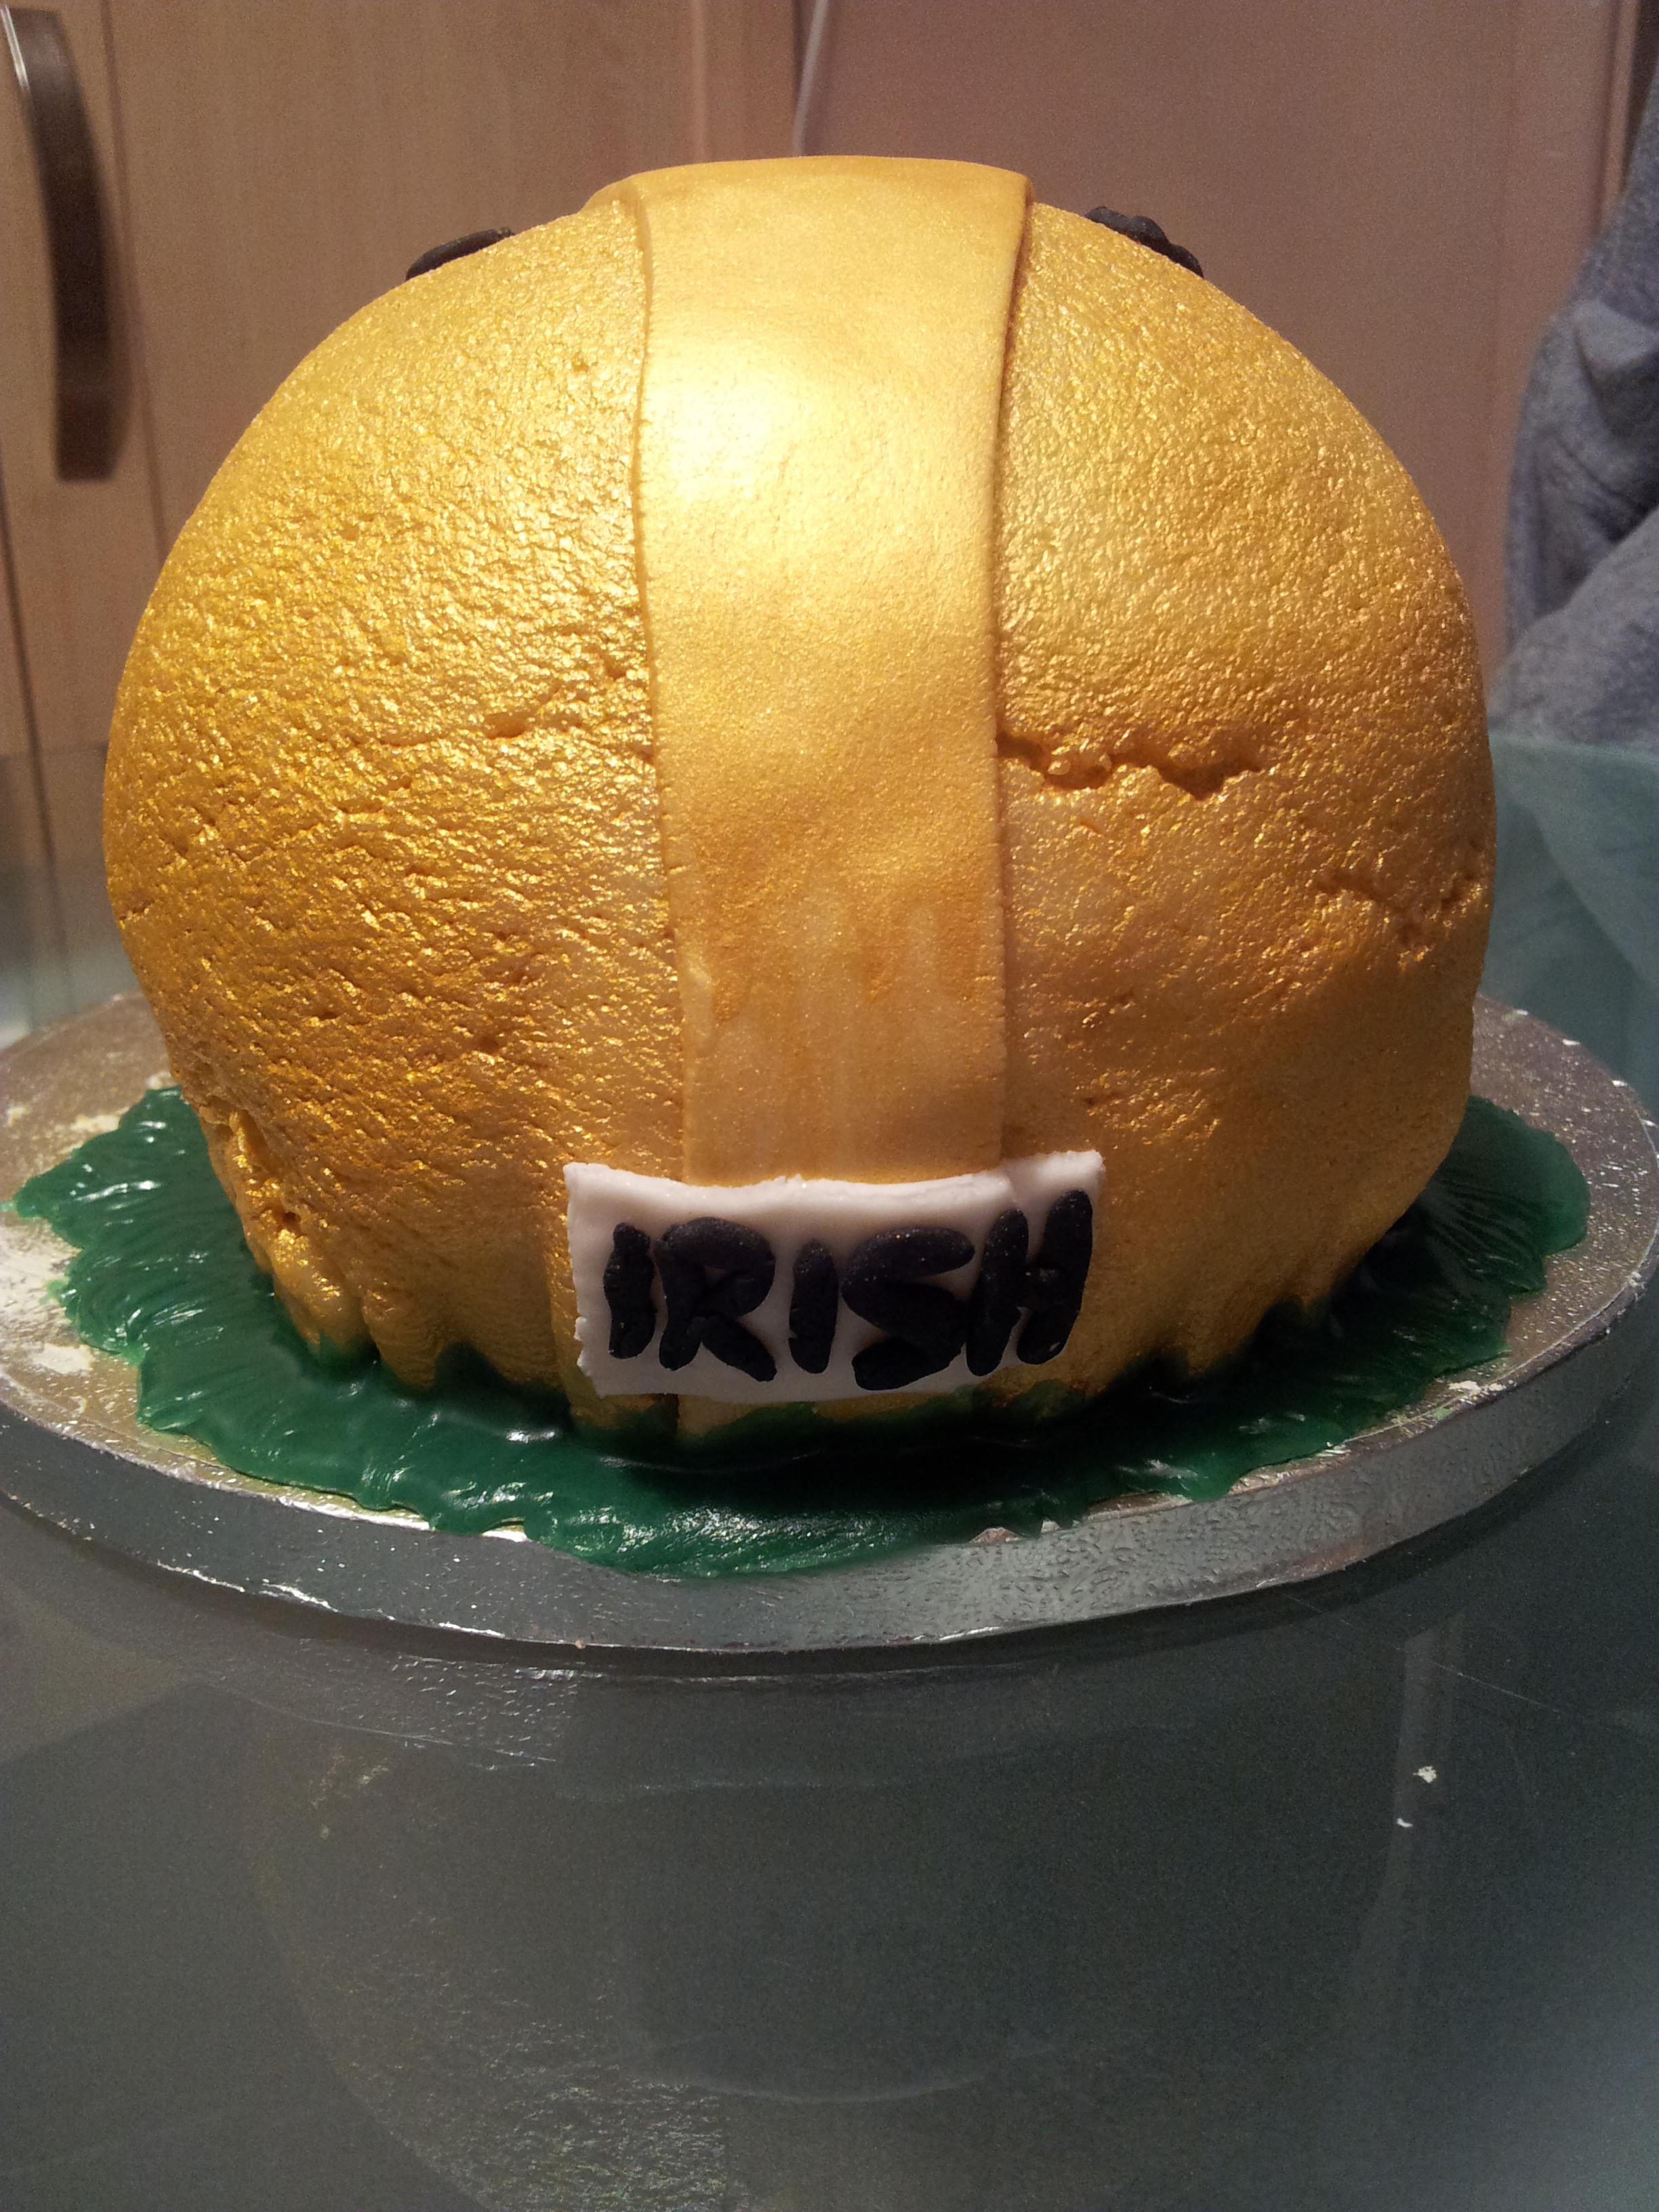
And a side on view